Workspaces
The Workspace is the home page of your team.
Overview
Your workspace is where you will work on projects together with your team. You can use projects to group your repositories and enforce a policy on them.
When you first sign up, Monokle will automatically provide a workspace for personal usage so that you can jump right into exploring your first repository.
Basics
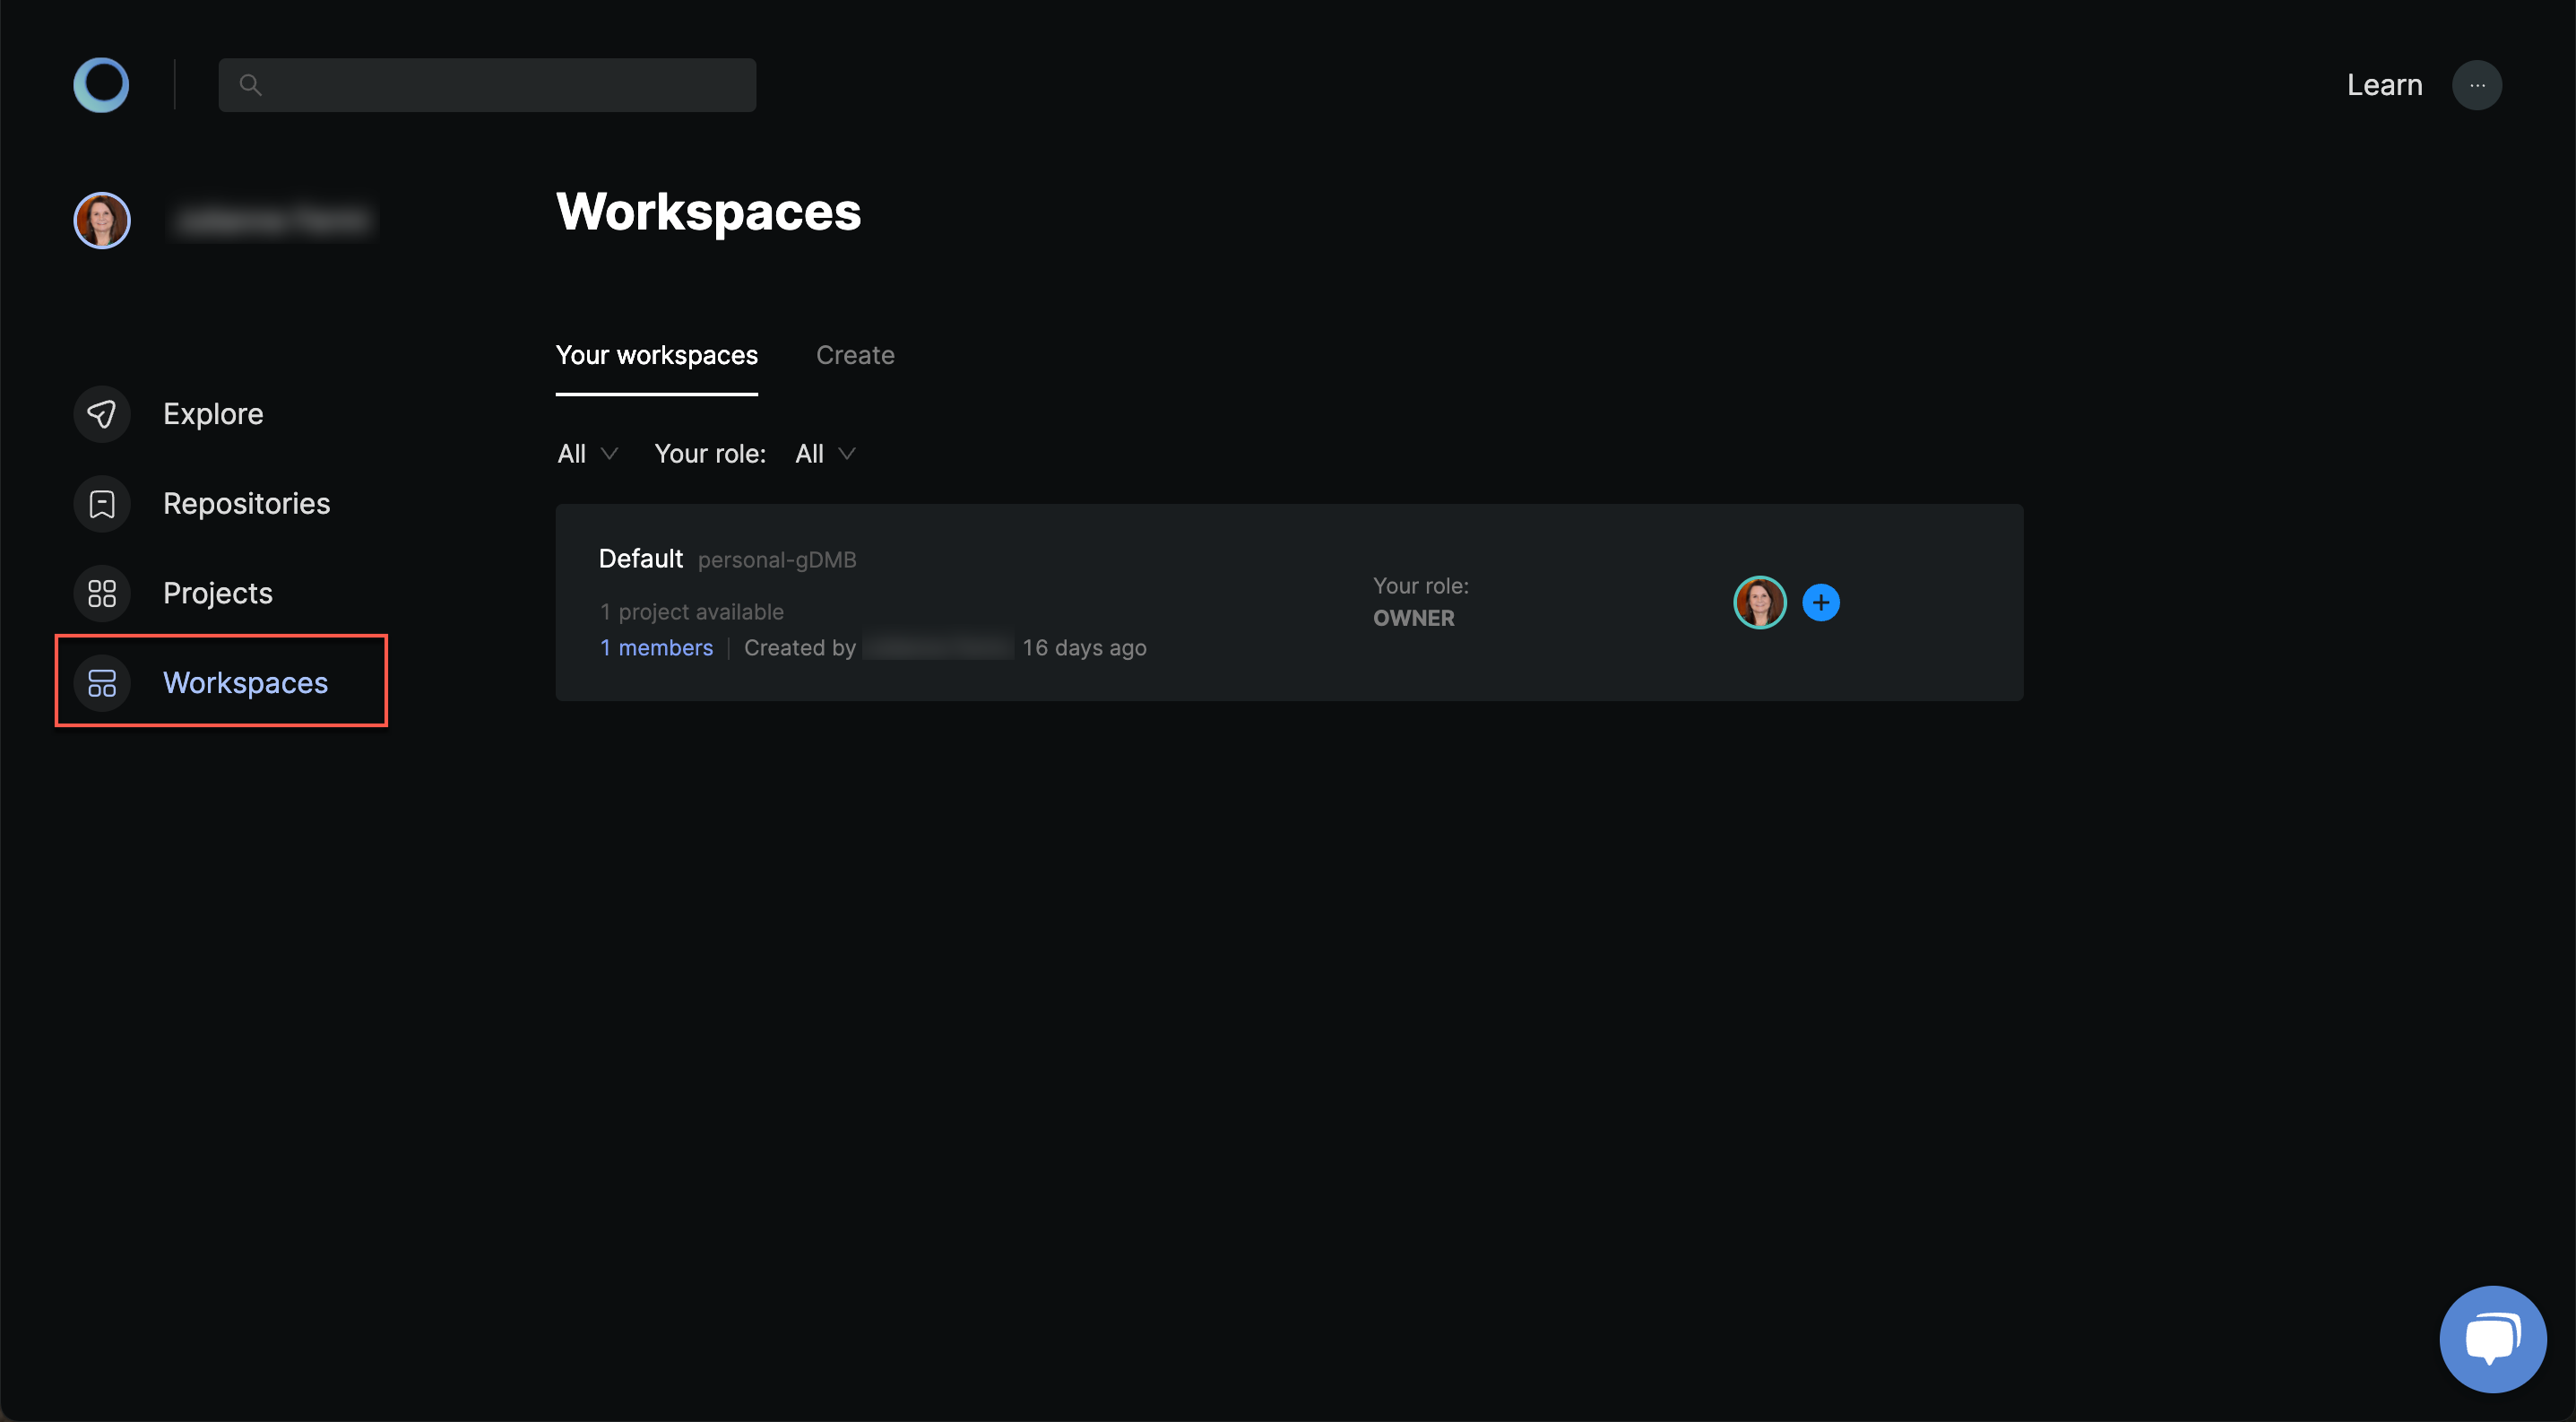
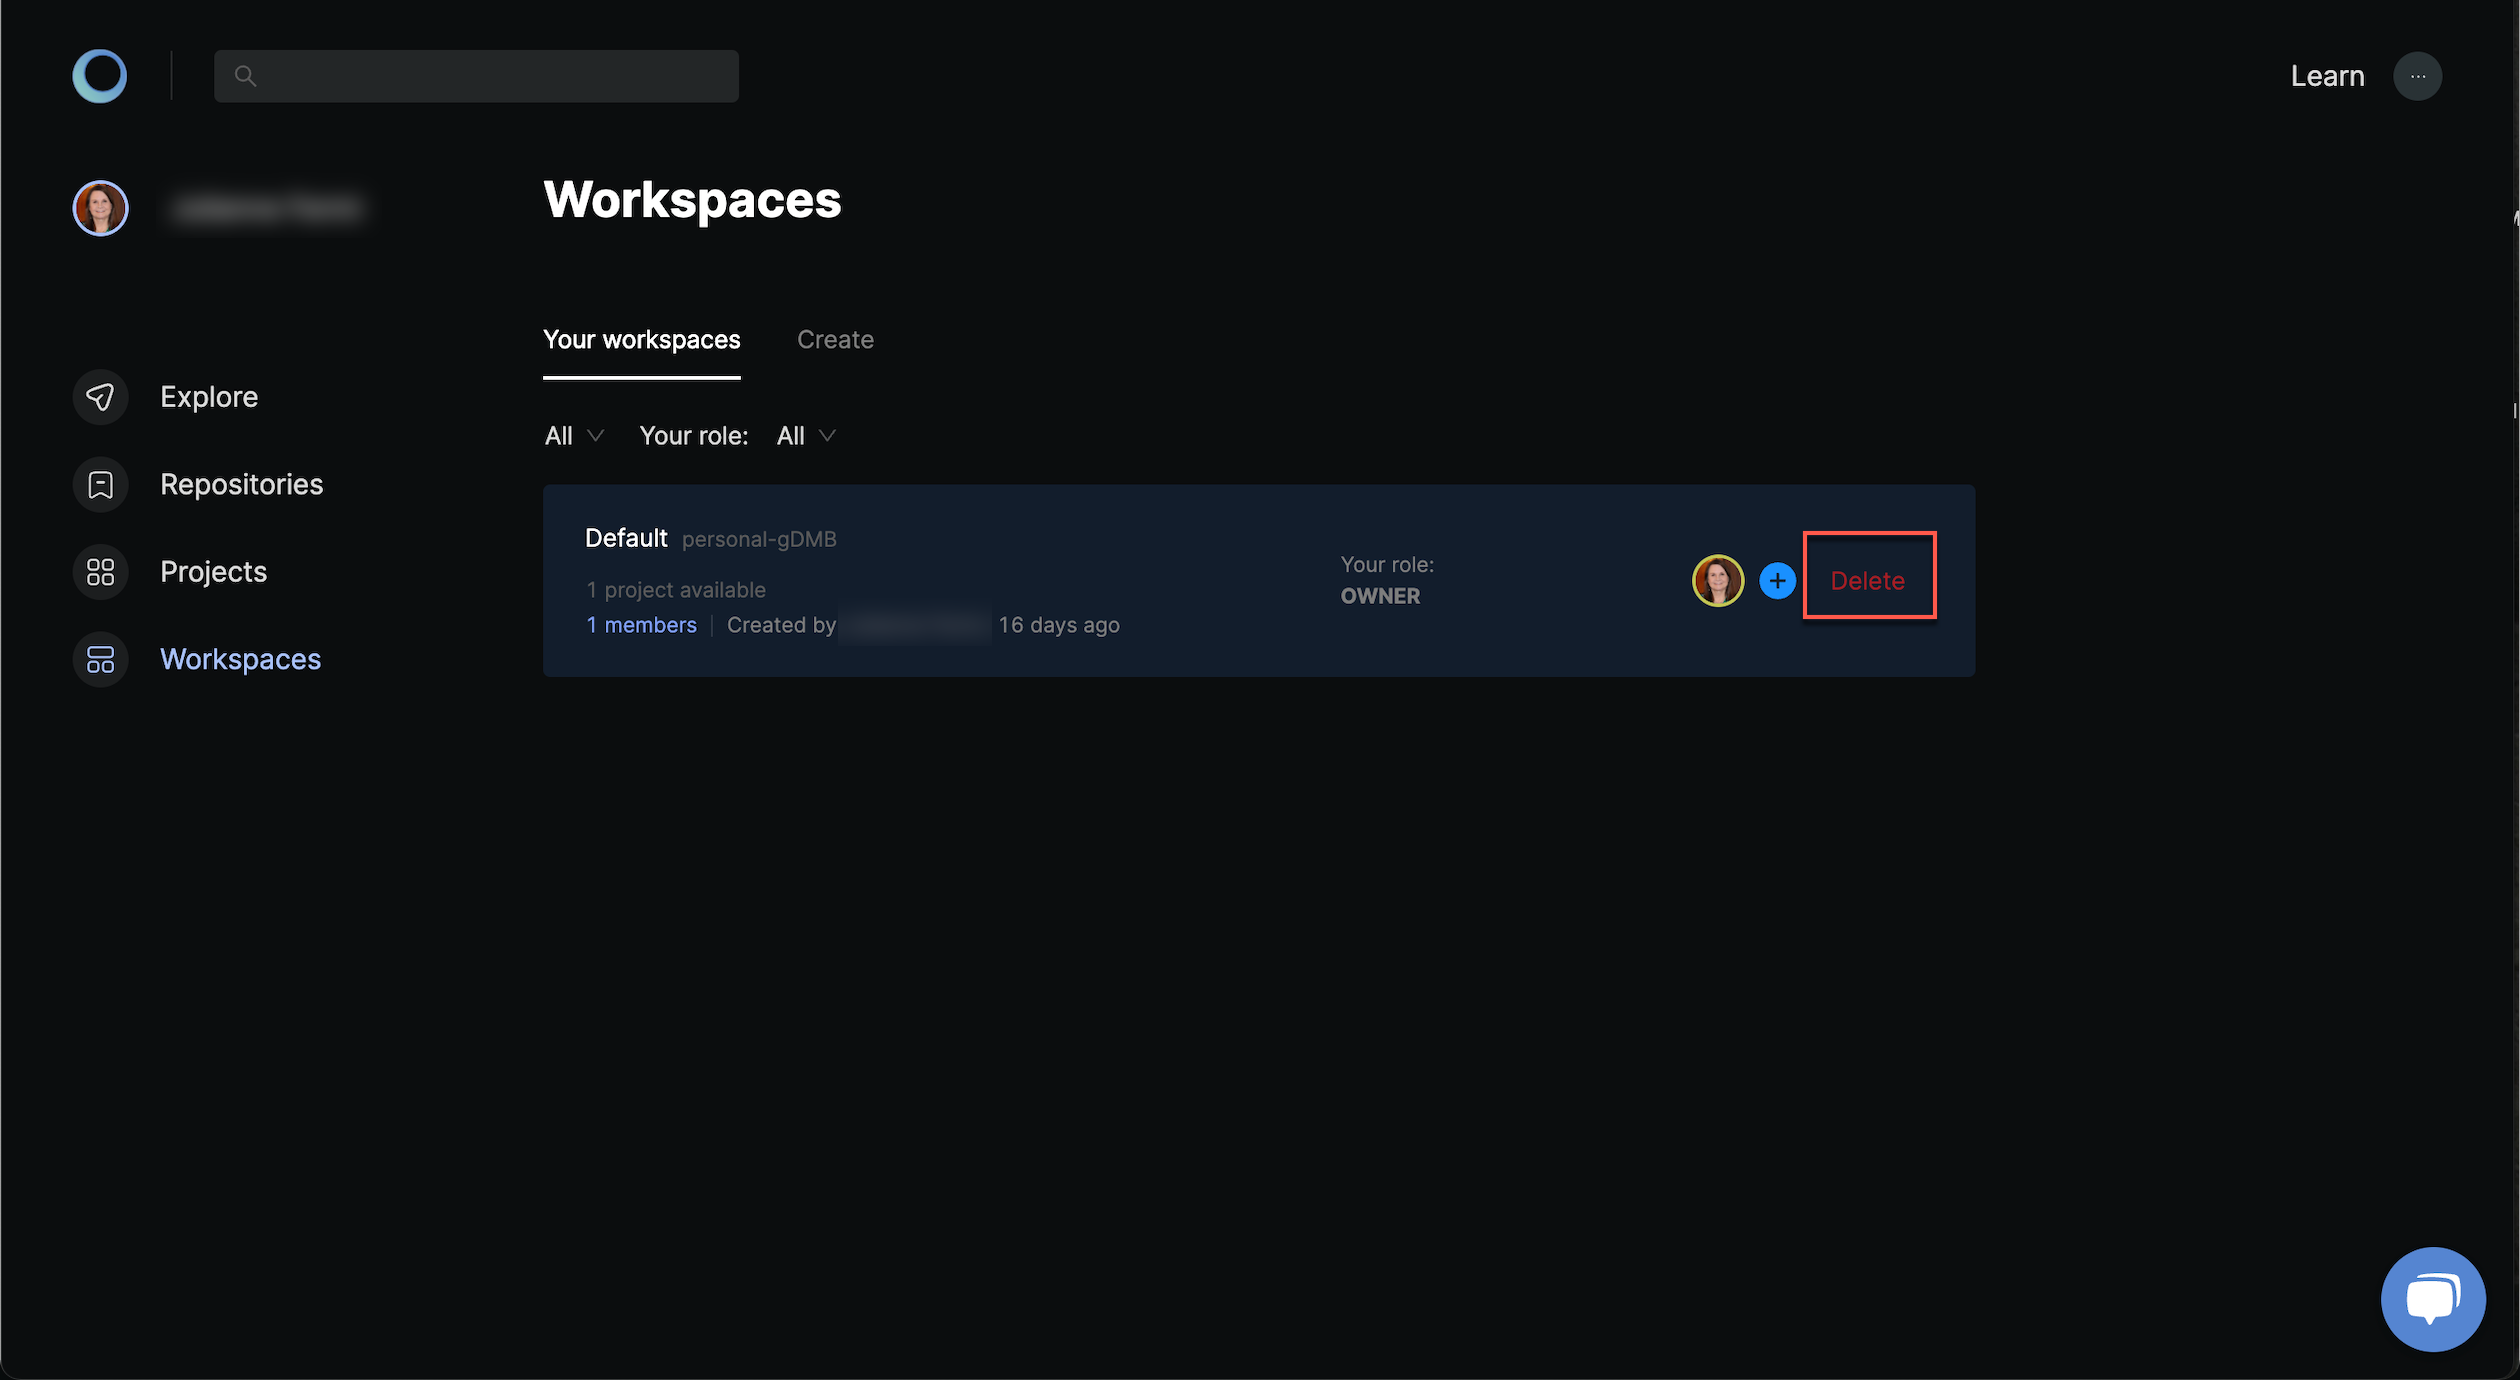
Manage workspaces
You can create a workspace in the workspaces overview and delete it by clicking delete after hovering the workspace's card. Proceed with caution as this action cannot be reversed.
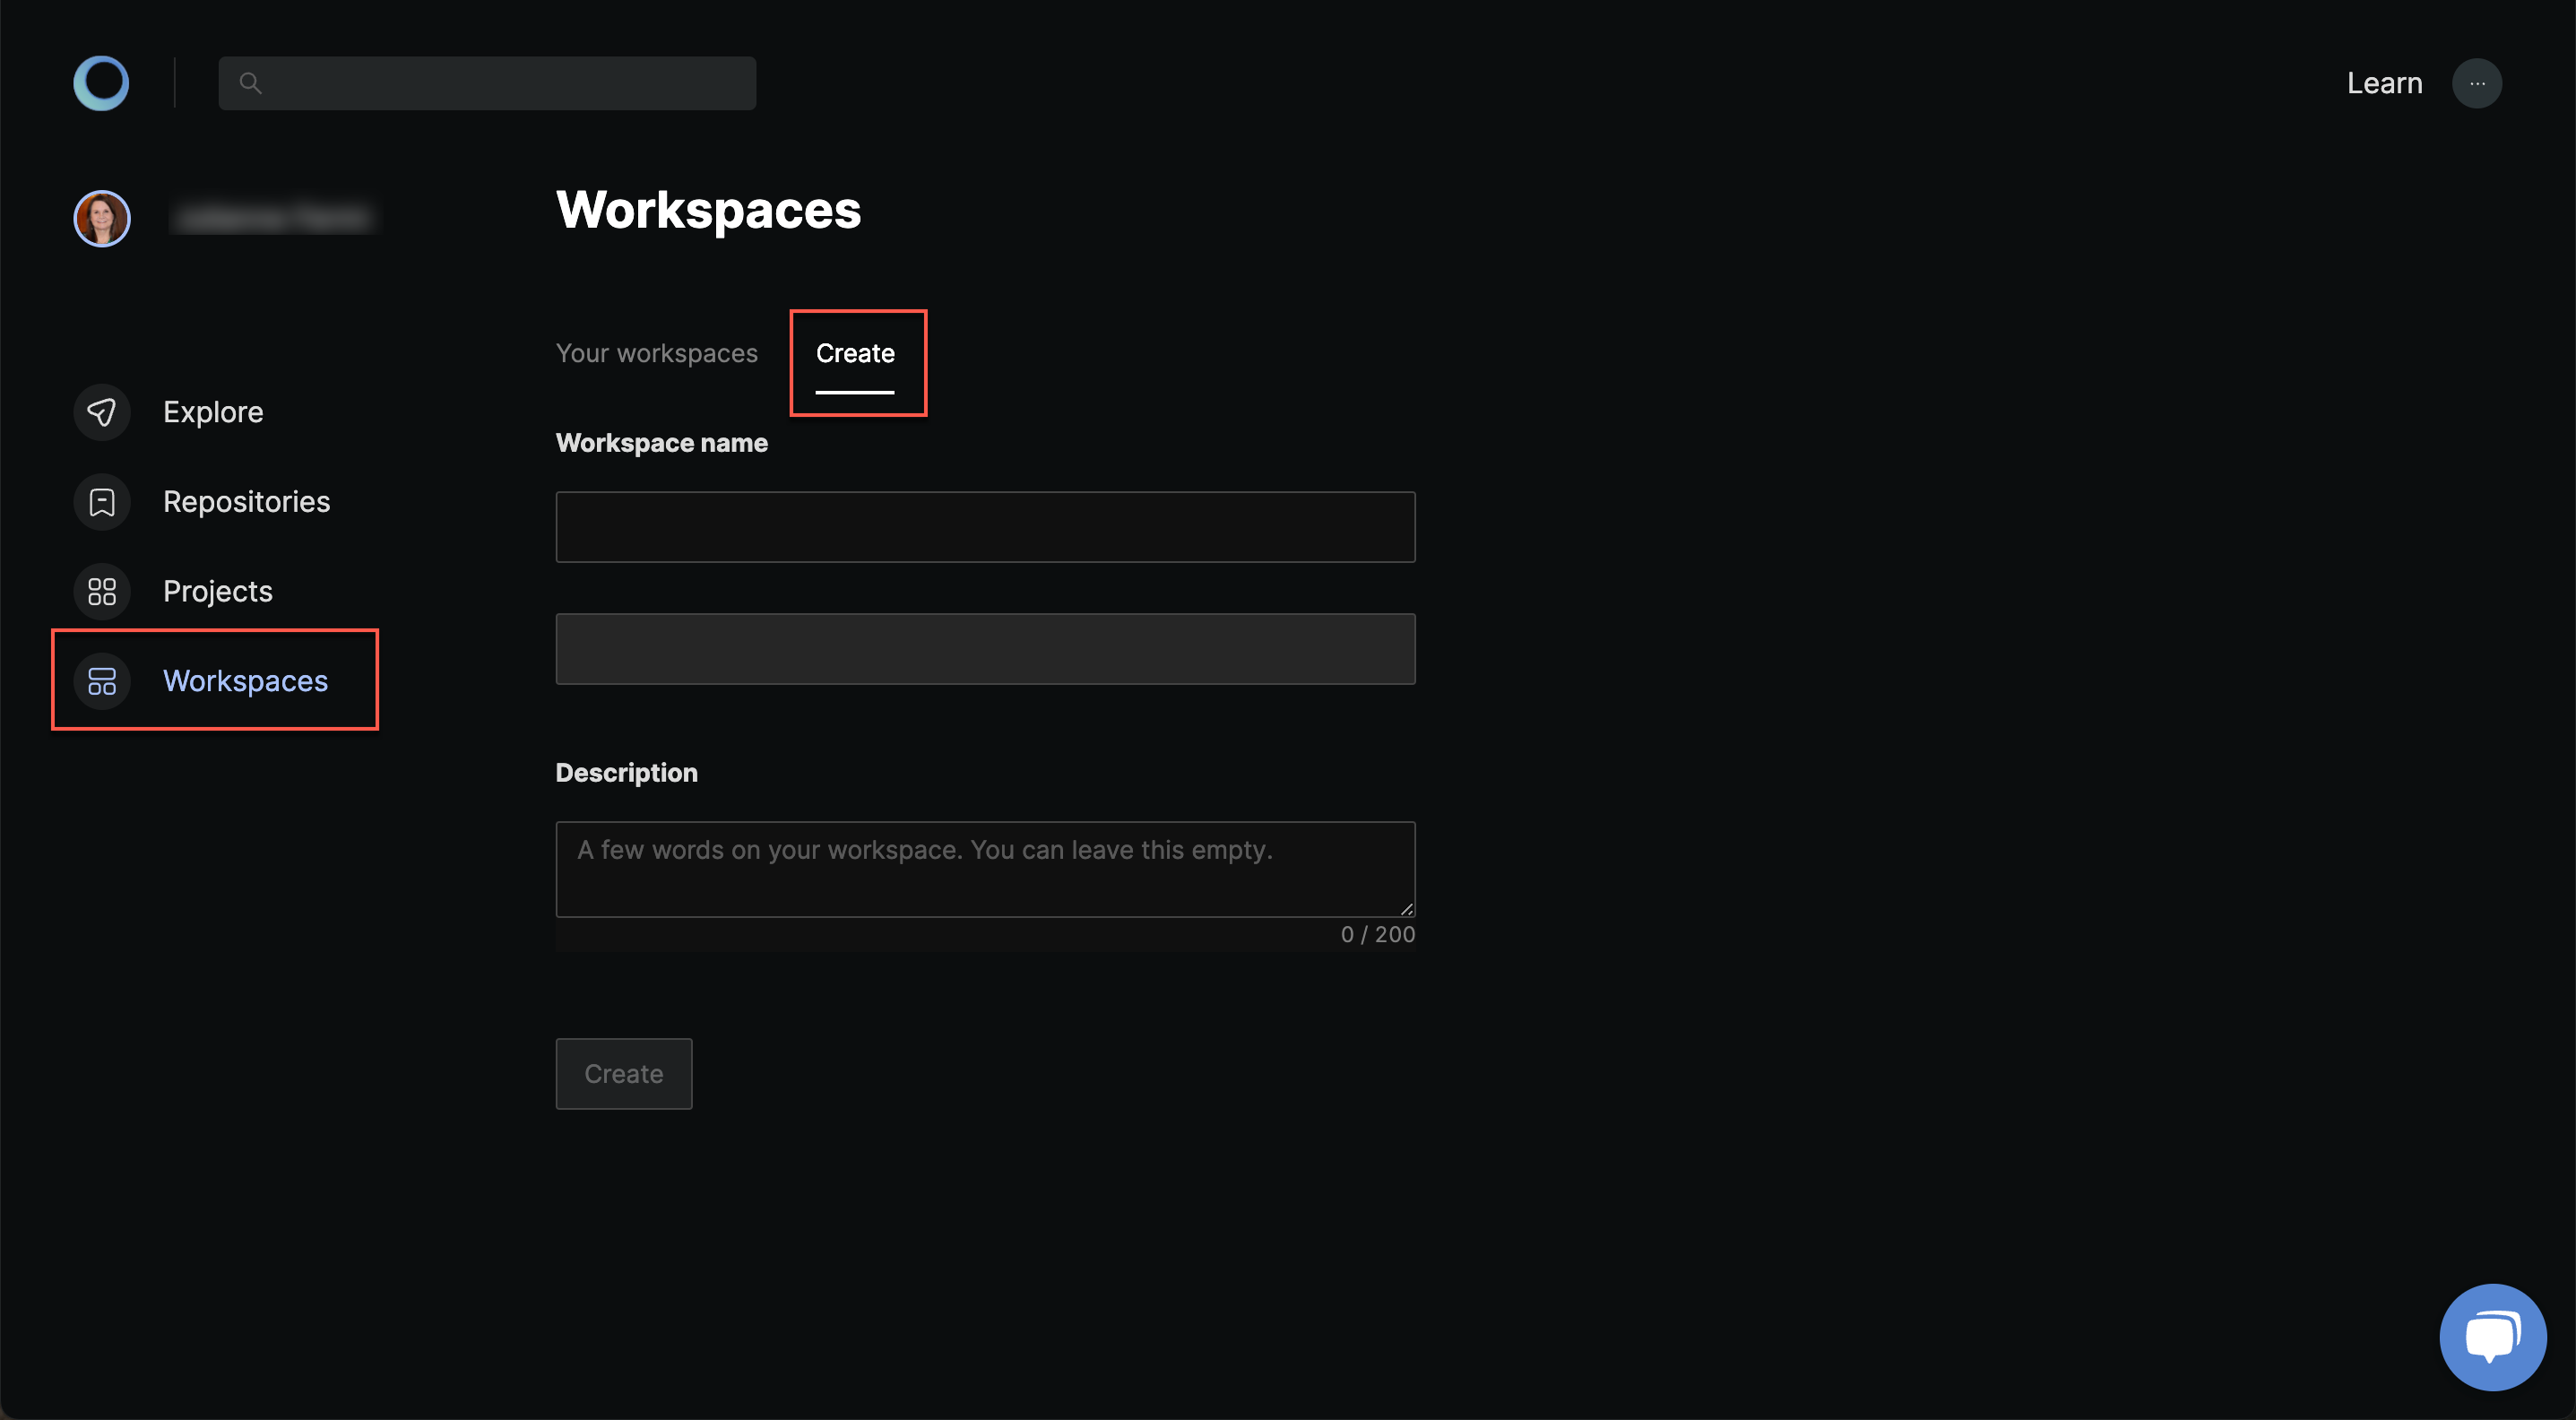
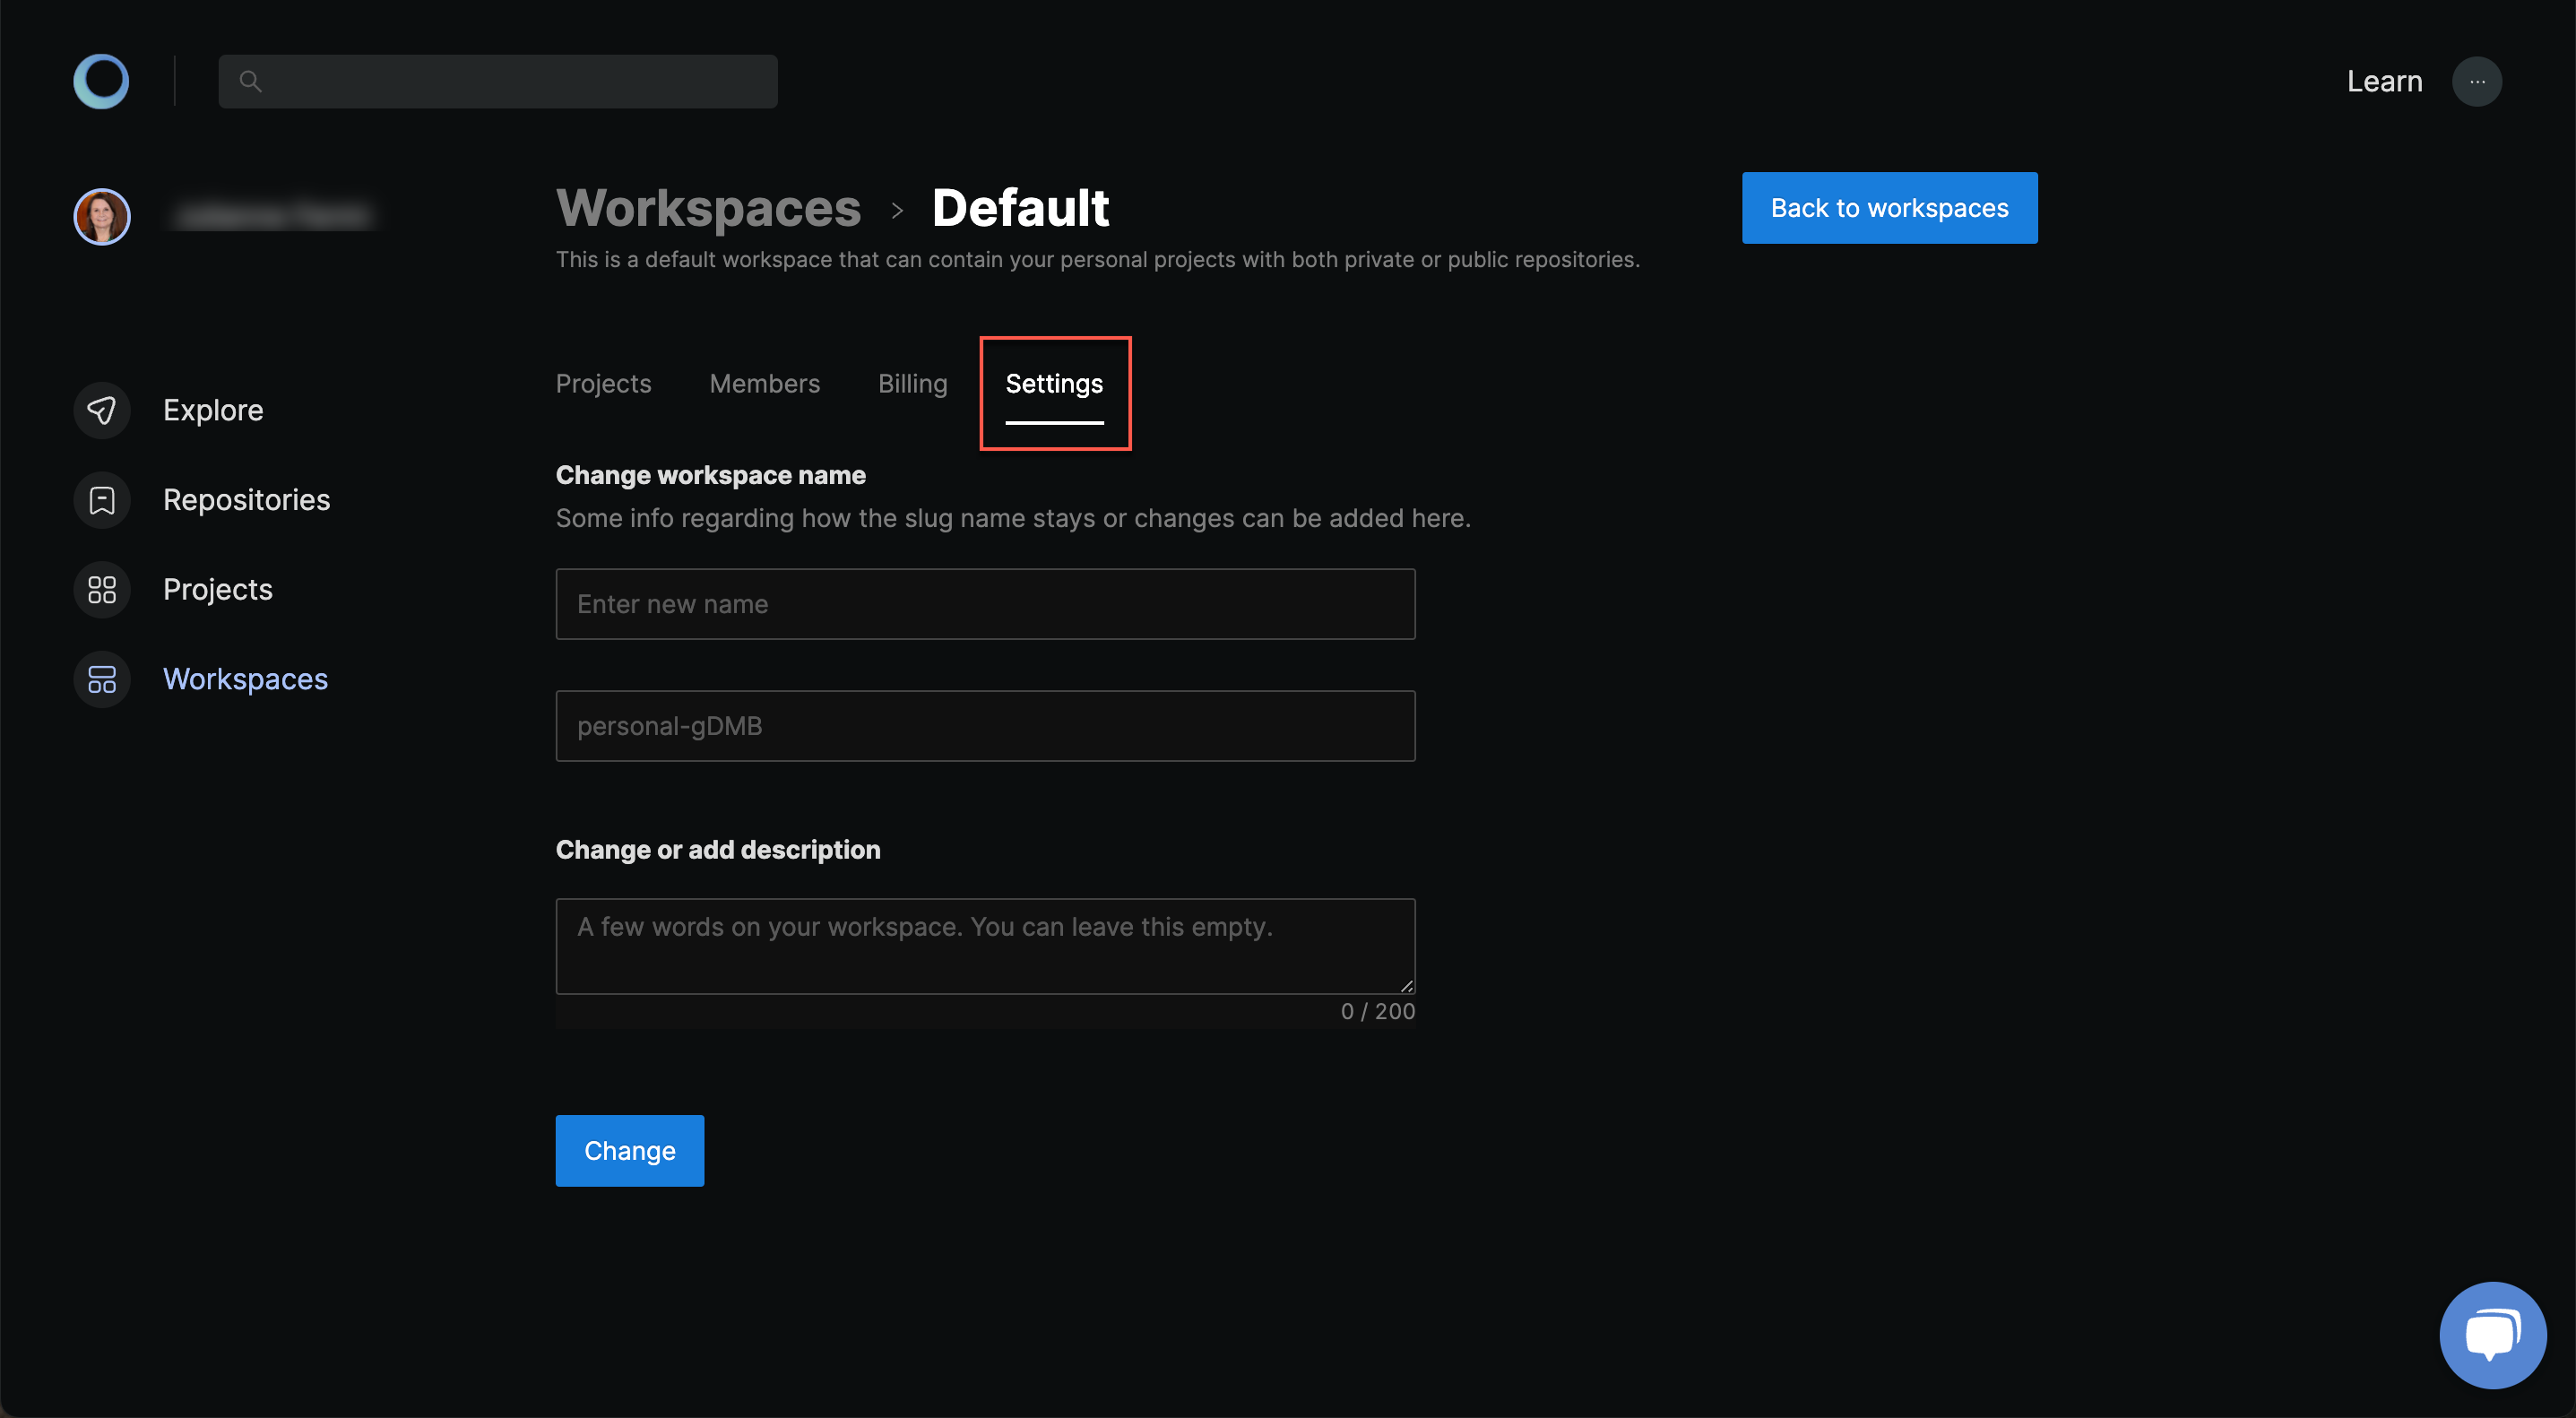
In the settings, you can also change the name, description and slug of your workspace.
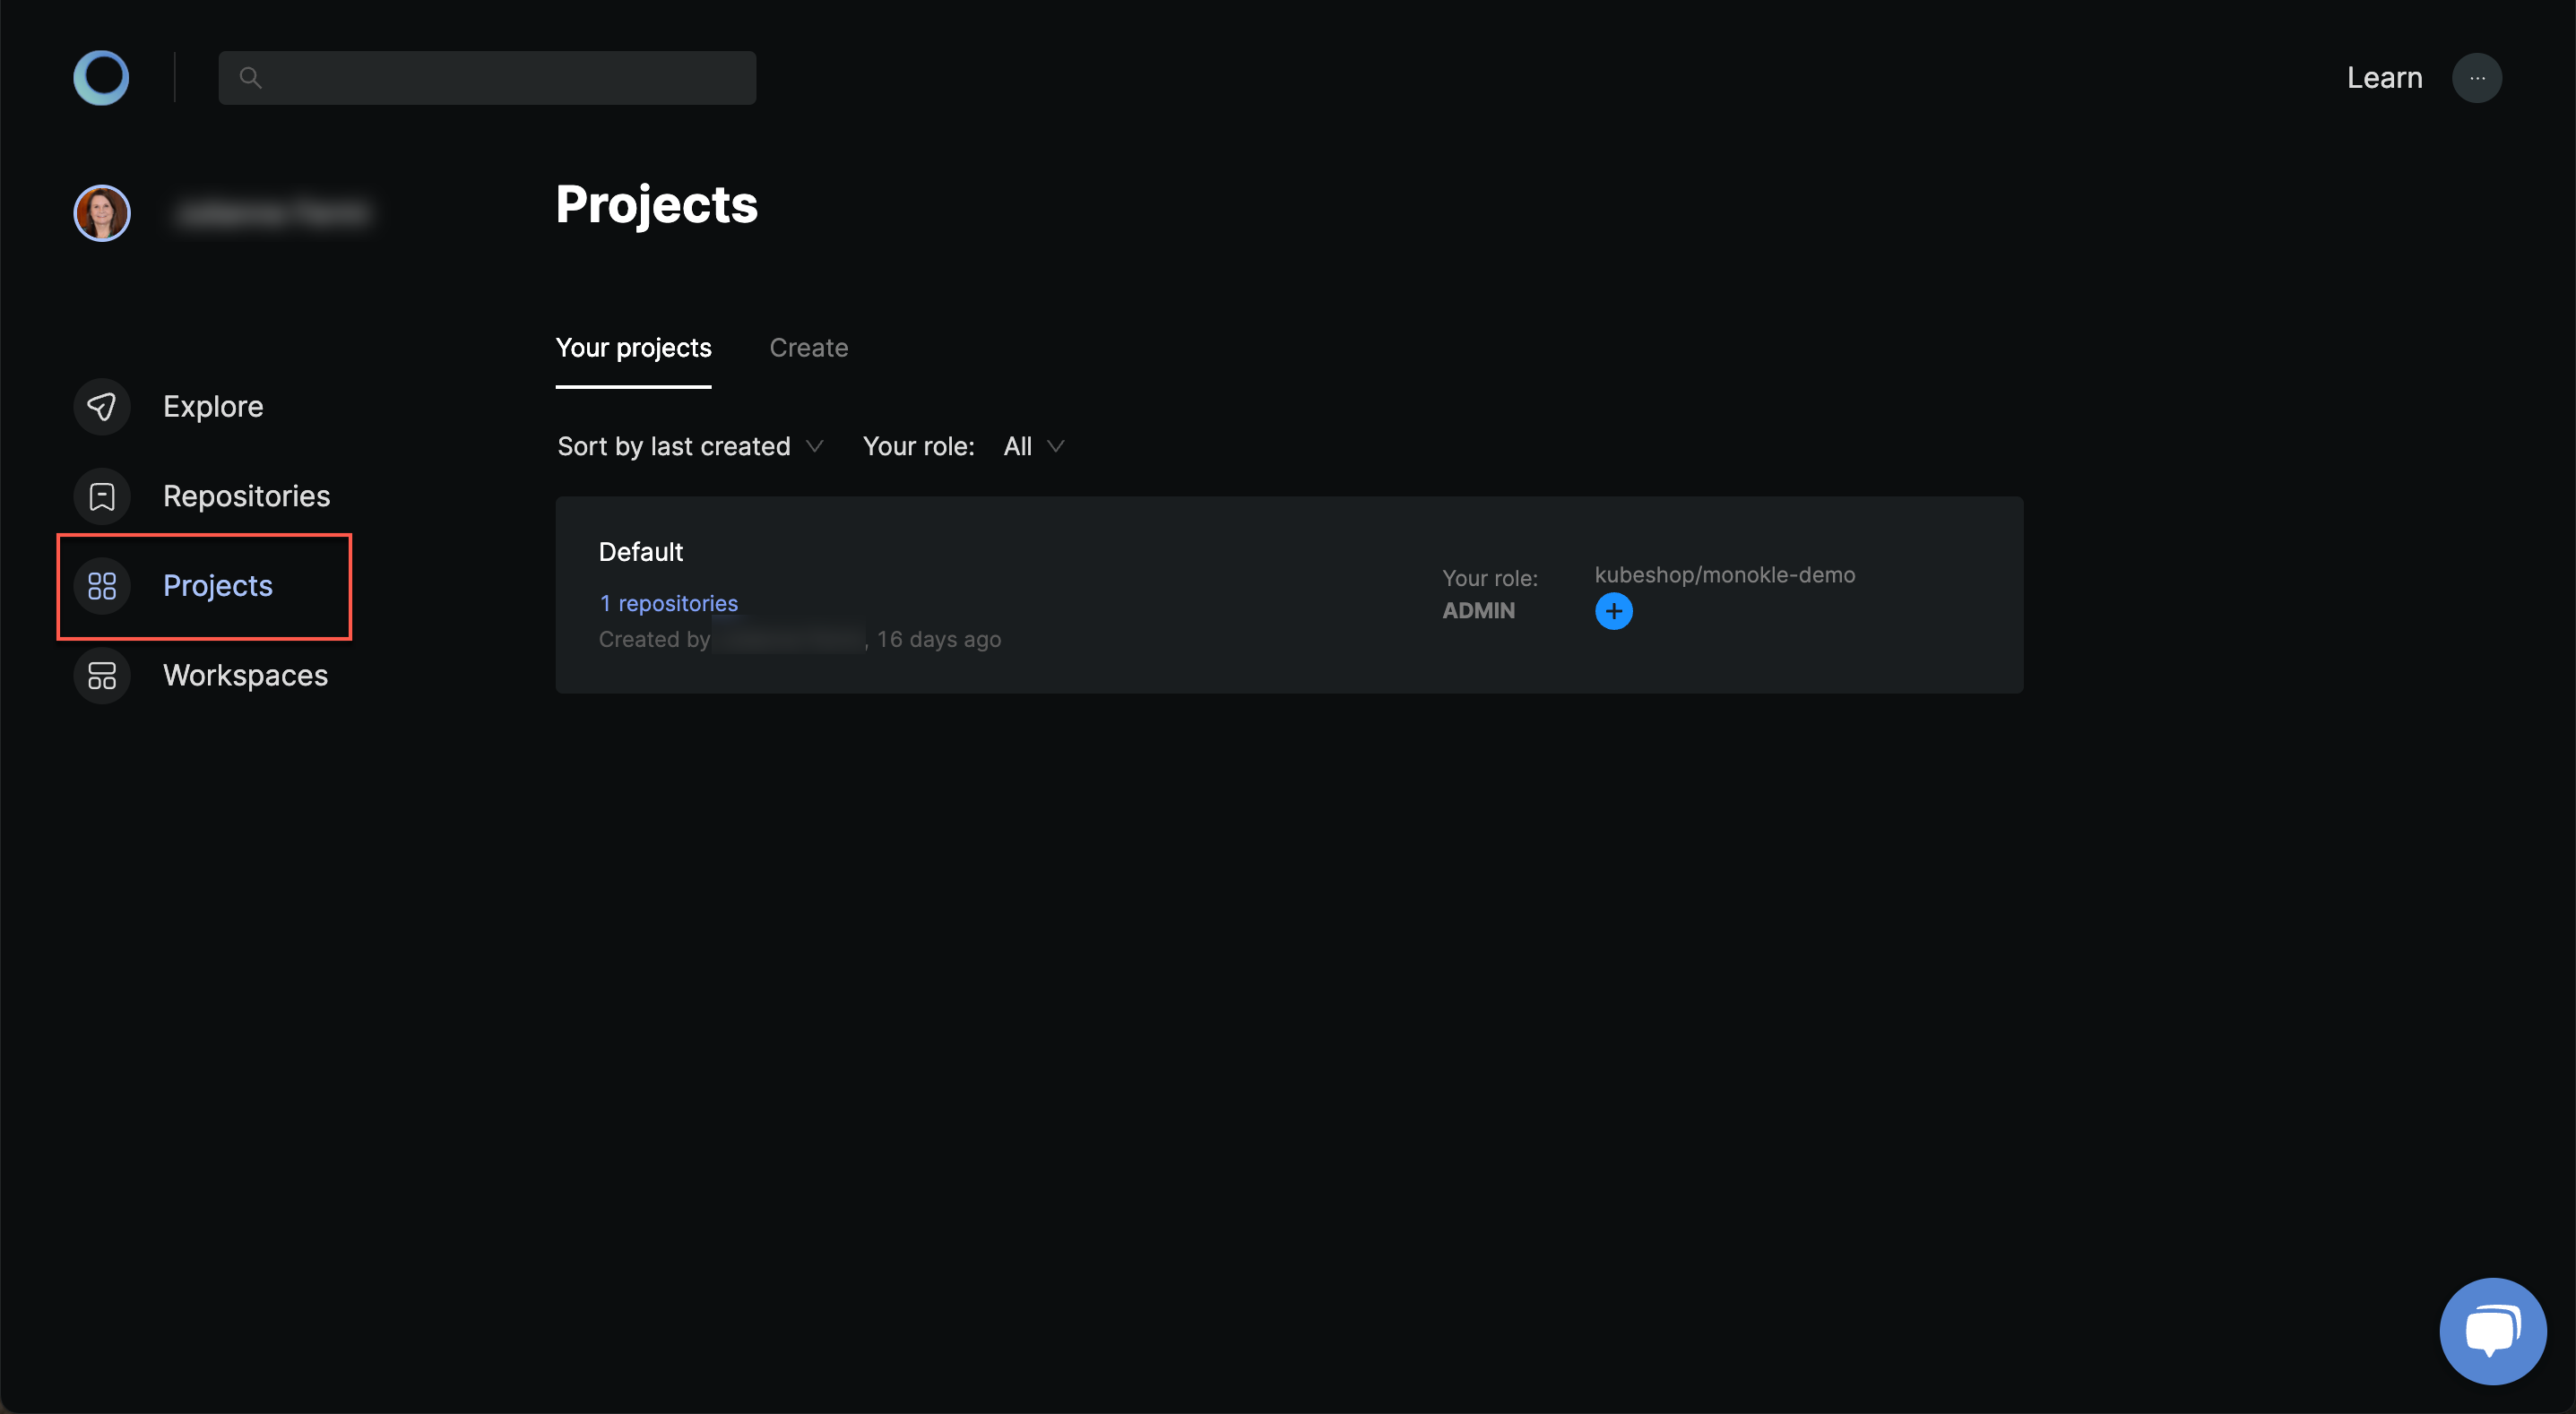
Manage Projects
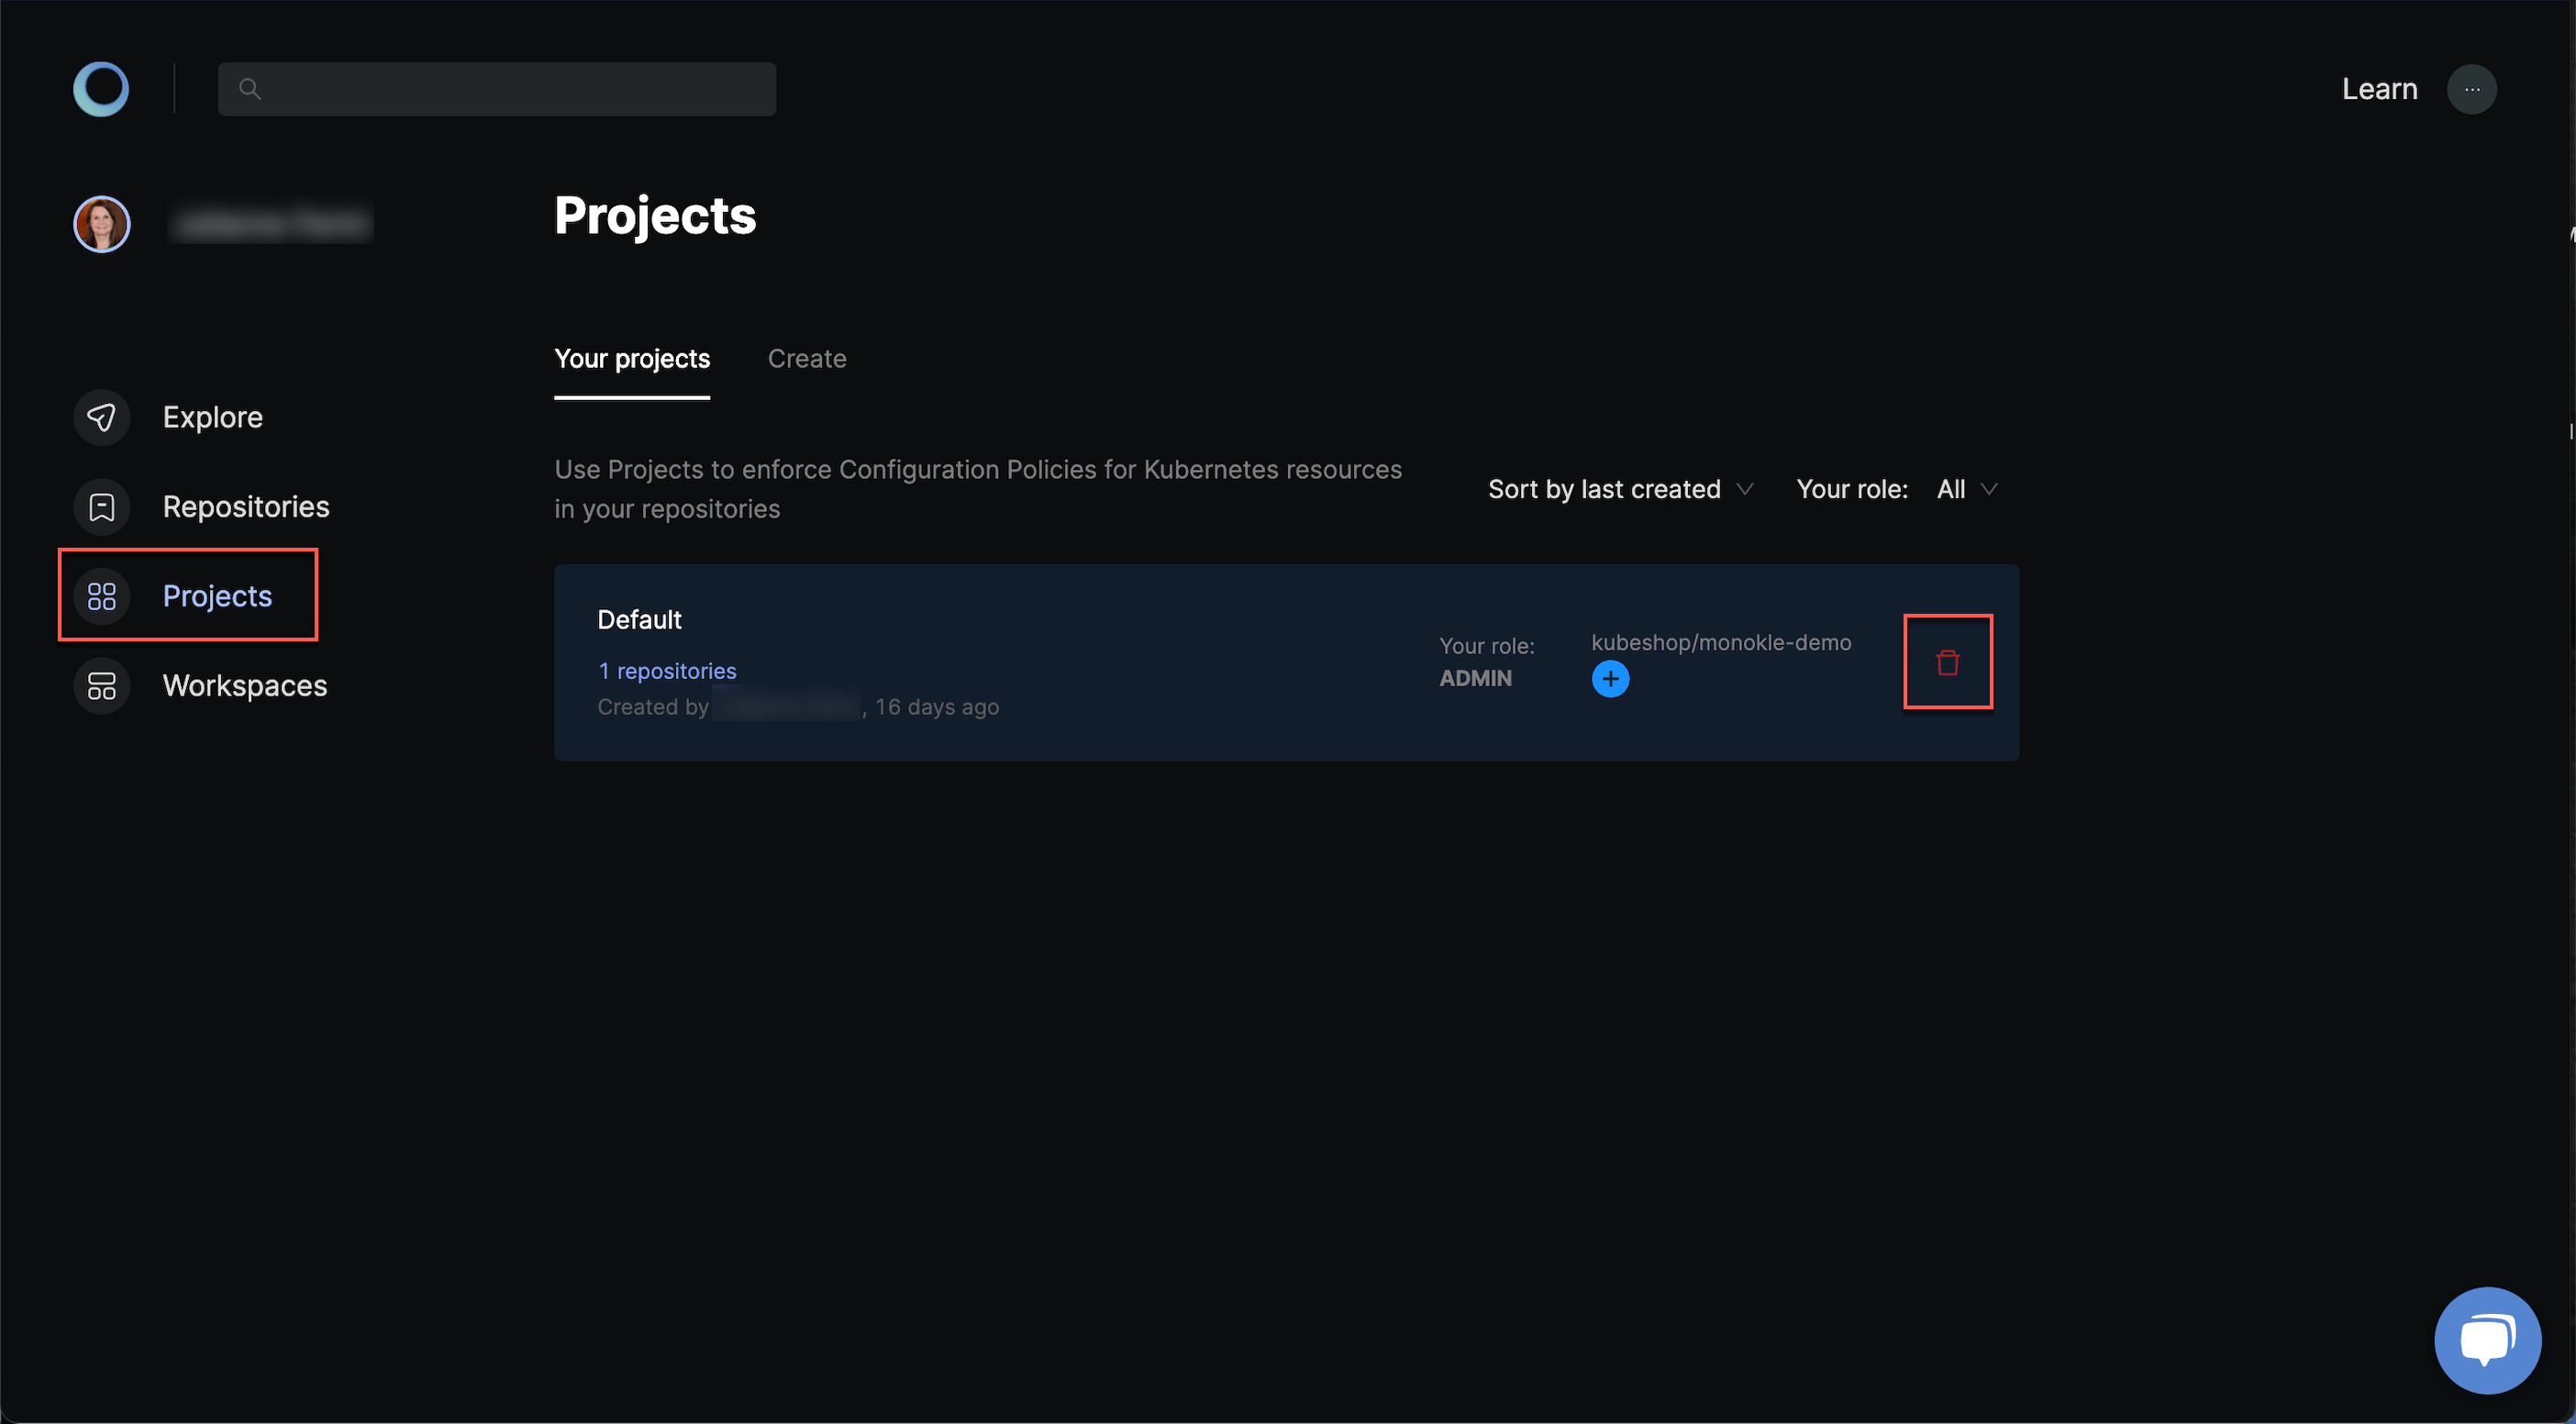
Workspace administrators can create a project in the workspace and delete it by clicking delete after hovering the project's card.
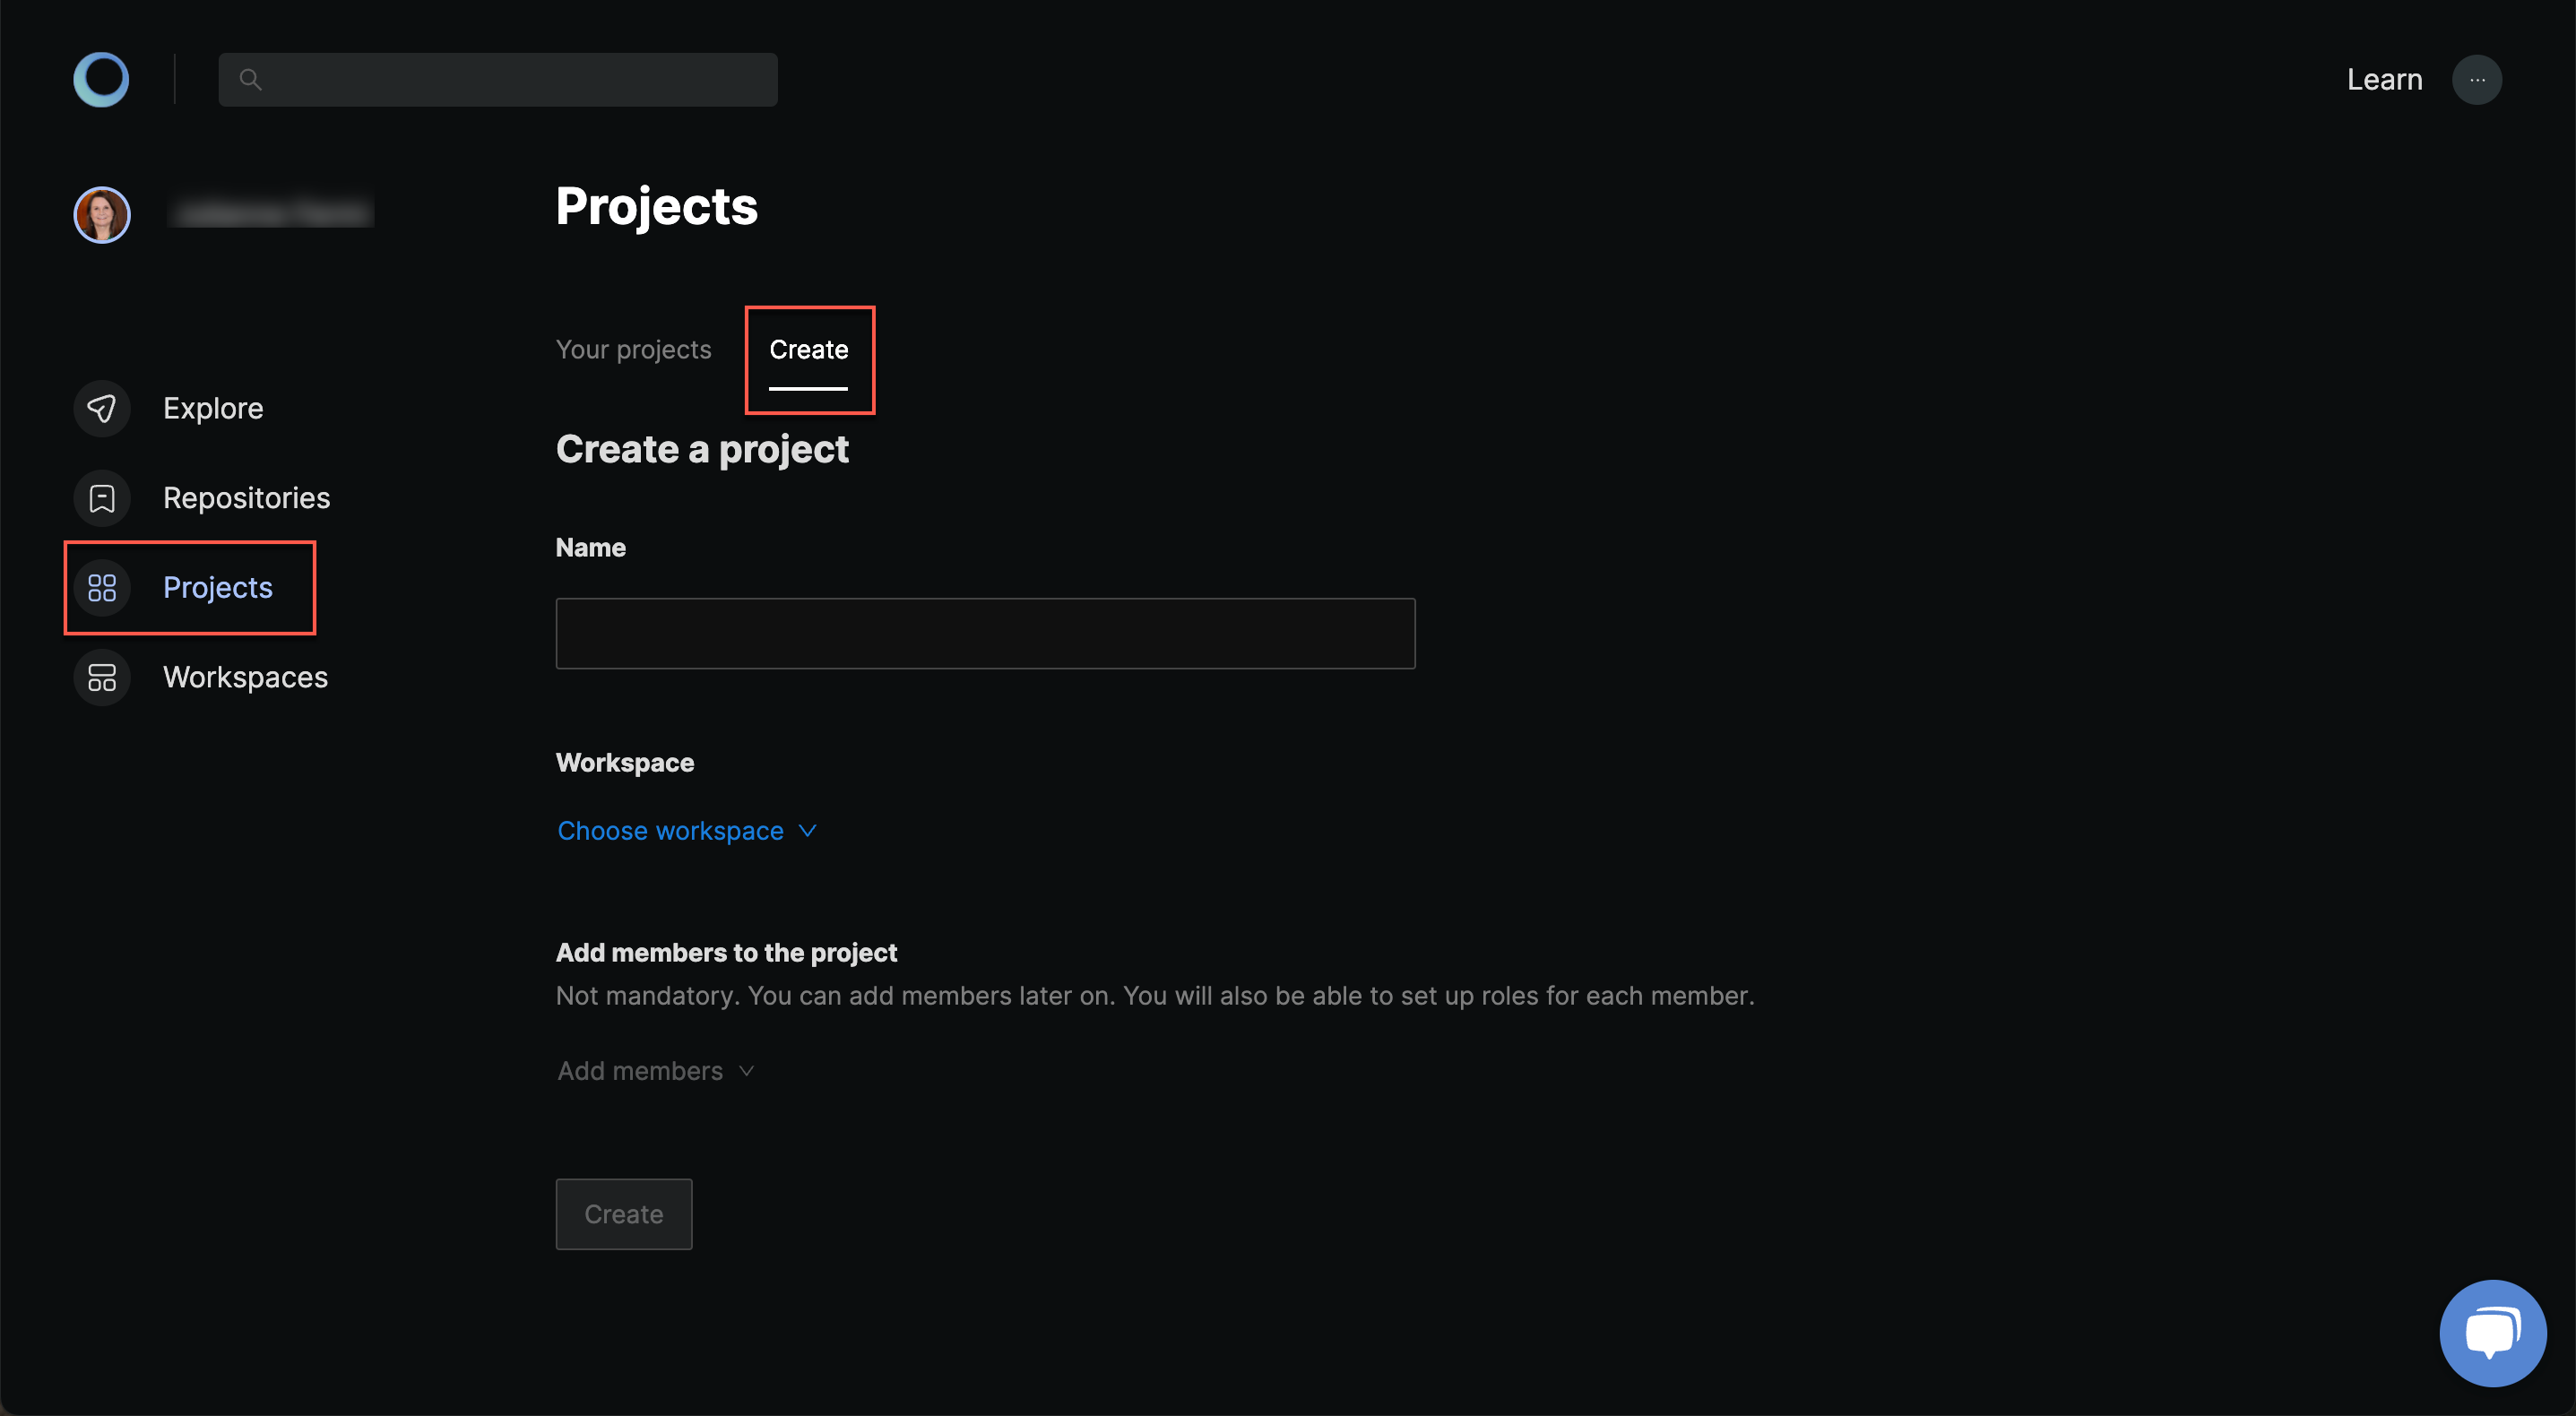
After that you can add your first repository or start inviting members who will be working on the project. Each project member can be assigned the role of admin, maintainer, developer or guest.
Manage Repositories
You will have to install the GitHub Application the first time you need to add a GitHub repository. Monokle takes security serious and only ask permissions to read and write to your source code and pull requests so that you can open it in the IDE. Once installed, simply select the repository and add it.
Other git integrations besides GitHub are coming soon.
Manage Members
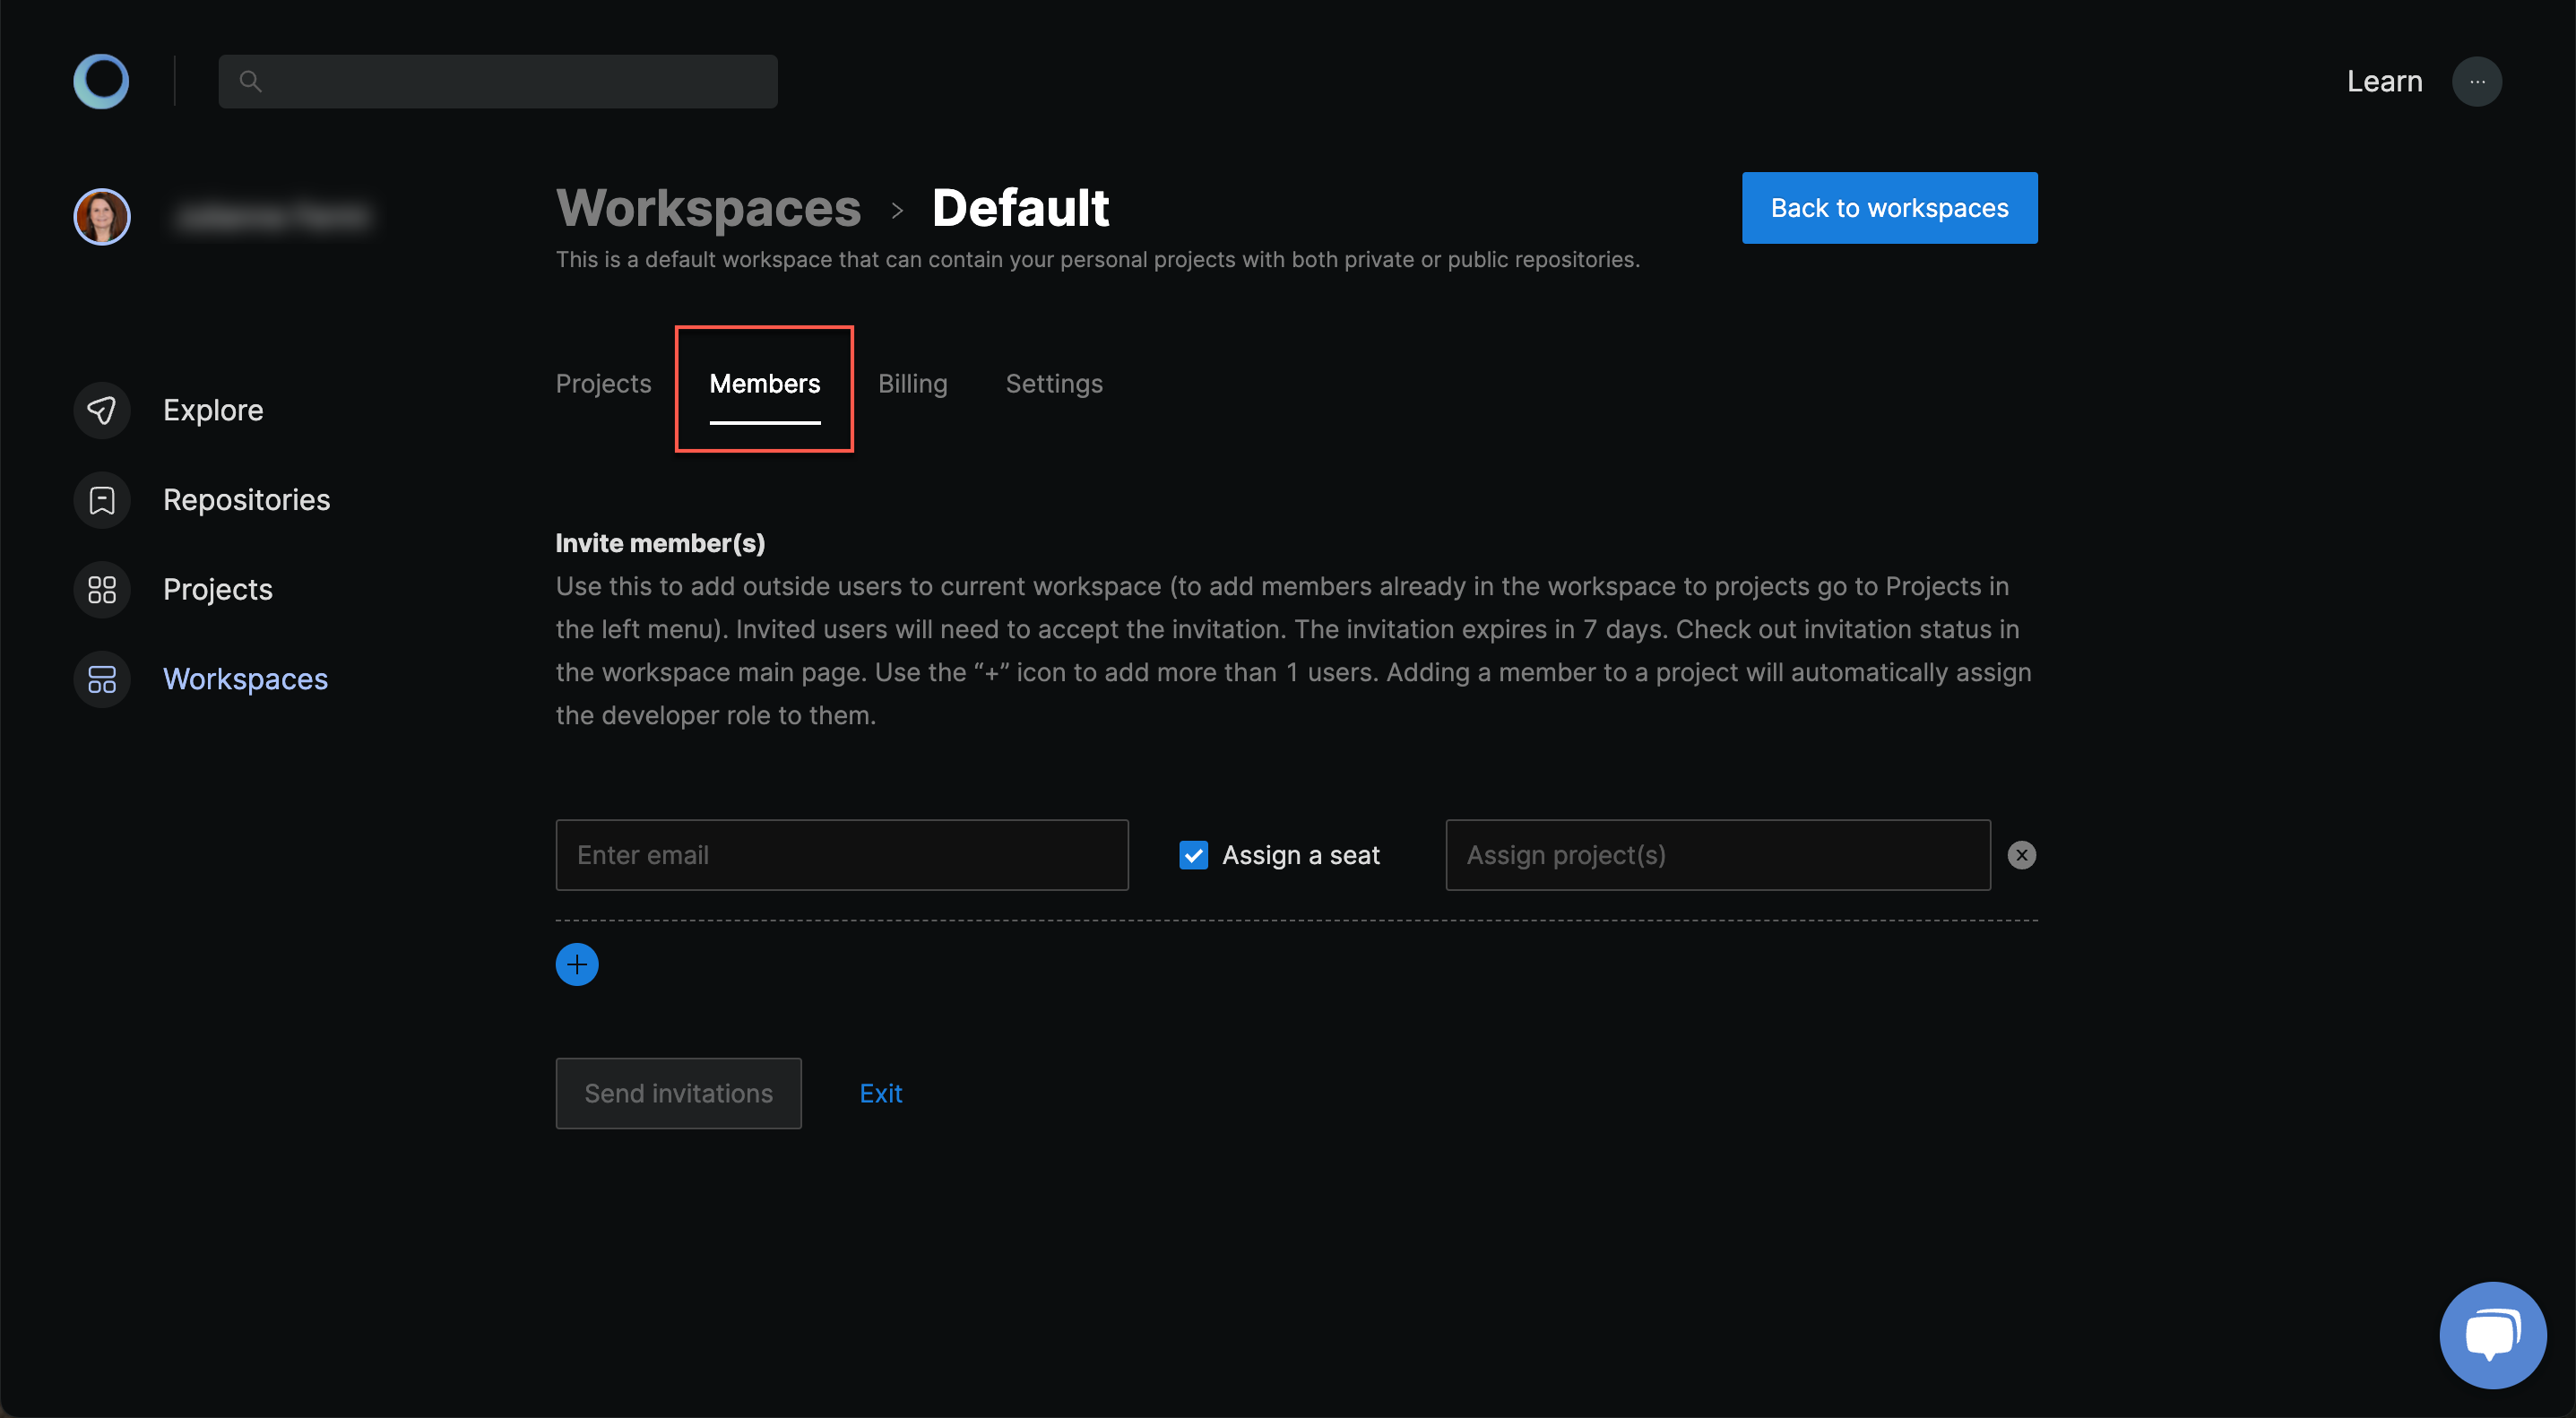
You can invite people in the Workspace > Members. The invitation will last for five days and can be revoked. Once the invitee accepts the e-mail's invitation, he can join the workspace with his GitHub account. Each workspace member can be assigned the role of owner, admin or member.
Advanced
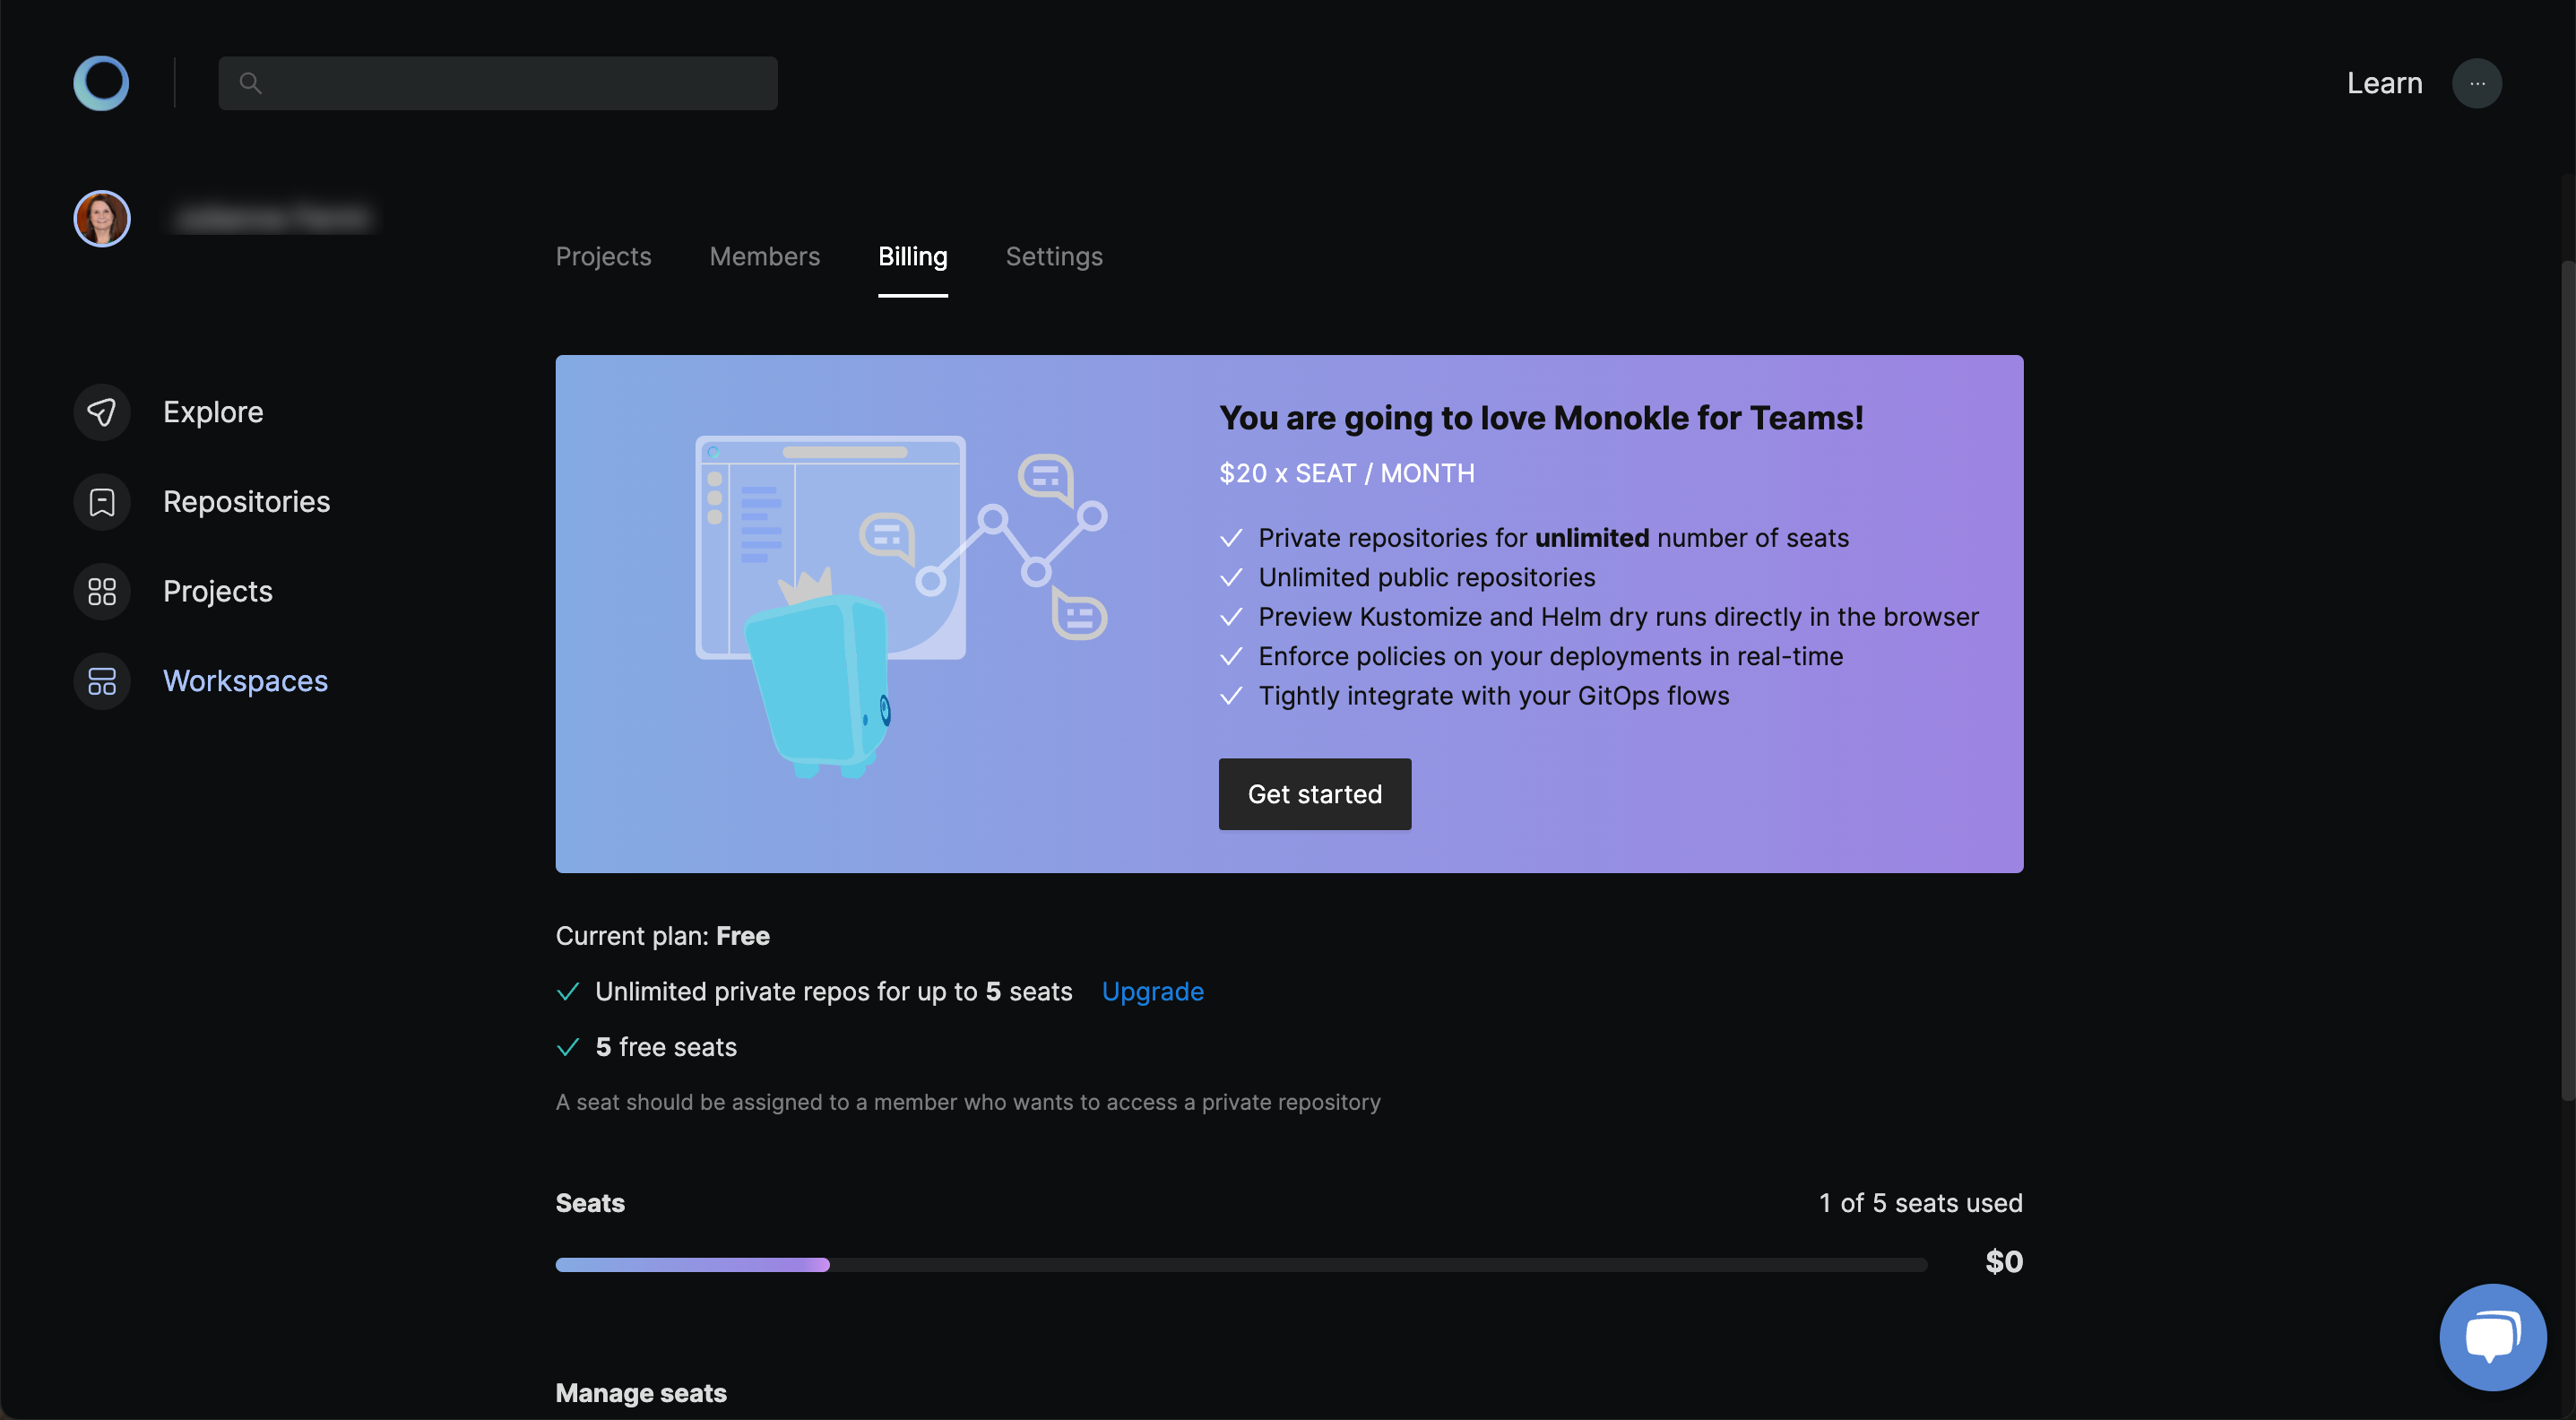
Billing & Seating
Monokle Cloud comes with five free seats. You need to assign a seat to members that need to access private repositories. If you only need to access public repositories, then you can simply send an invitation without a seat. For instance, the user can still manage policies but he will not be able to access the IDE of a private repository.
You can assign or buy seats in Workspace > Billing. Our payments go through Stripe and you can always add more seats later.
RBAC Permissions
The fine-grained RBAC system gives the following permissions:
Workspace Role
Members
- Can view workspace settings.
Admins
- All member permissions.
- Can update workspace settings.
- Can invite and remove members.
- Can assign and unassign seats.
- Can update member roles (up to admin).
- Can create projects.
Owners
- All admin permissions.
- Can update member role (up to admin).
- Can manage billing.
Project Role
Guests / Developers
- Can view project details.
- Can open IDE.
Maintainers
- All guest / developer permissions.
- Can manage policies.
- Can manage repositories.
- Can manage members.
- Can update member roles (up to maintainer).
- Can manage settings (e.g. GitHub Bot).
Admins
- All maintainer permissions.
- Can update member role (up to admin).
- Can delete projects.
Explore
You can explore any public repository without needing to install a GitHub application. The majority of tools have their Helm Charts set to public which makes this feature powerful to get a deeper understanding of what you will exactly deploy to your cluster and whether it is secure. You can also share the URL with anyone as it is not tied to a workspace (login is still required to prevent abuse).
You can also use the explore feature to try our demo.