Set Up Your Working Environment
Configure a Workspace, Add a Project & Collaborate with Your Team
In this tutorial, you will set up your working environment in Monokle Cloud by creating a workspace, adding a project, configuring your repository, and adding team members, granting them access to repositories for collaboration purposes.
Prerequisites:
A Monokle Cloud Account configured with a GitHub Repo.
1. Create a Workspace
Workspaces are logical groupings of projects. It is where you will work on projects with your team.
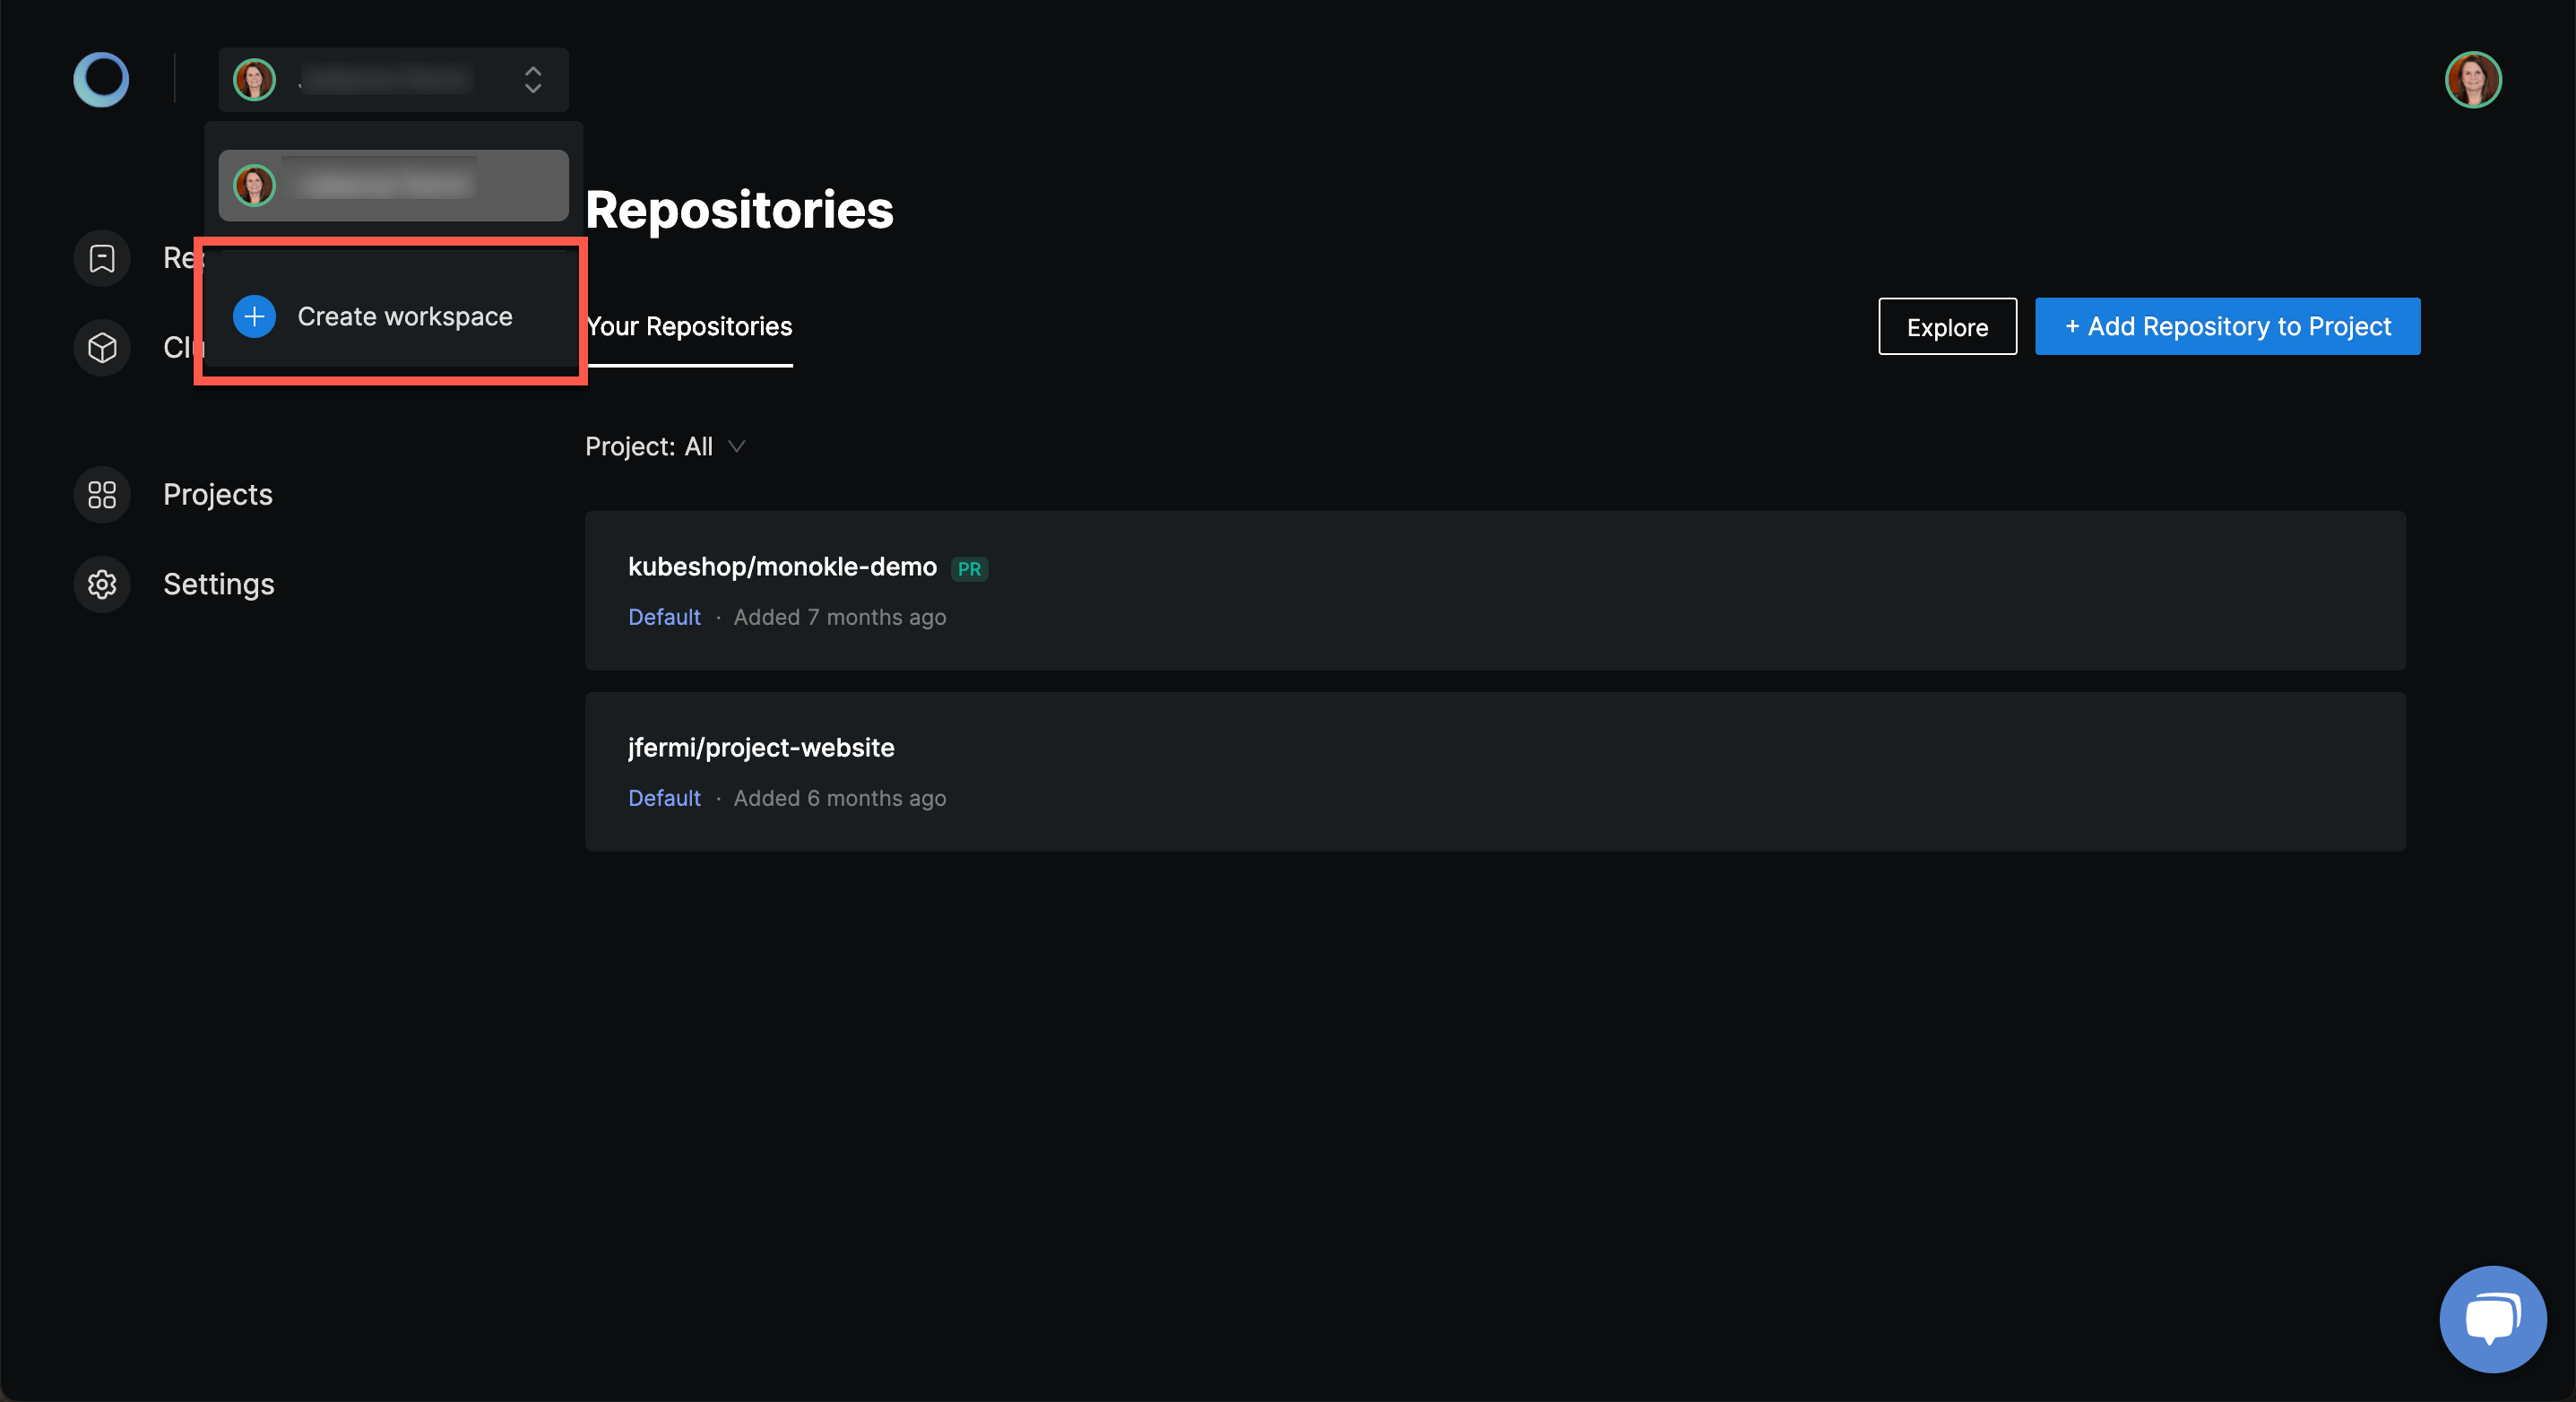
Login to Monokle Cloud with your GitHub account credentials and click on Workspaces in the toolbar. In the Workspaces section, you will find a preconfigured Default workspace to help you get started.
Click on Create to get started with creating a new workspace.
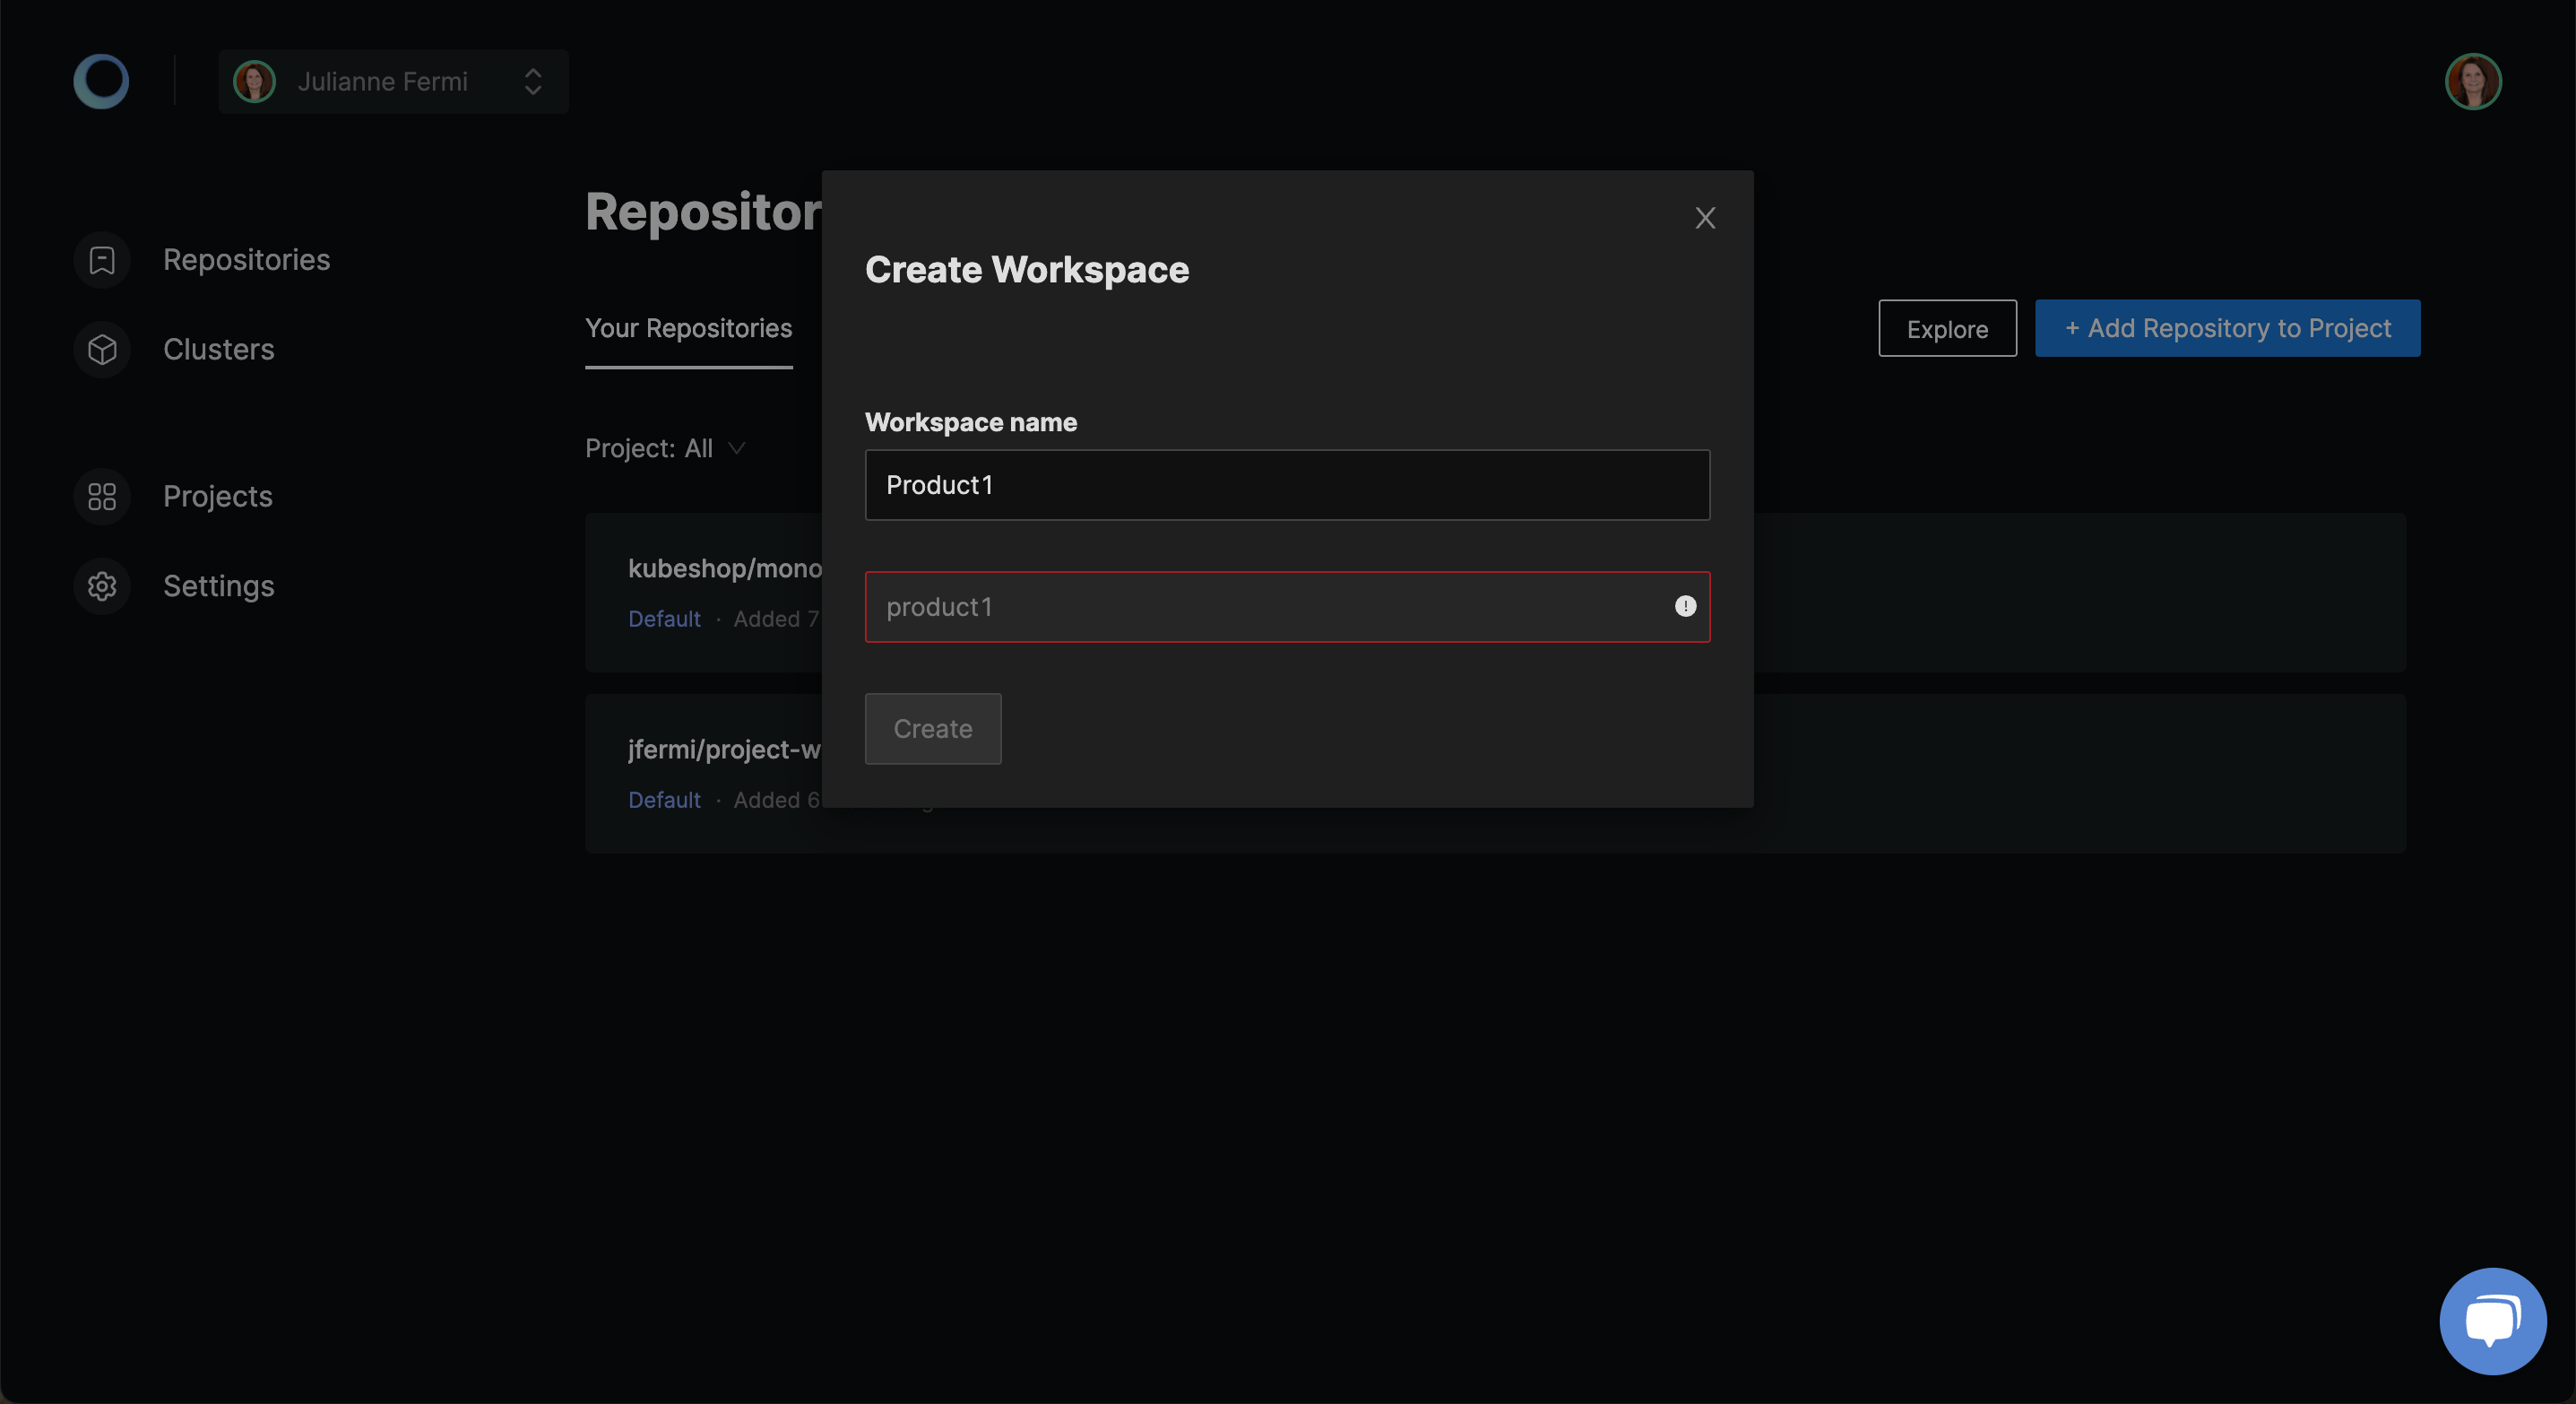
Enter the Workspace name based on your preference for the workspace and click on Create.
Monokle shows a notification on the successful creation of a workspace and loads the created workspace for the next course of action which is adding the repository to a project.
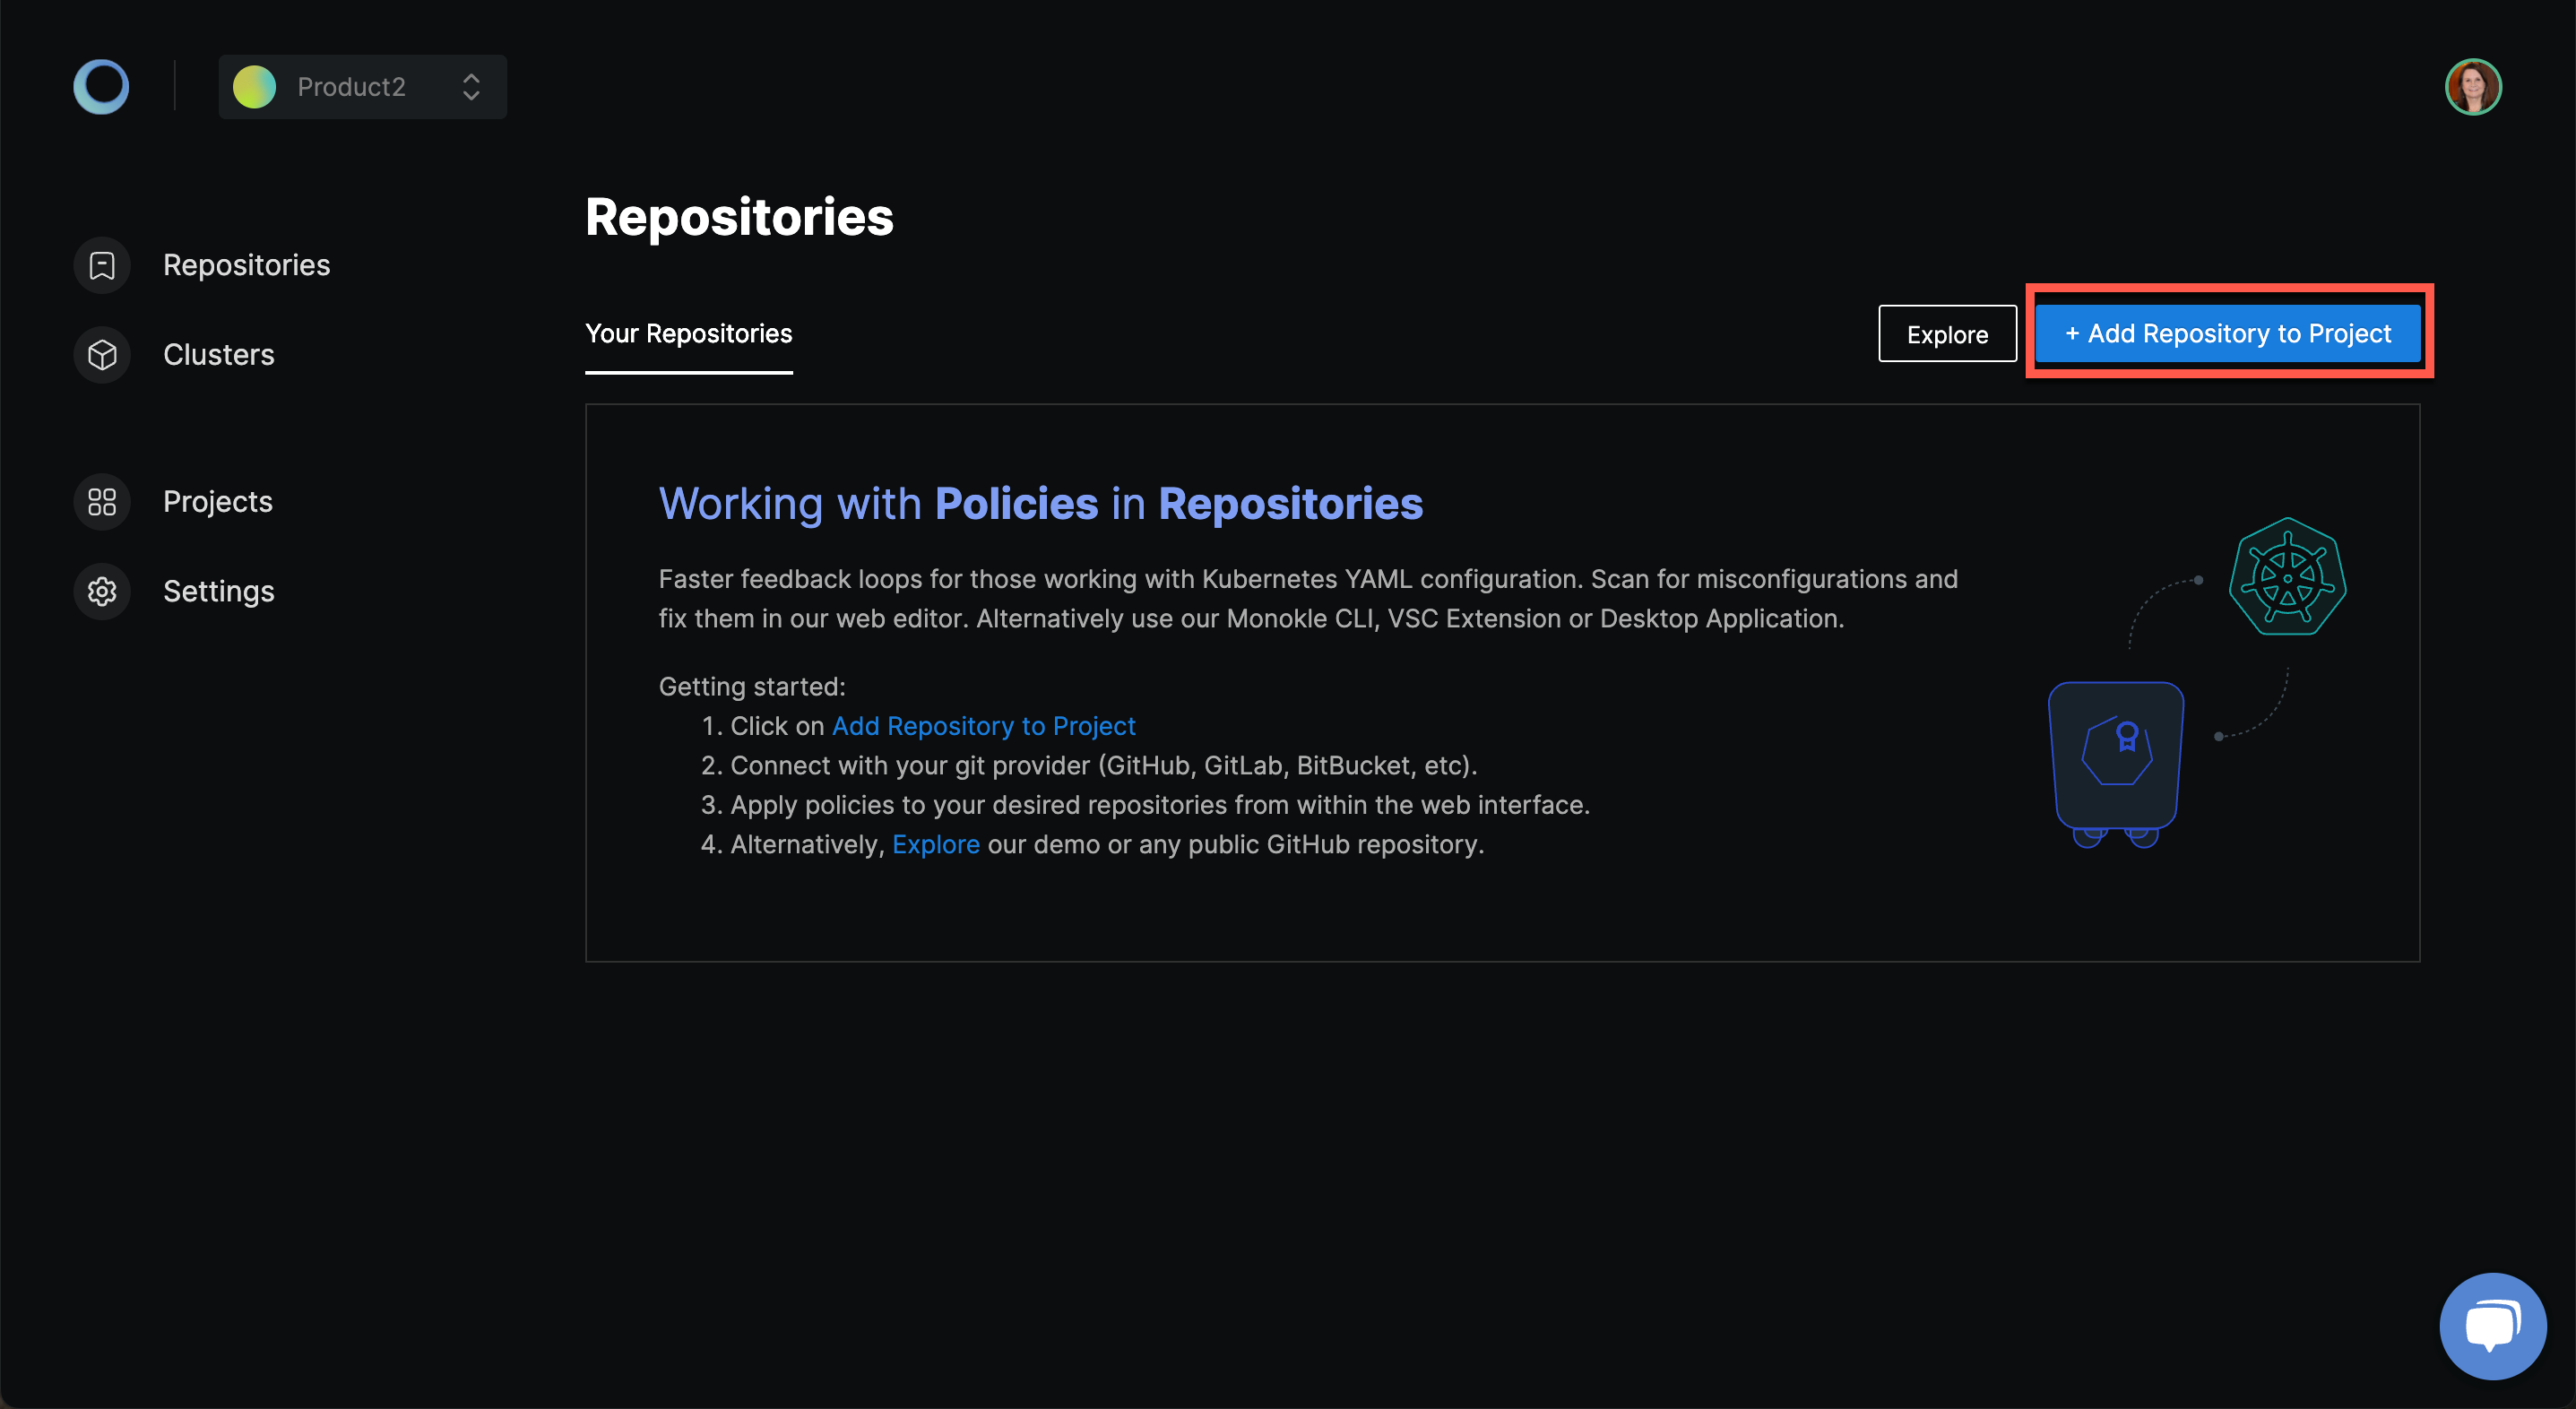
In the workspace Product 2, the menu bar has the following four options:
- Repositories: To manage repositories.
- Clusters: To manage clusters.
- Projects: To manage projects.
- Settings: To update workspace-related configuration.
To configure a repository, you need to first create a project. Let's do that next.
2. Add a New Project
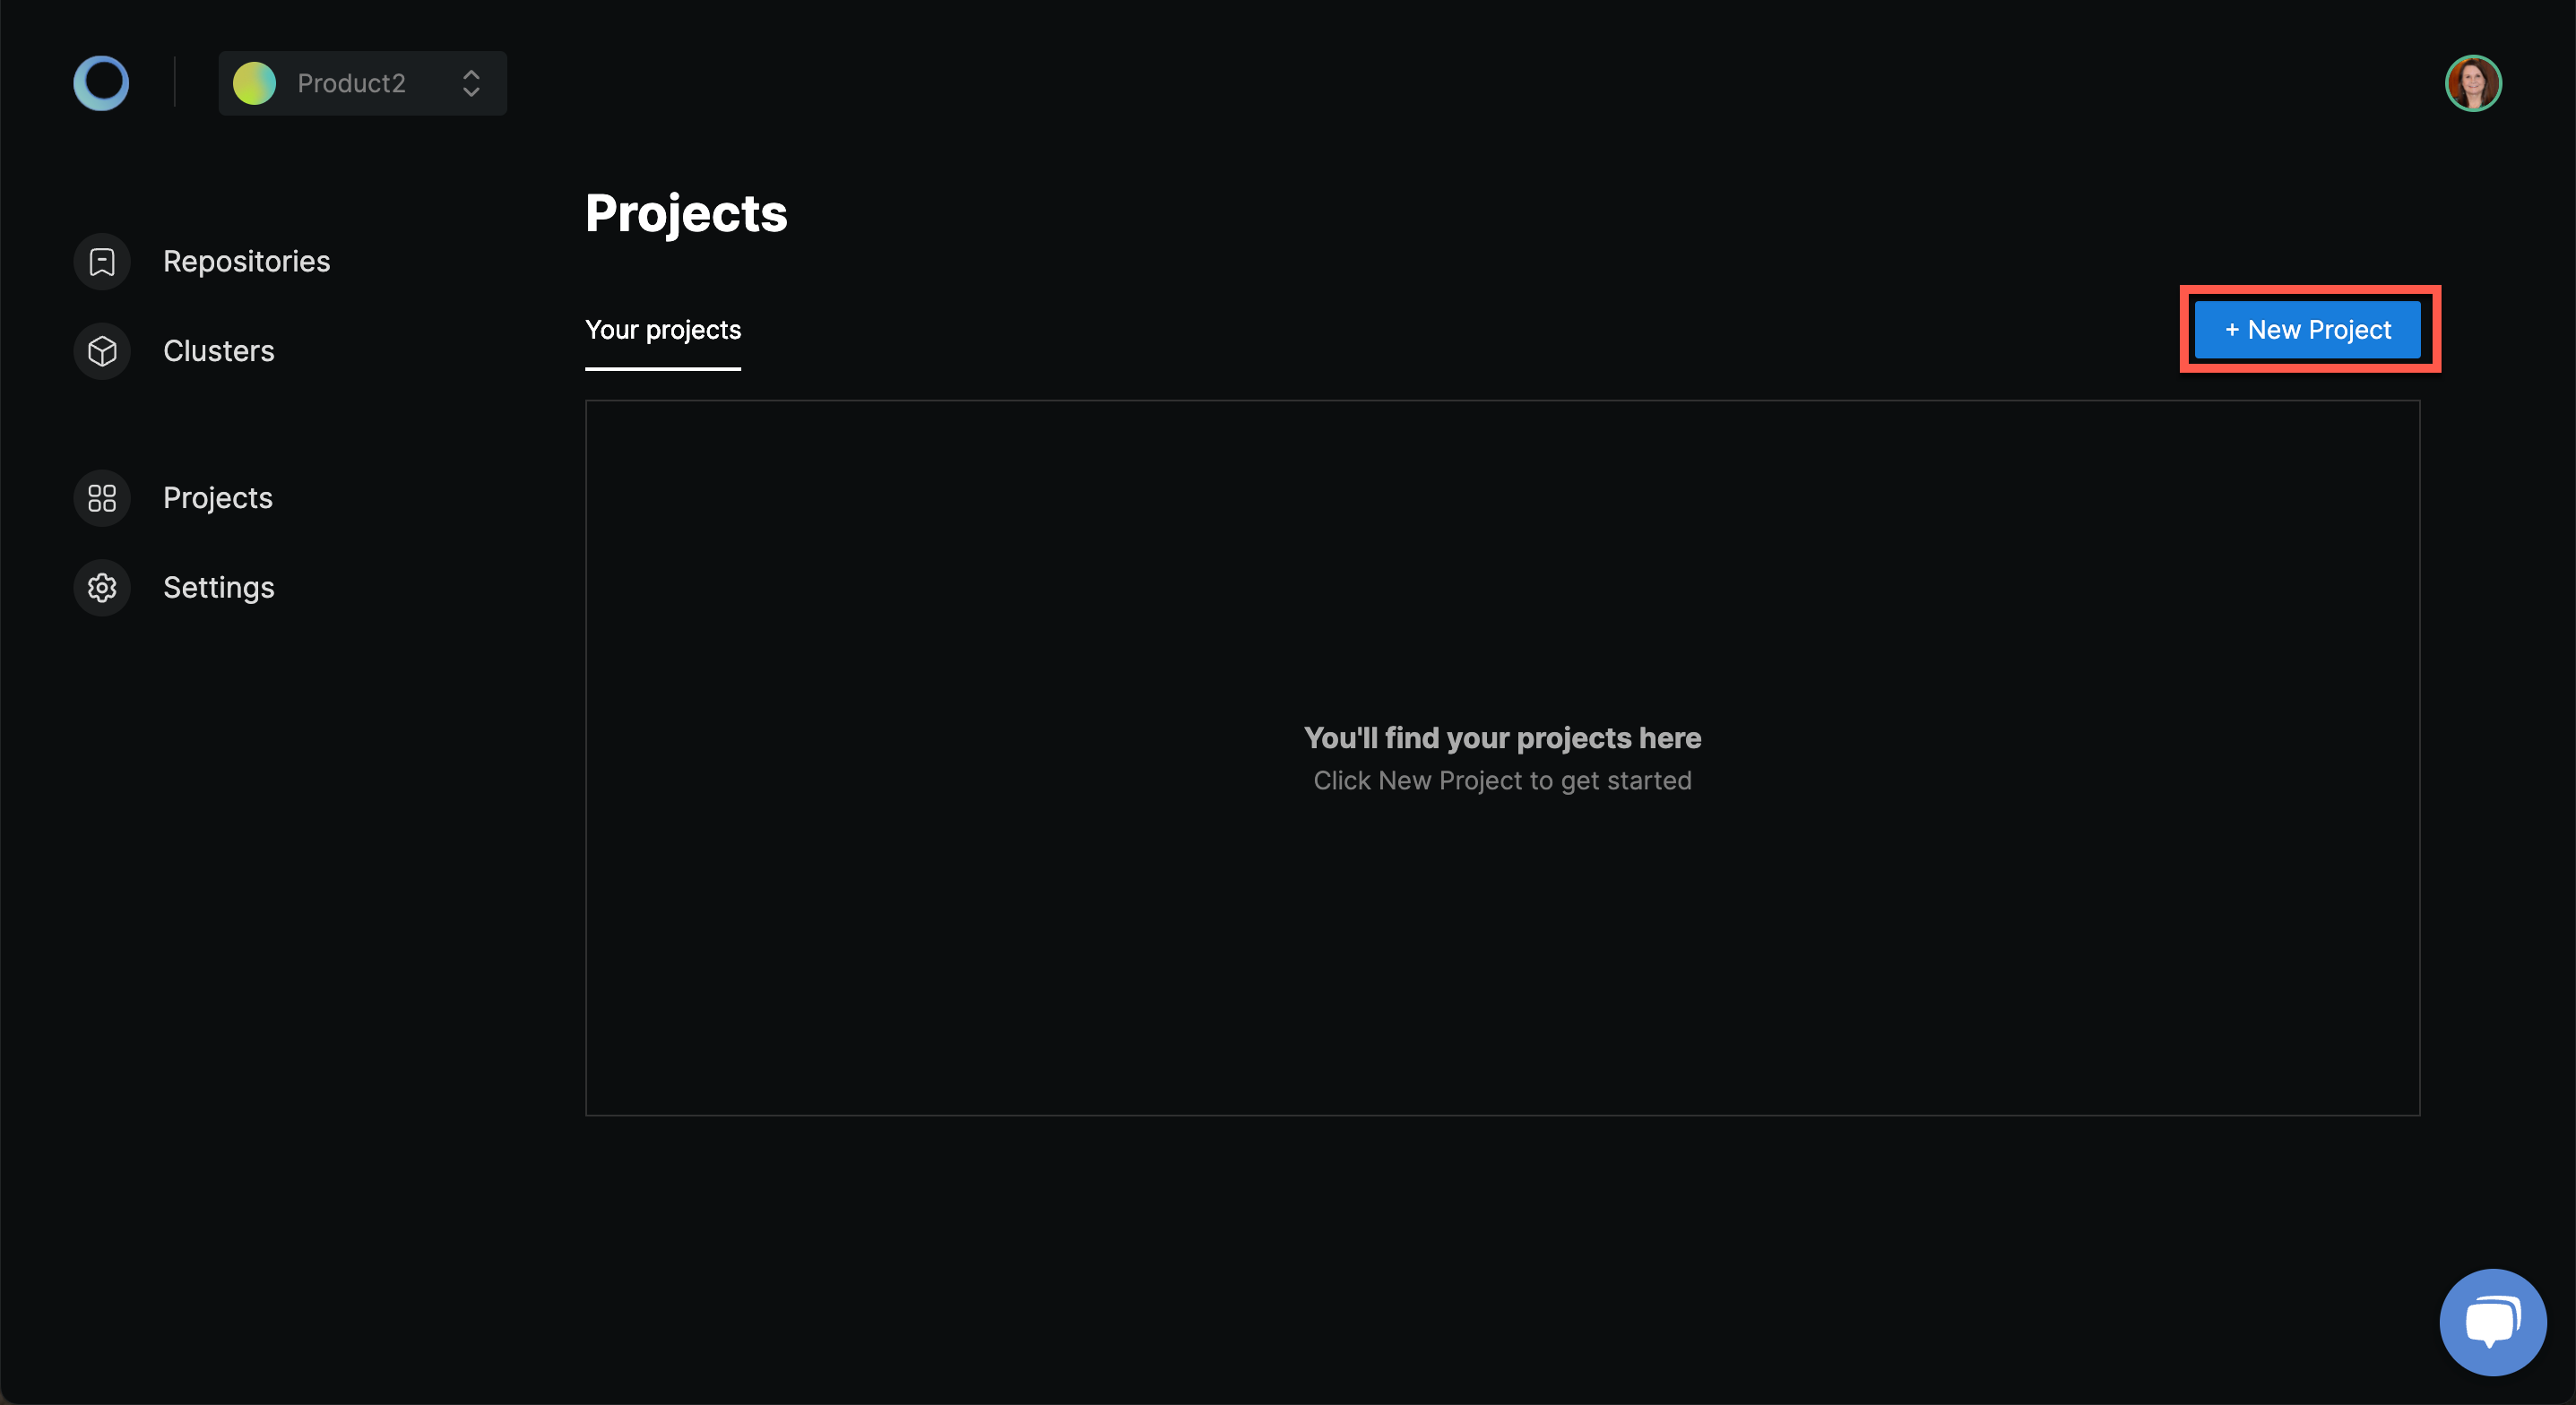
The project helps you better align a workspace. Each workspace can have multiple projects. Click on New project to get started with creating a project in the workspace Product 2.
Enter the Project name and click on Create. You will see how to add team members later in this tutorial.
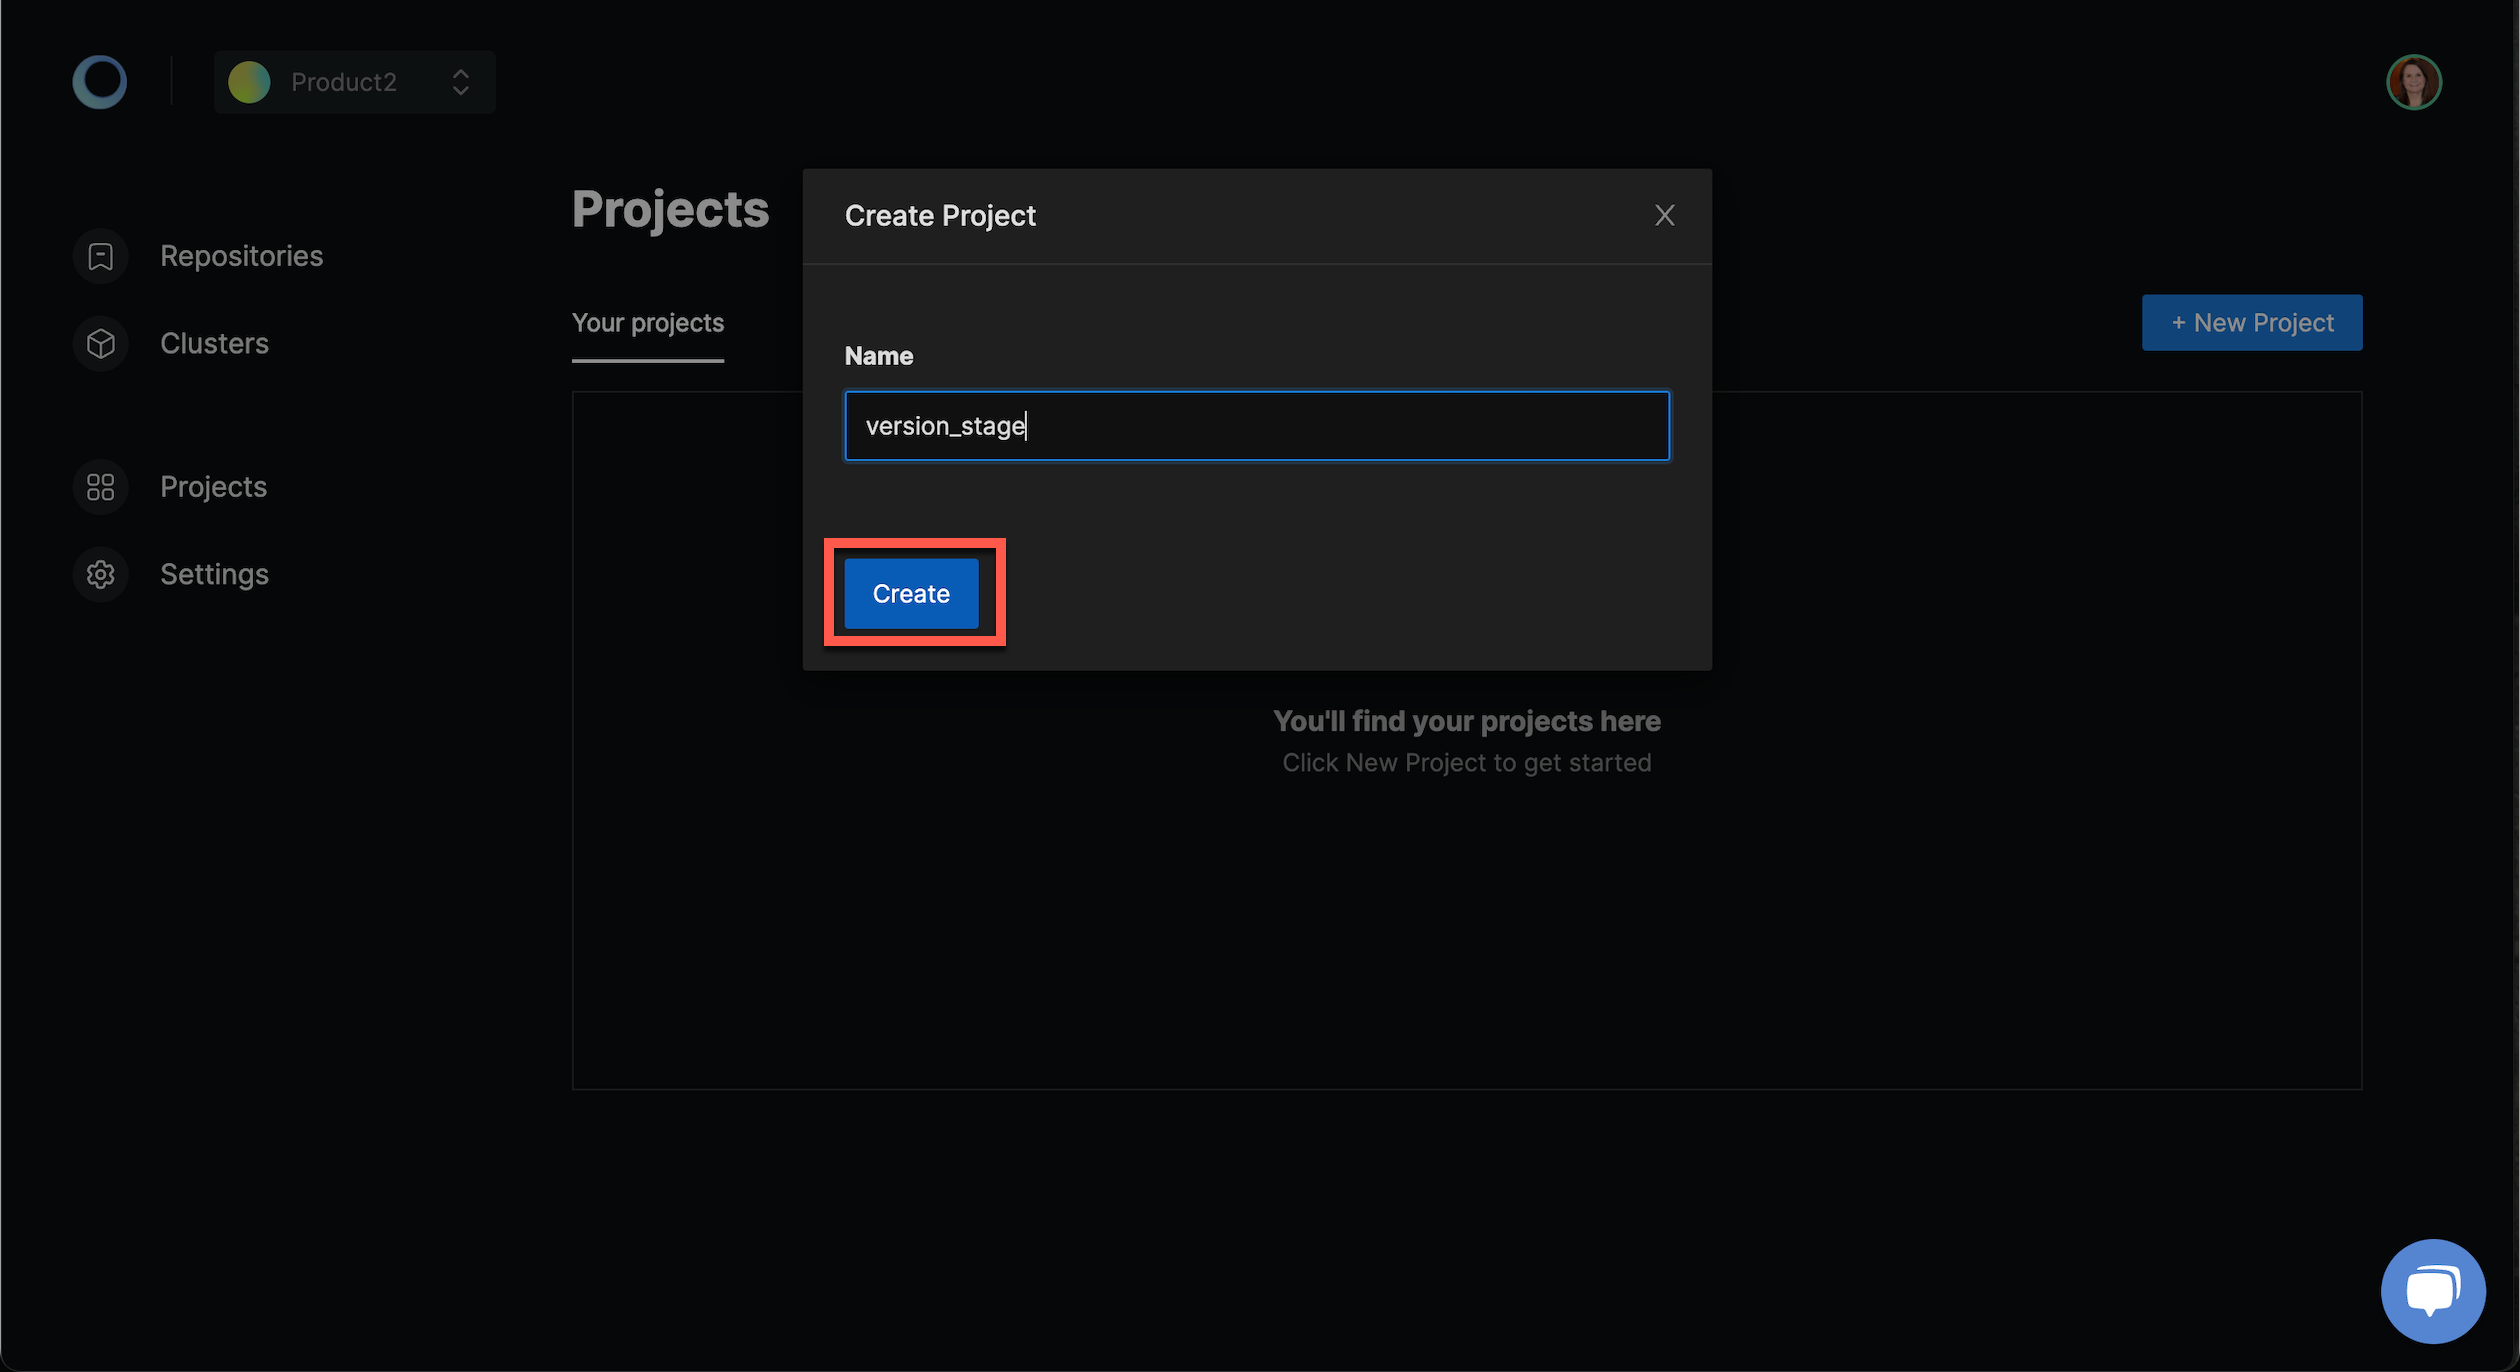
Monokle shows the notification Success on the project's creation and loads the dashboard with options to manage the project.
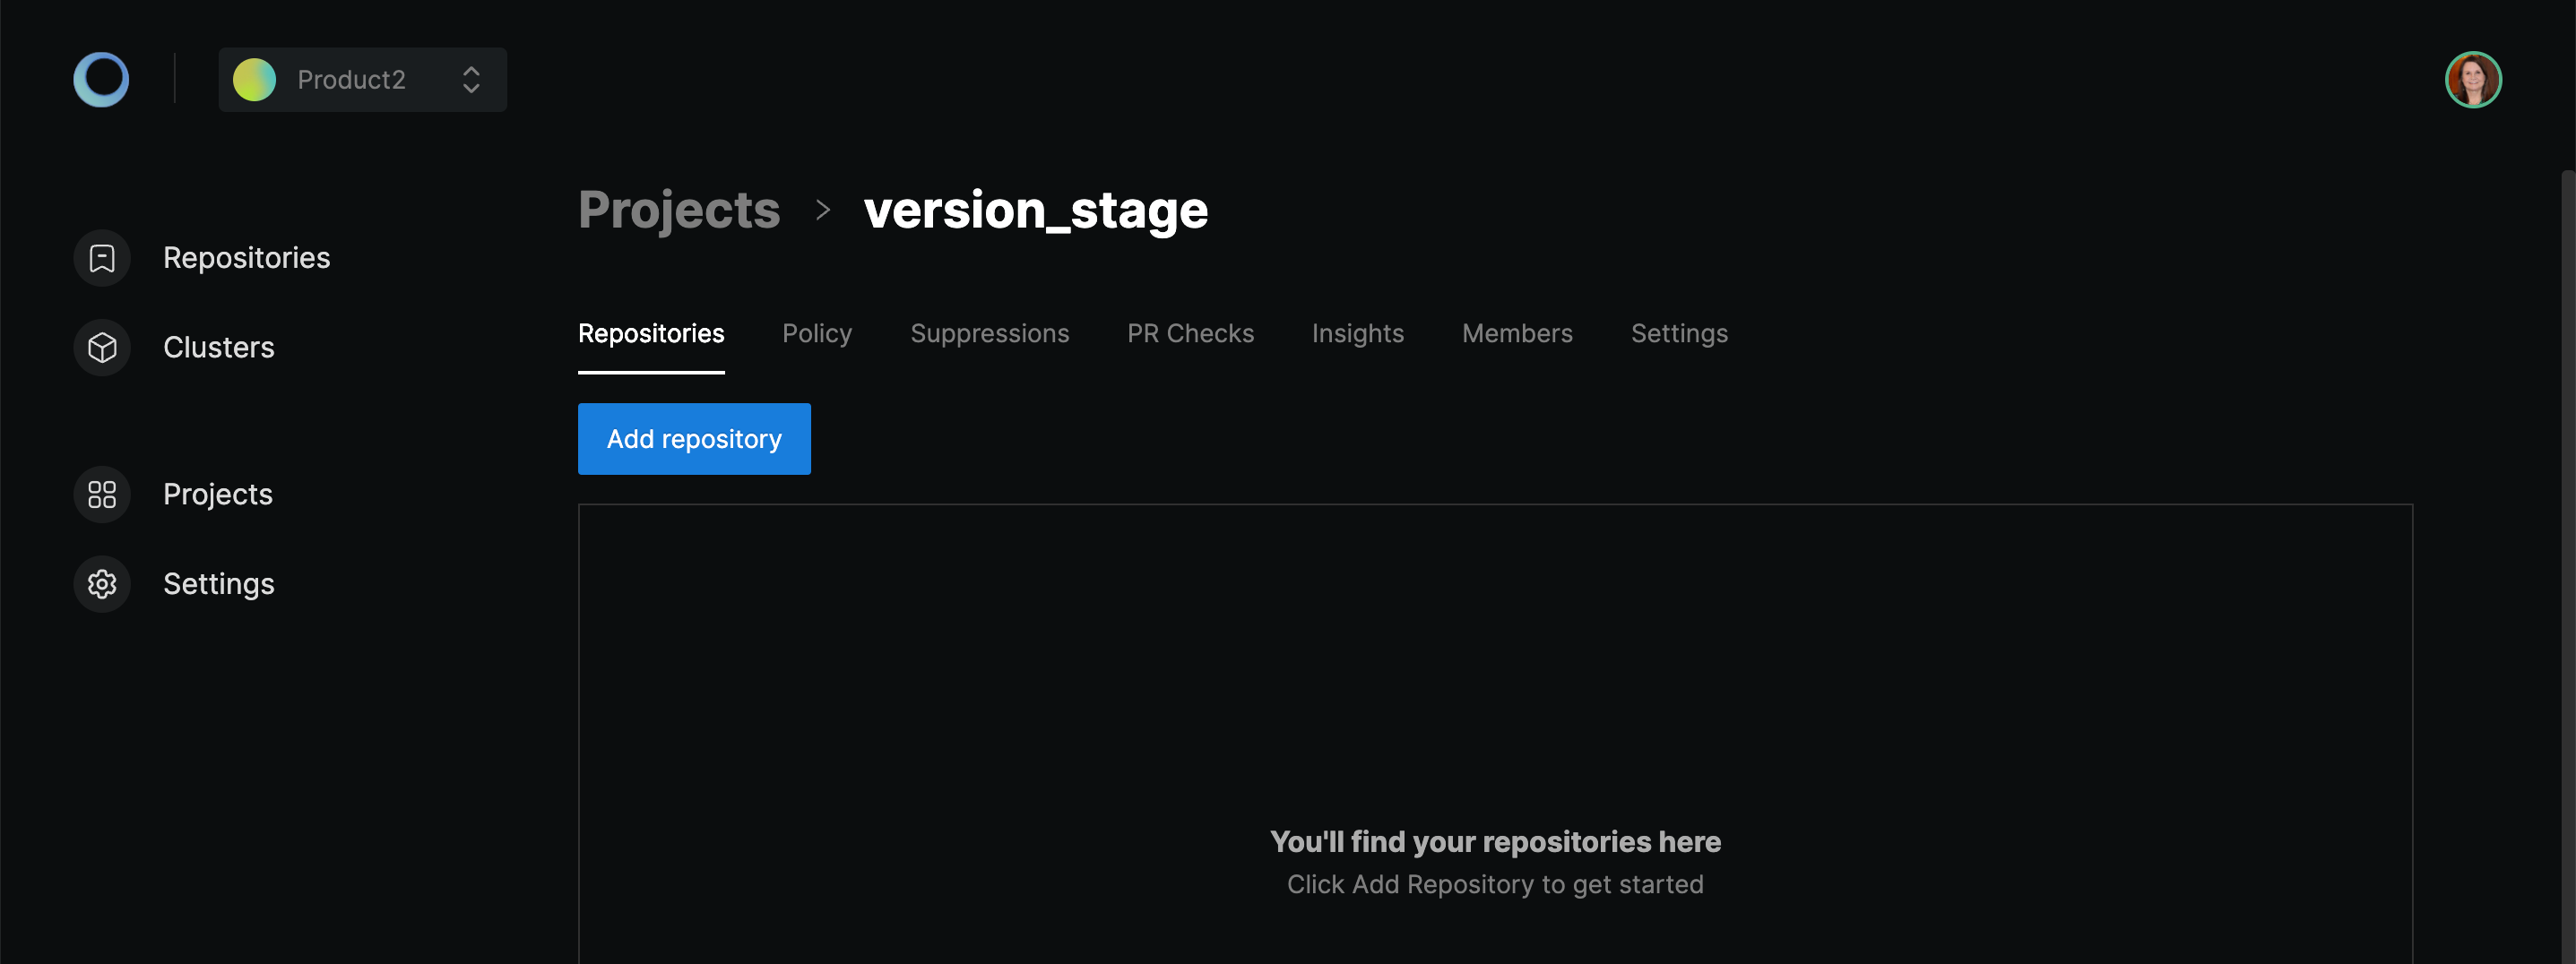
In the above screenshot, you can see the following options:
- Repositories: To create, read, update, and delete repositories in the project.
- Policy: To manage validation policies in the project.
- Suppressions: To manage all Suppressions in your project repositories from one place.
- PR Checks: To automate validating YAML configurations in your GitHub Pull Requests.
- Insights: To spot trends and progress in reducing misconfigurations across all your repositories.
- Members: To create, read, update, and delete members in the project.
- Settings: Project name and project slug.
Now that the project is created, the next step is to configure the repository.
3. Configure a Repository
A project can have multiple repositories configured. Click on Add repository to get started adding a repository to the project.
Select the GitHub account and the repository you want to add to the project.
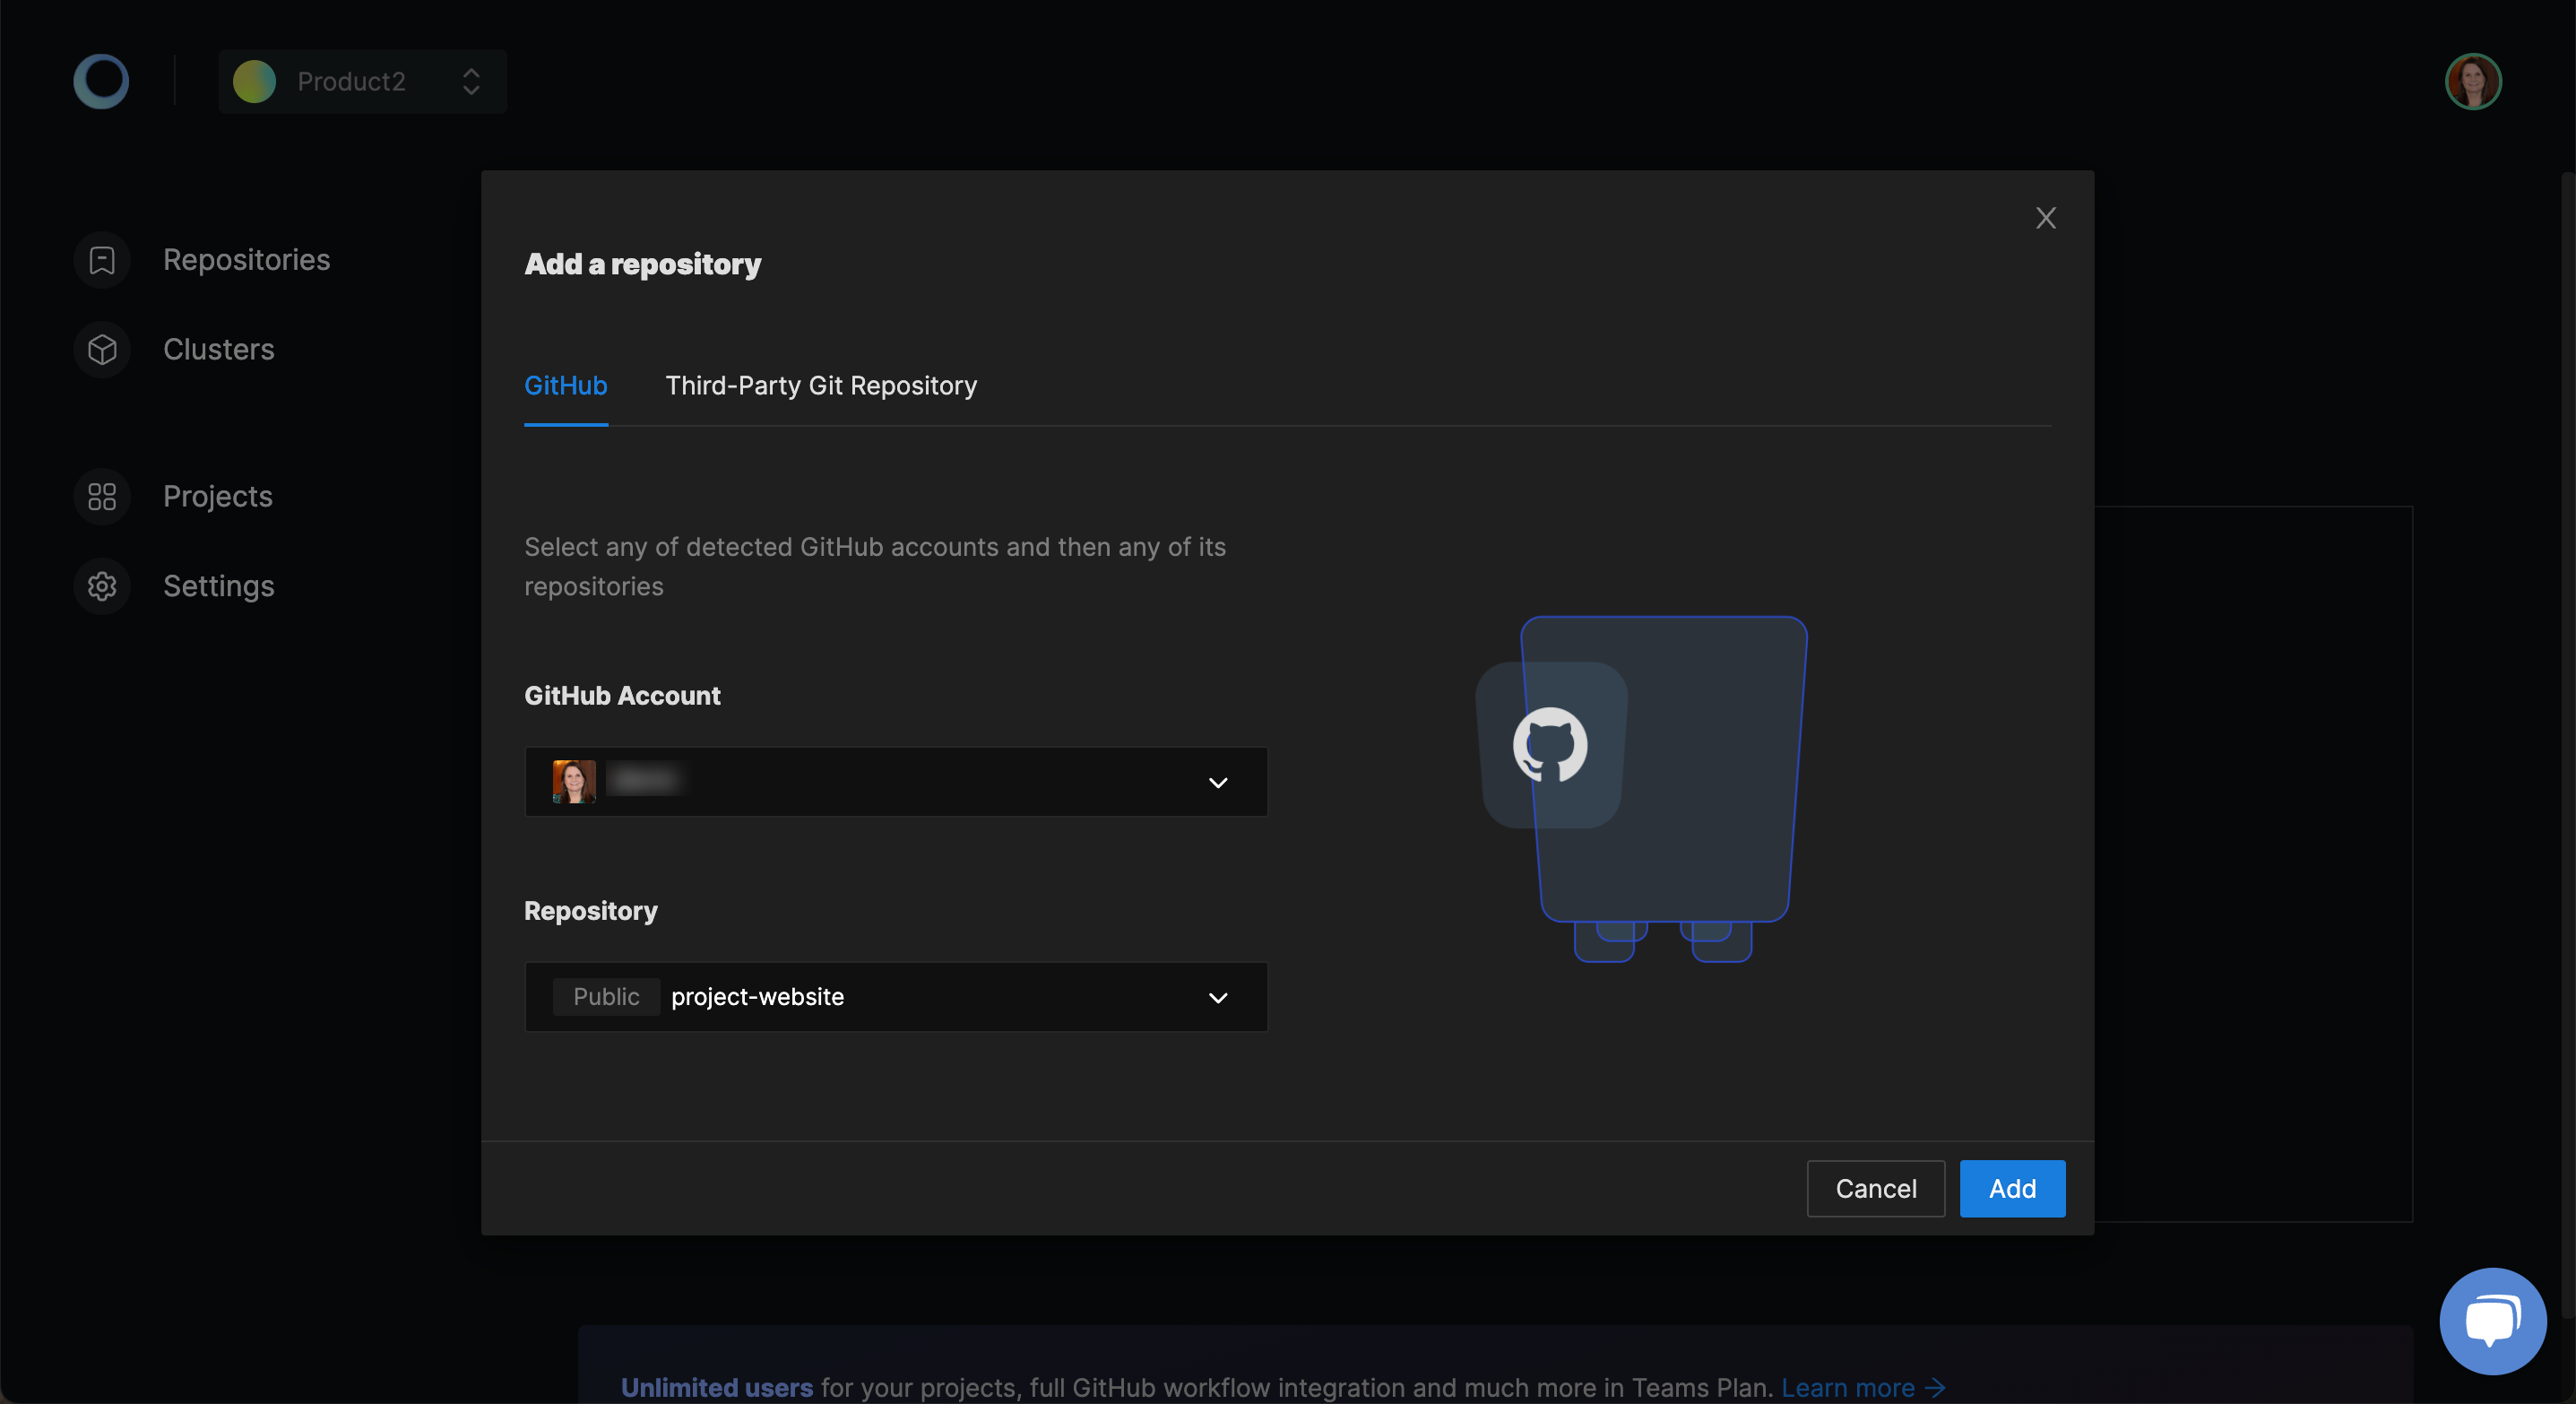
If the repository is not showing in the Select a repository dropdown then you can click on Missing a repo? Configure Monokle on GitHub.
Click on Add repository to add the repository.
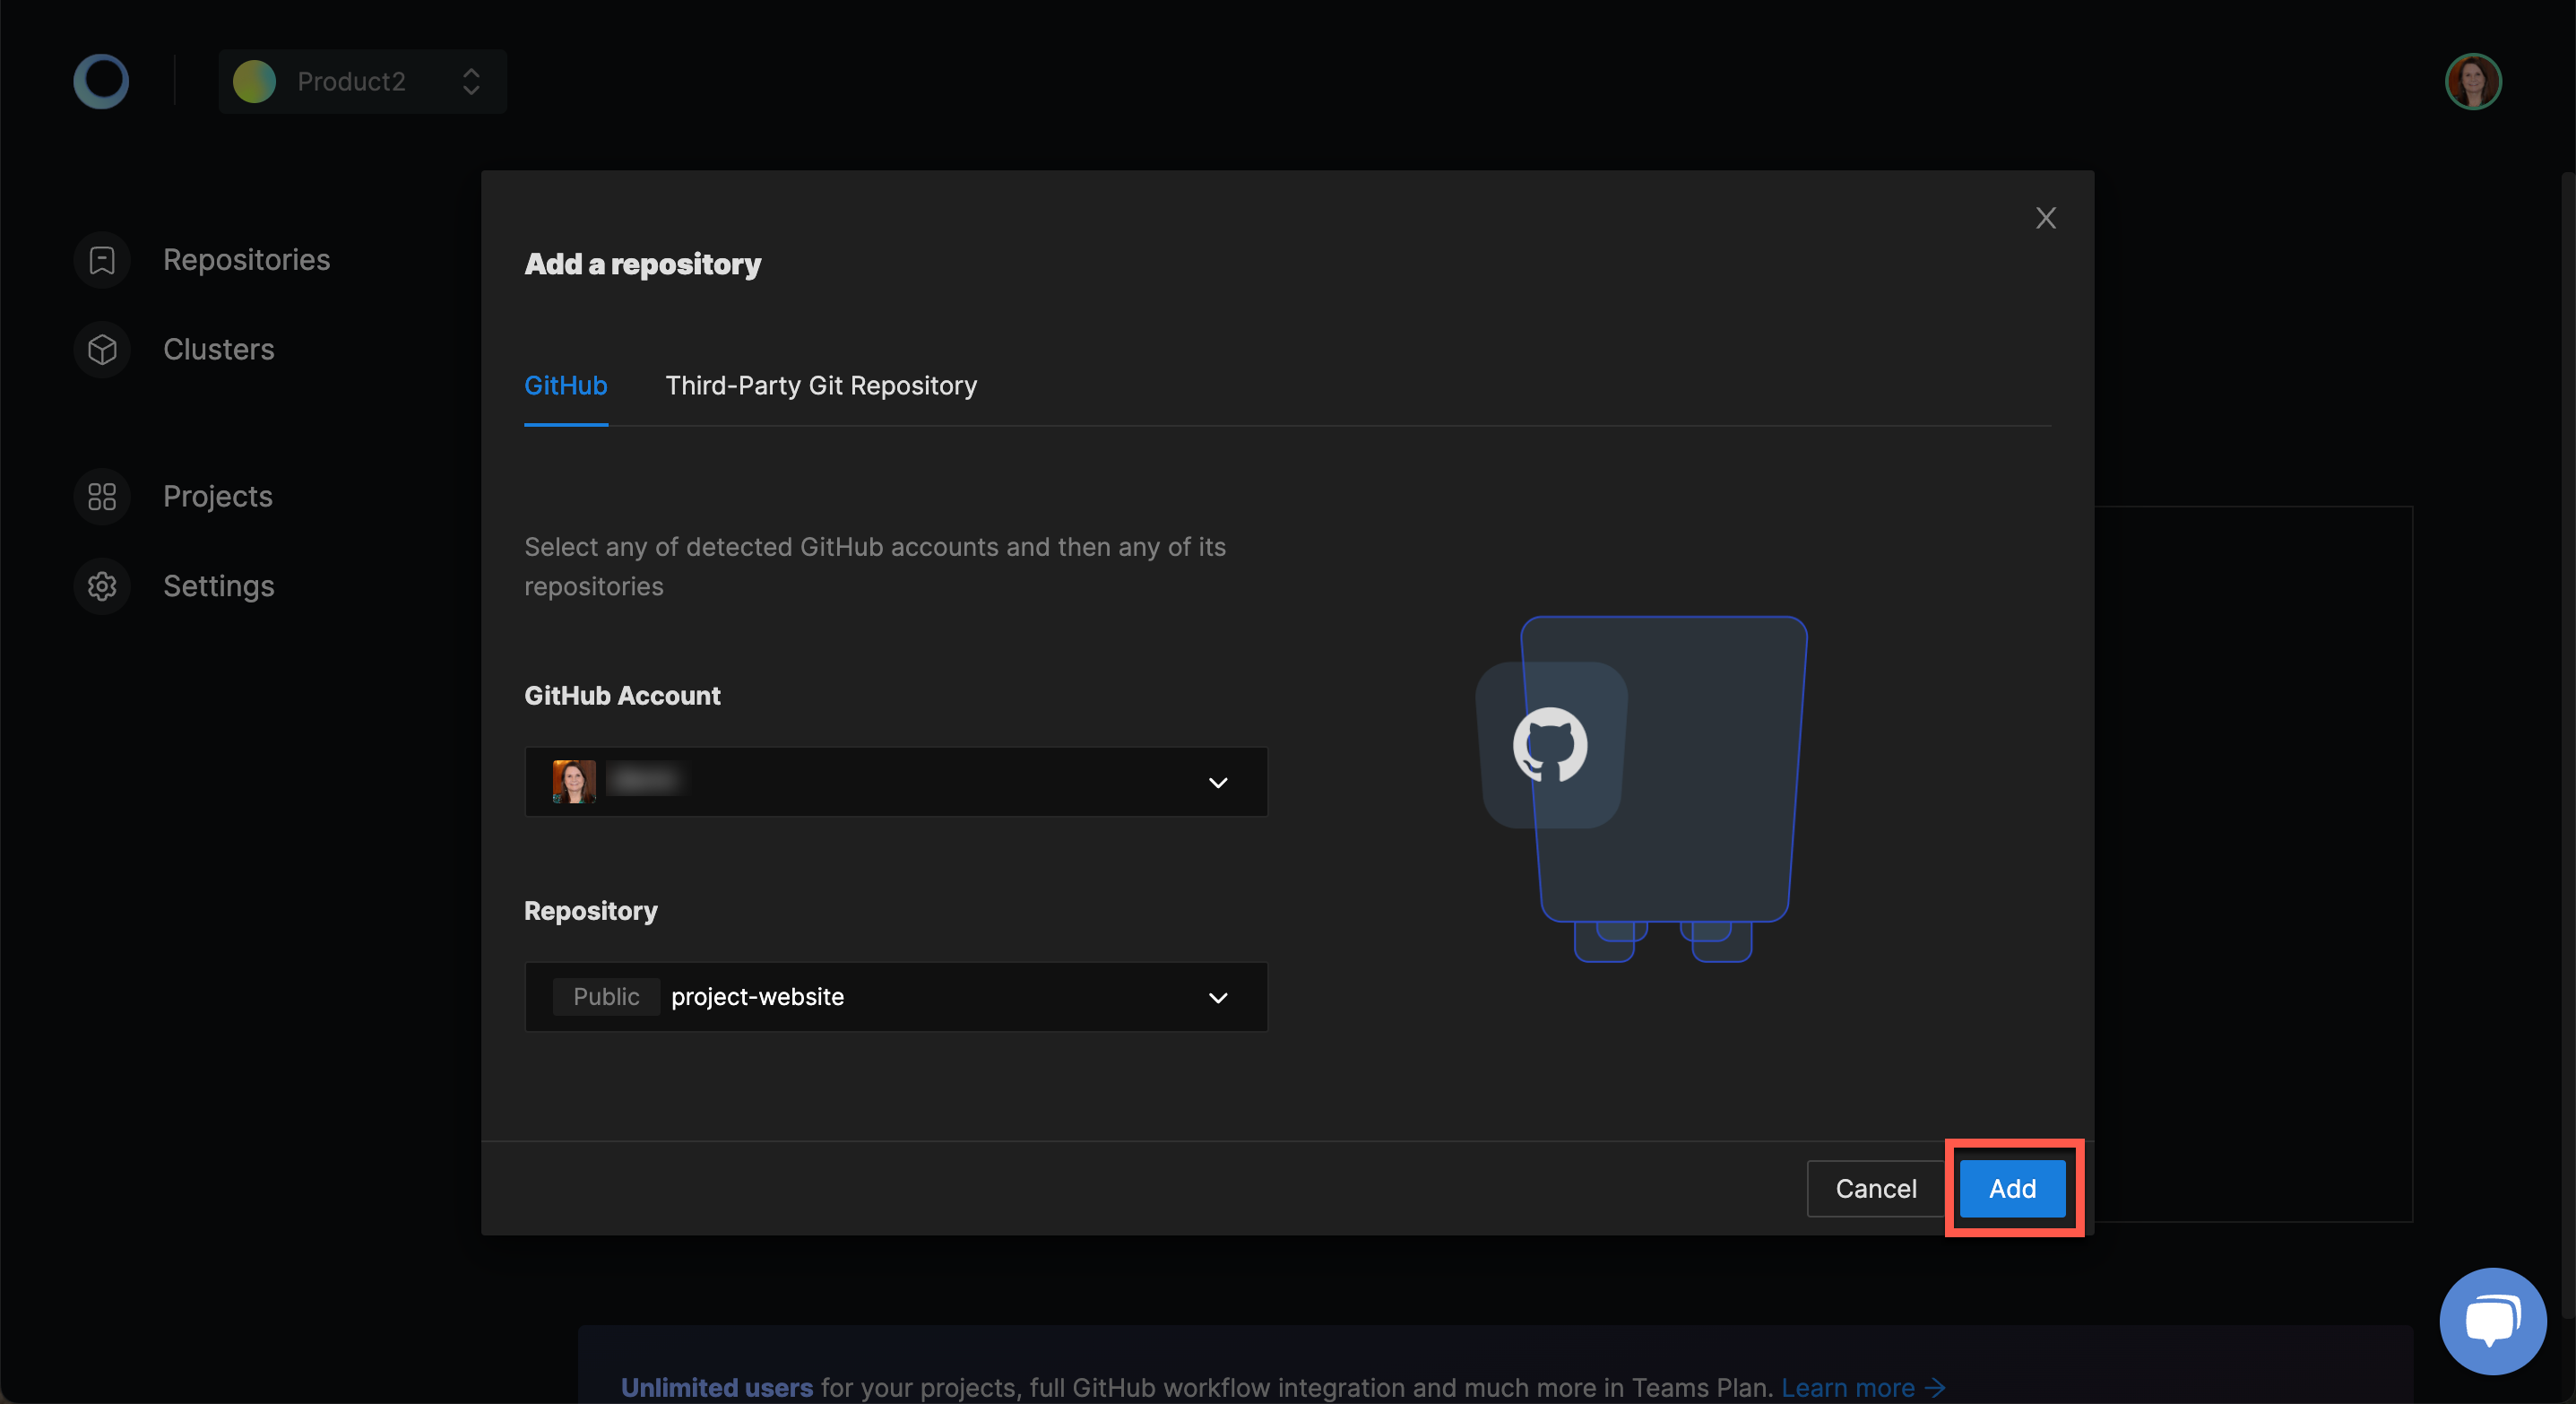
Monokle loads the project dashboard with the repository added.
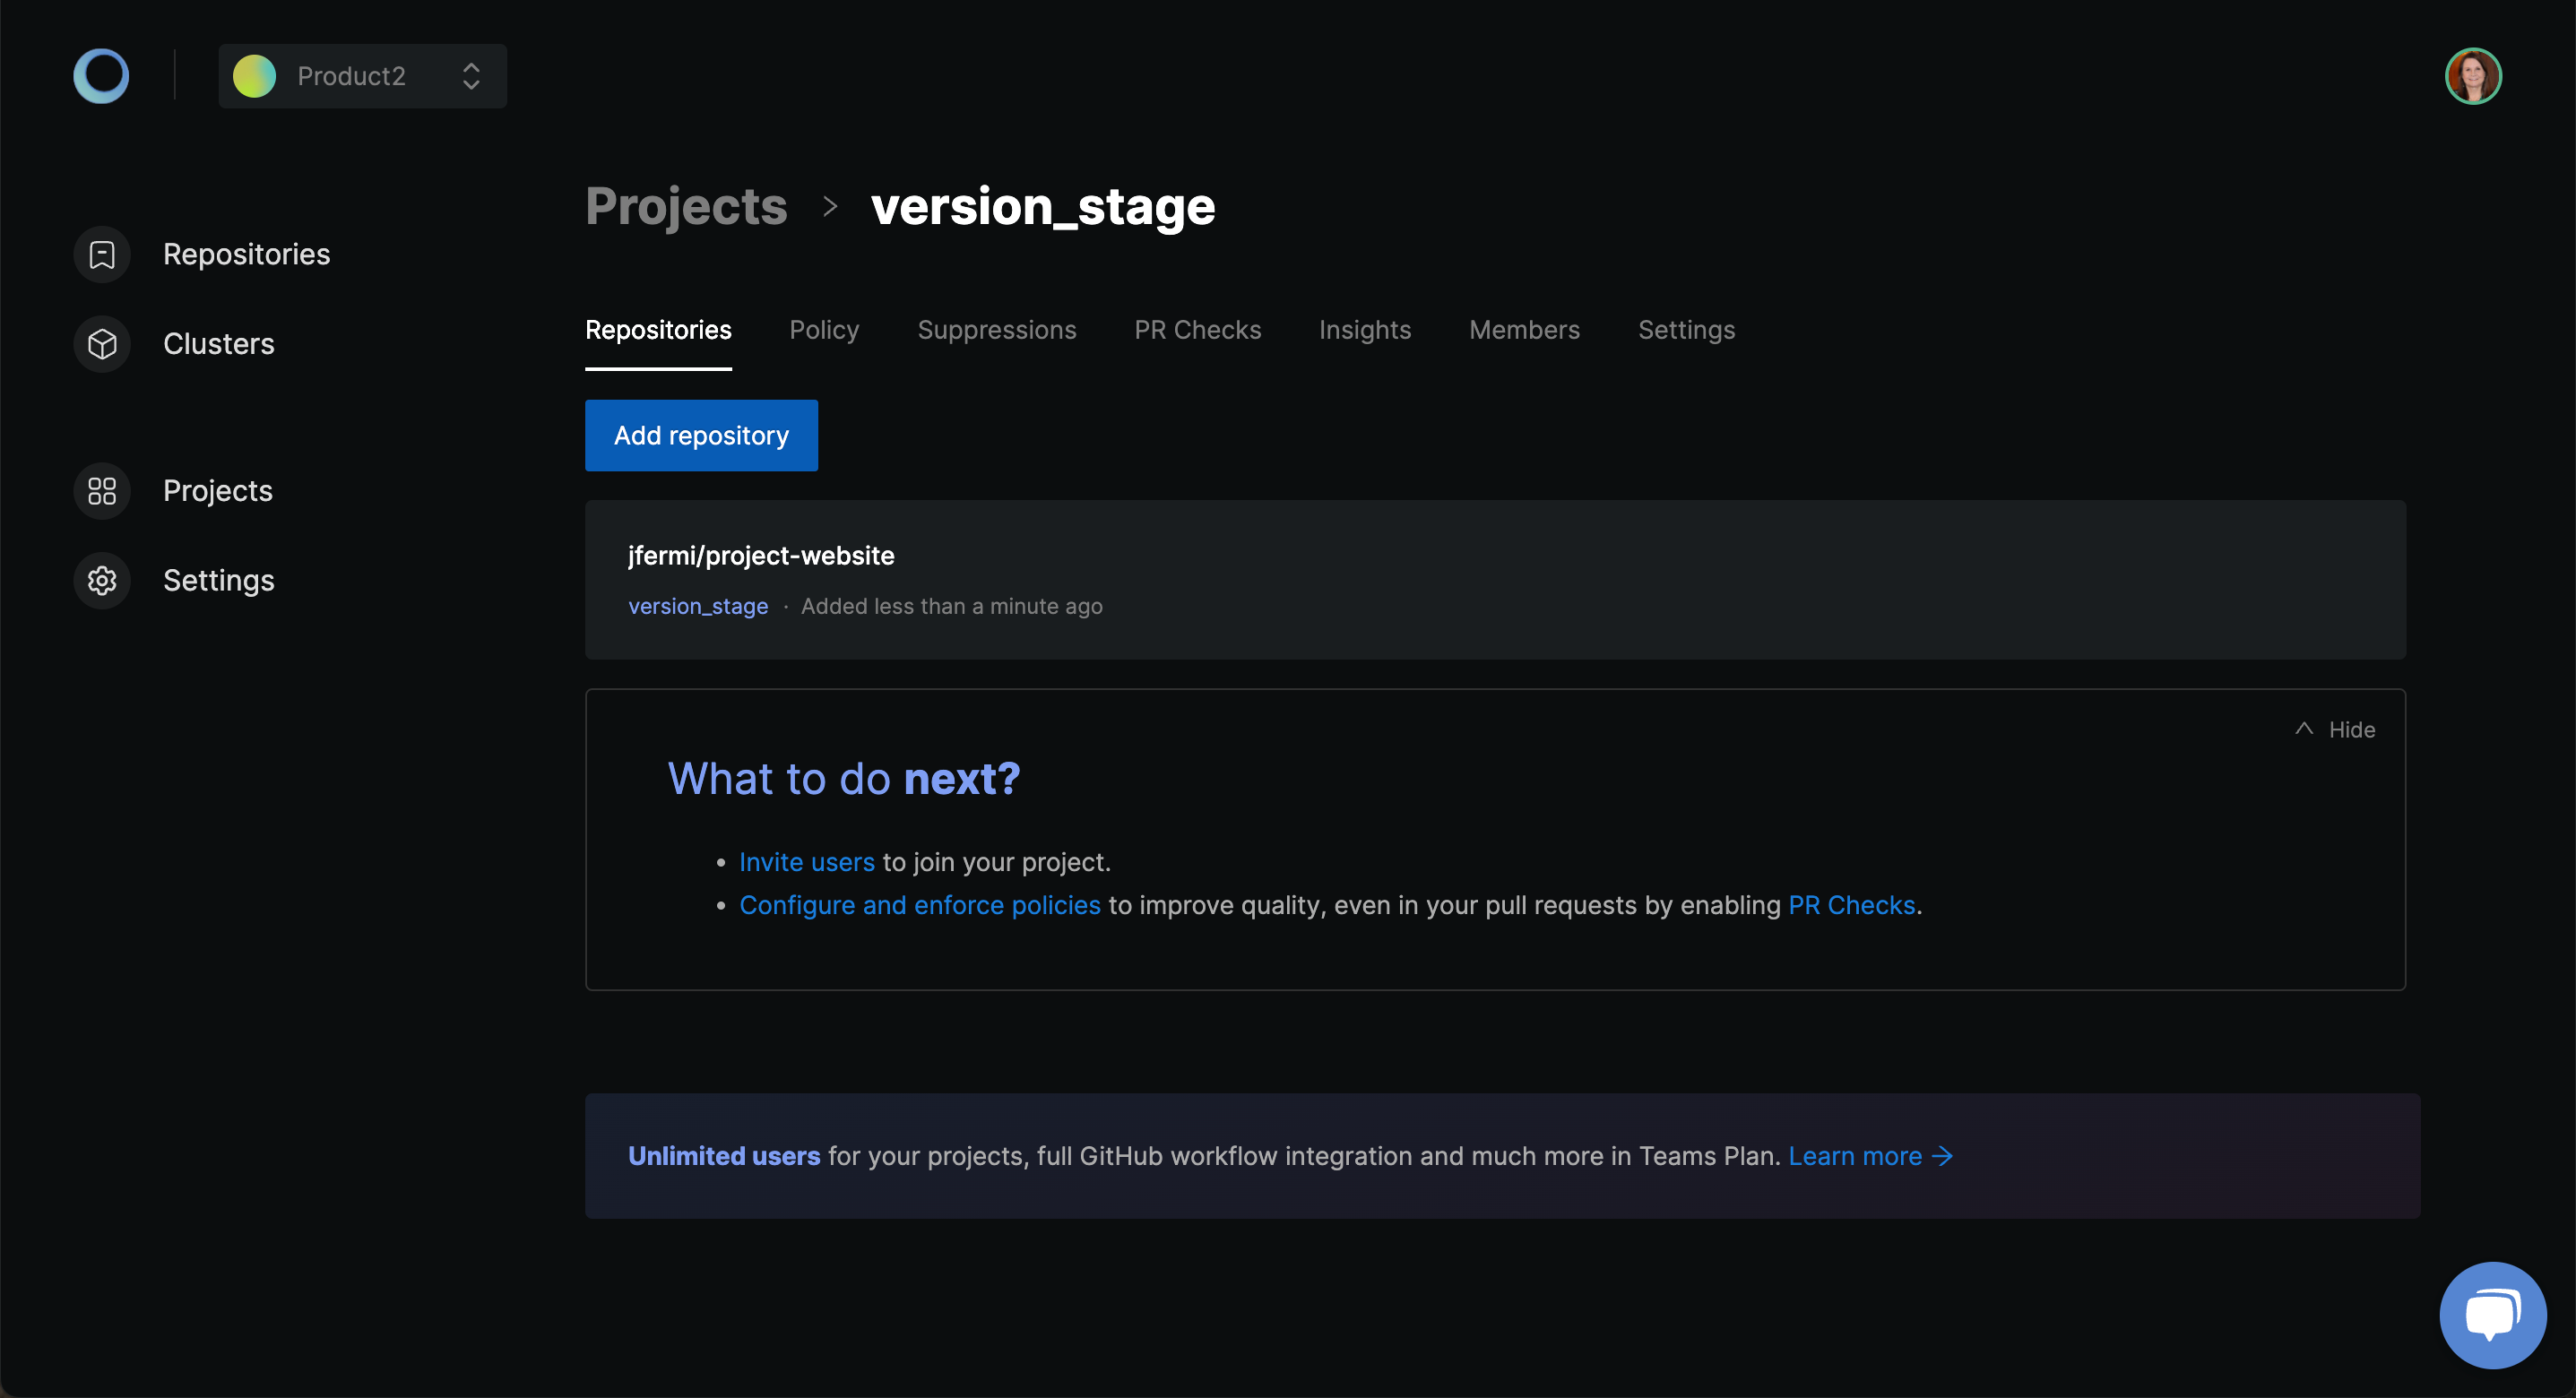
Now that the repository is configured, you can access your manifest by clicking on the repository. The next step is to enable collaboration with team members.
4. Add Team Members
You can use the one-click button Invite users available to invite users to your project in What to do next? in the last screenshot in step 3.
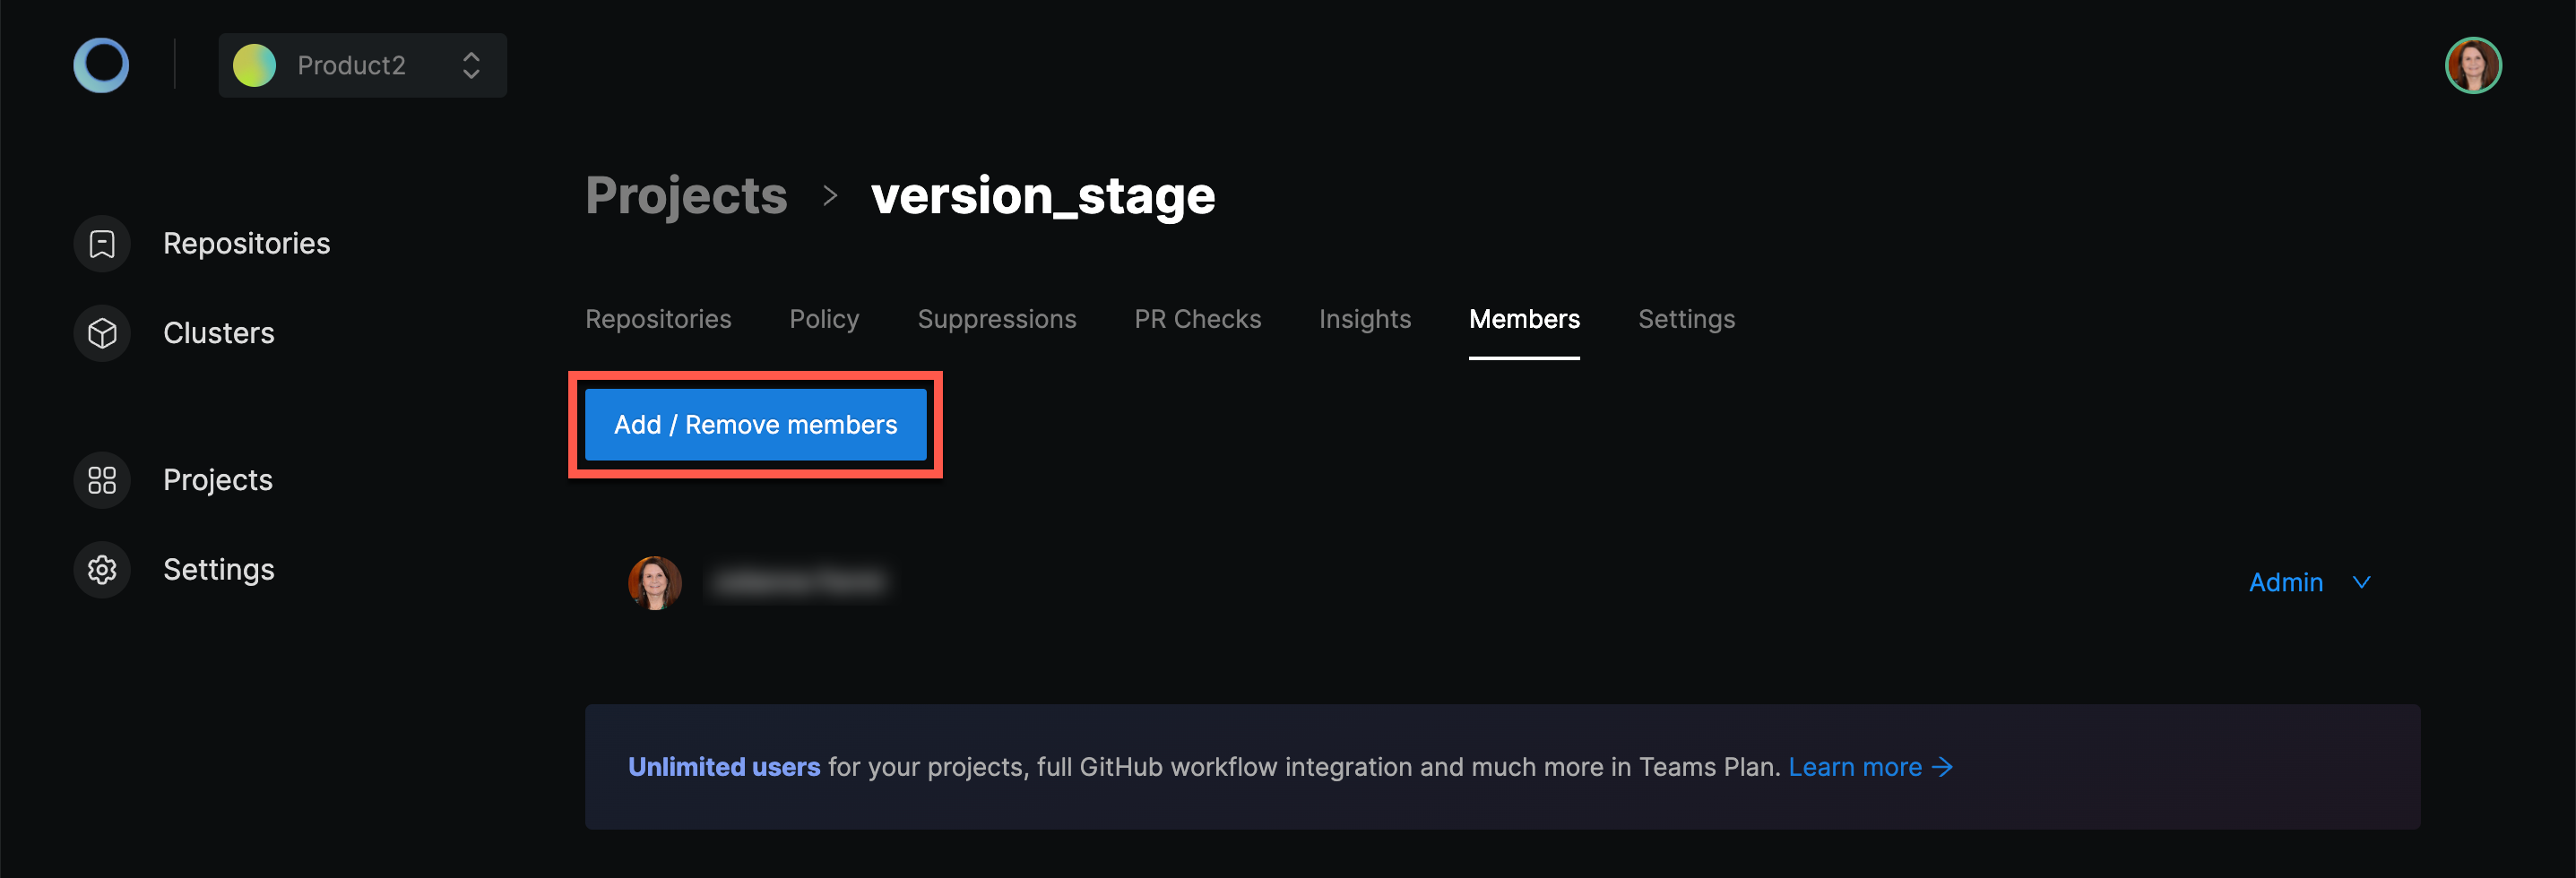
Monokle loads the Members section of the project where you can add pre-existing members of the workspace to the project.
For the first-time user, select Add/ Remove members.
Send Invitations
Enter the details of the user you want to invite, select the project, and click on Send Invitations. Monokle provides the ability to limit access by members to the workspace and project based on member roles. Read more about role-based access control from our official documentation.
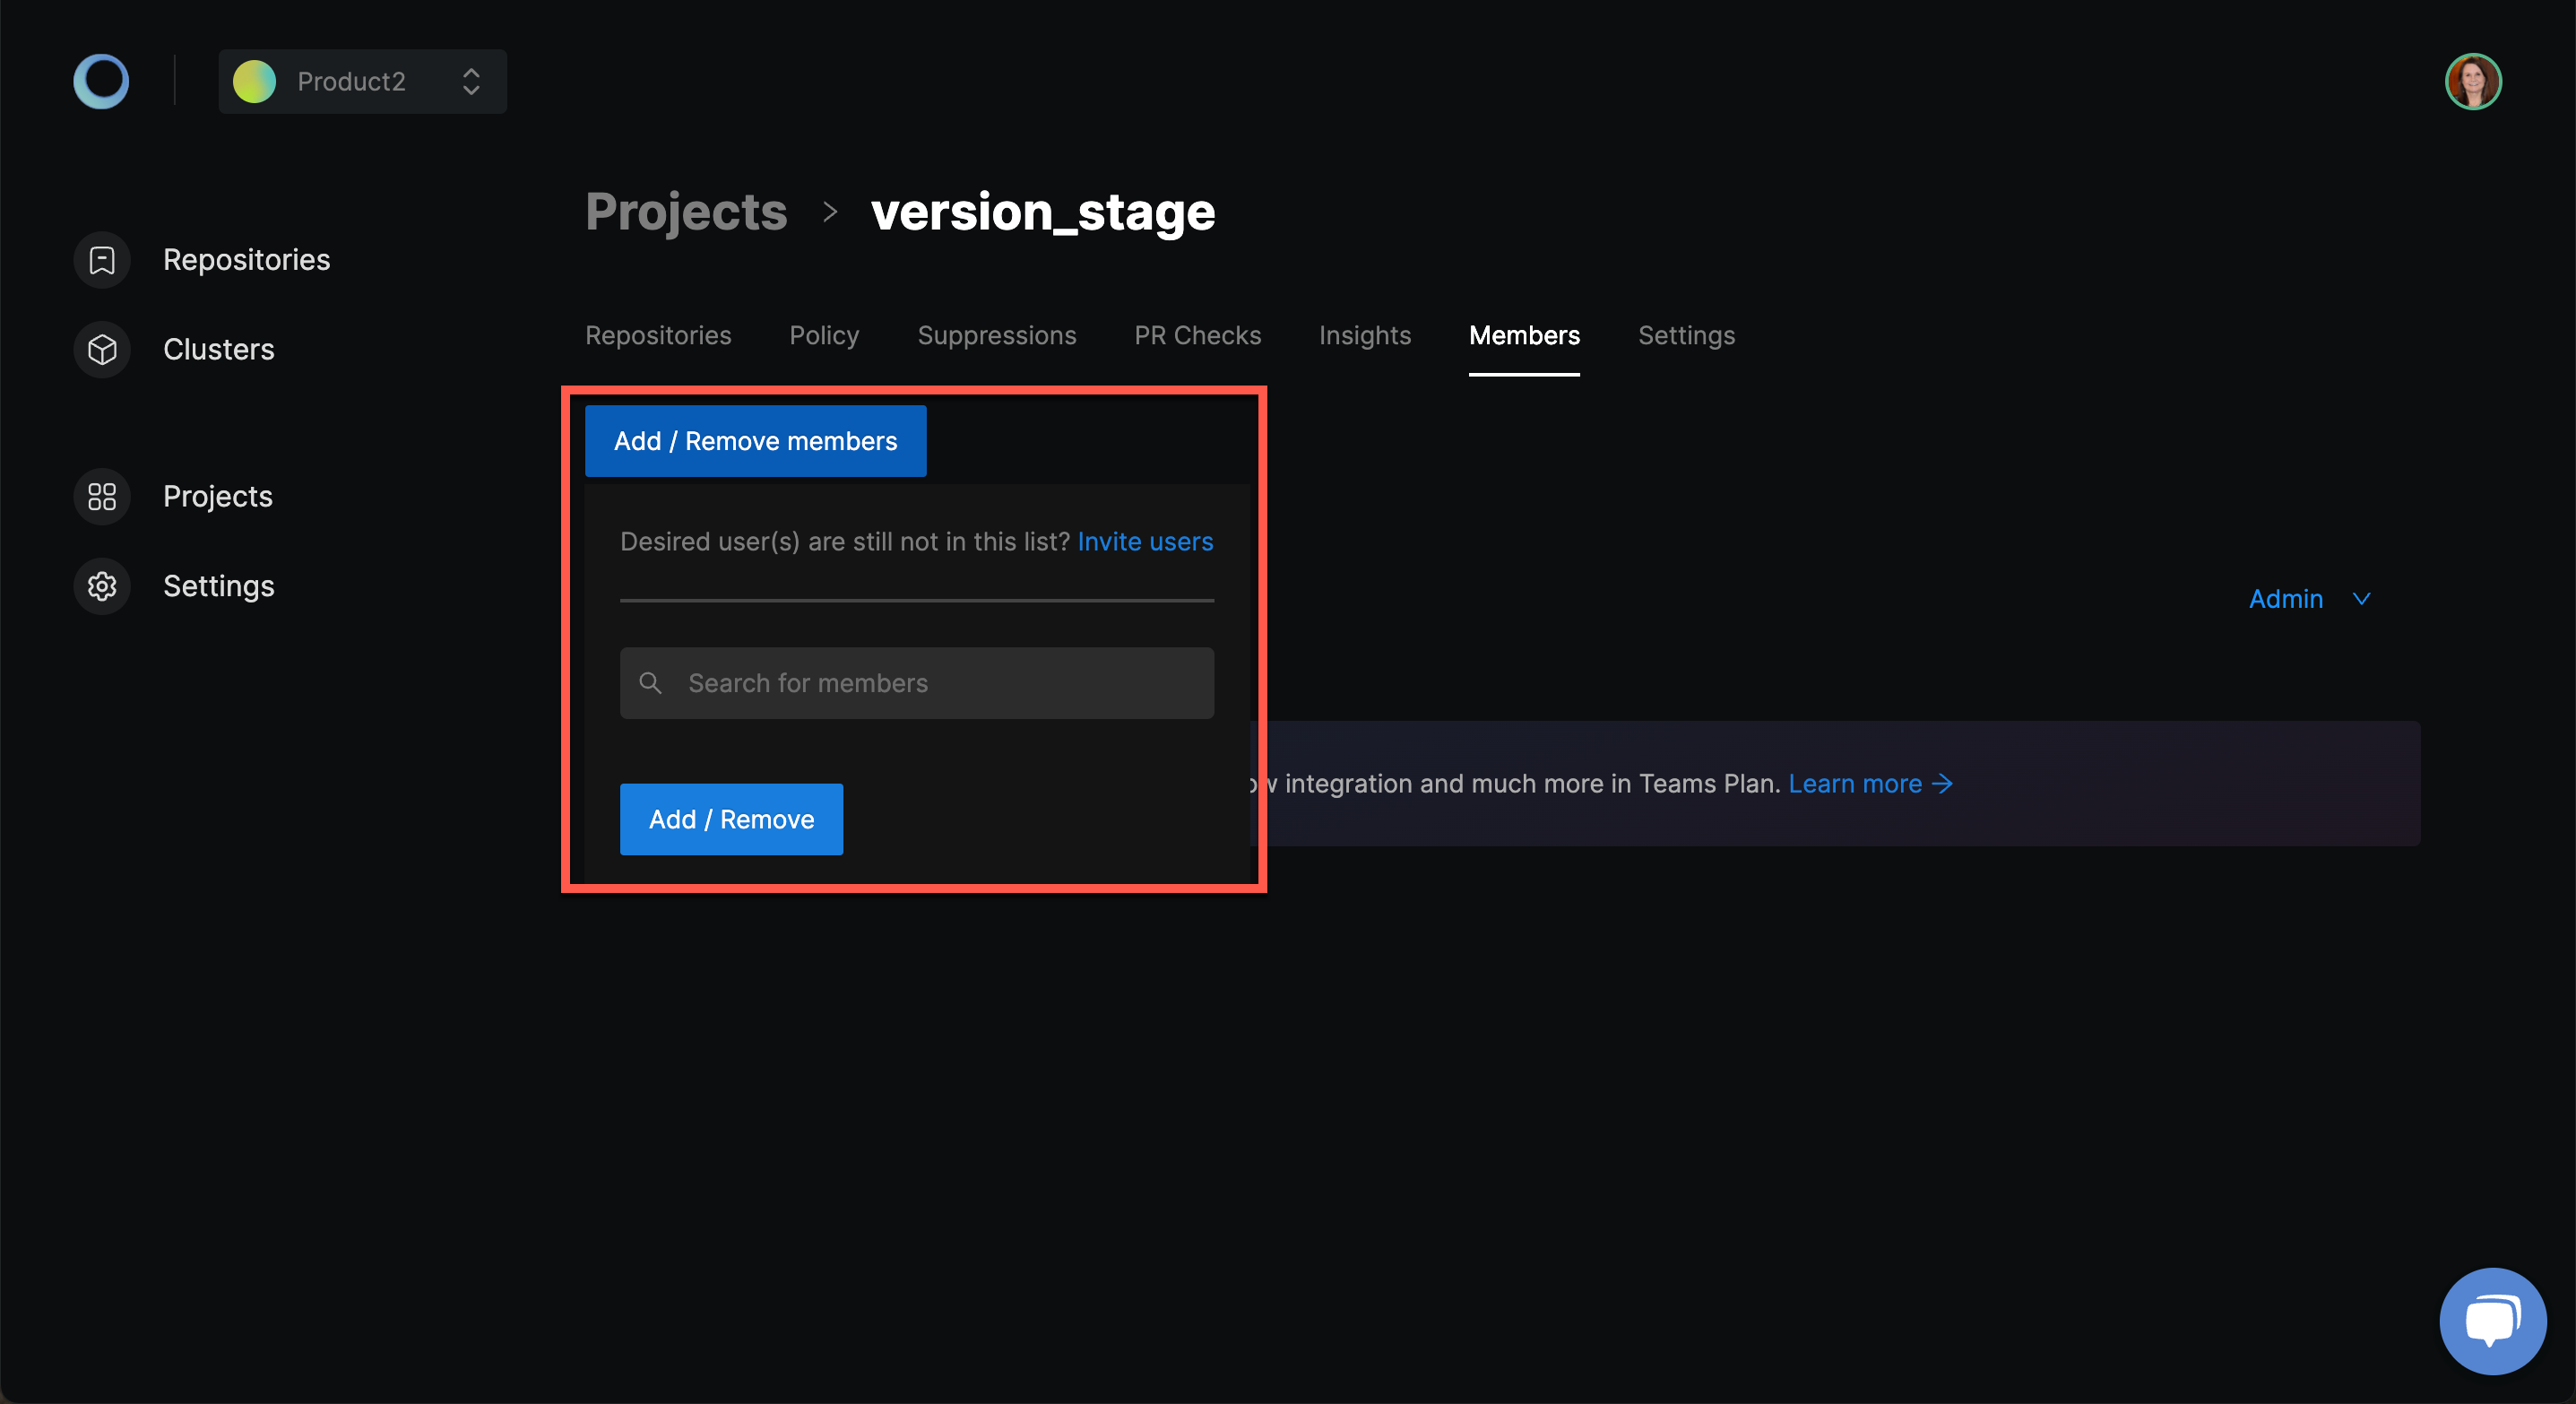
Adding a member to a project will automatically assign the developer role to them in the project and the member role in the workspace.
Accept Invitations
The user will receive an email from Monokle Cloud to start the setup to collaborate with the team. Click on Join now.
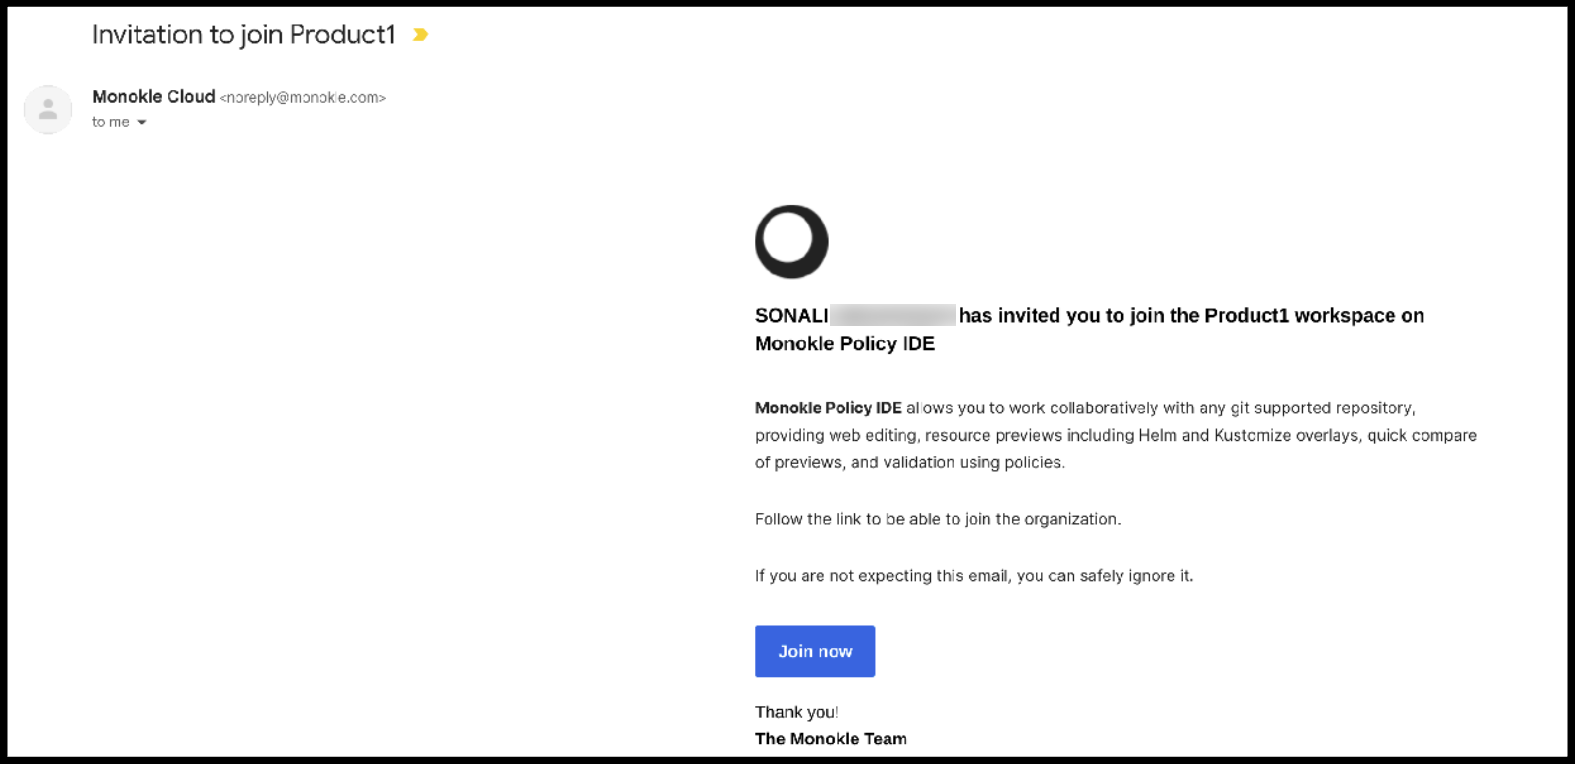
Please Note: Ensure that the pop-up window is not blocked.
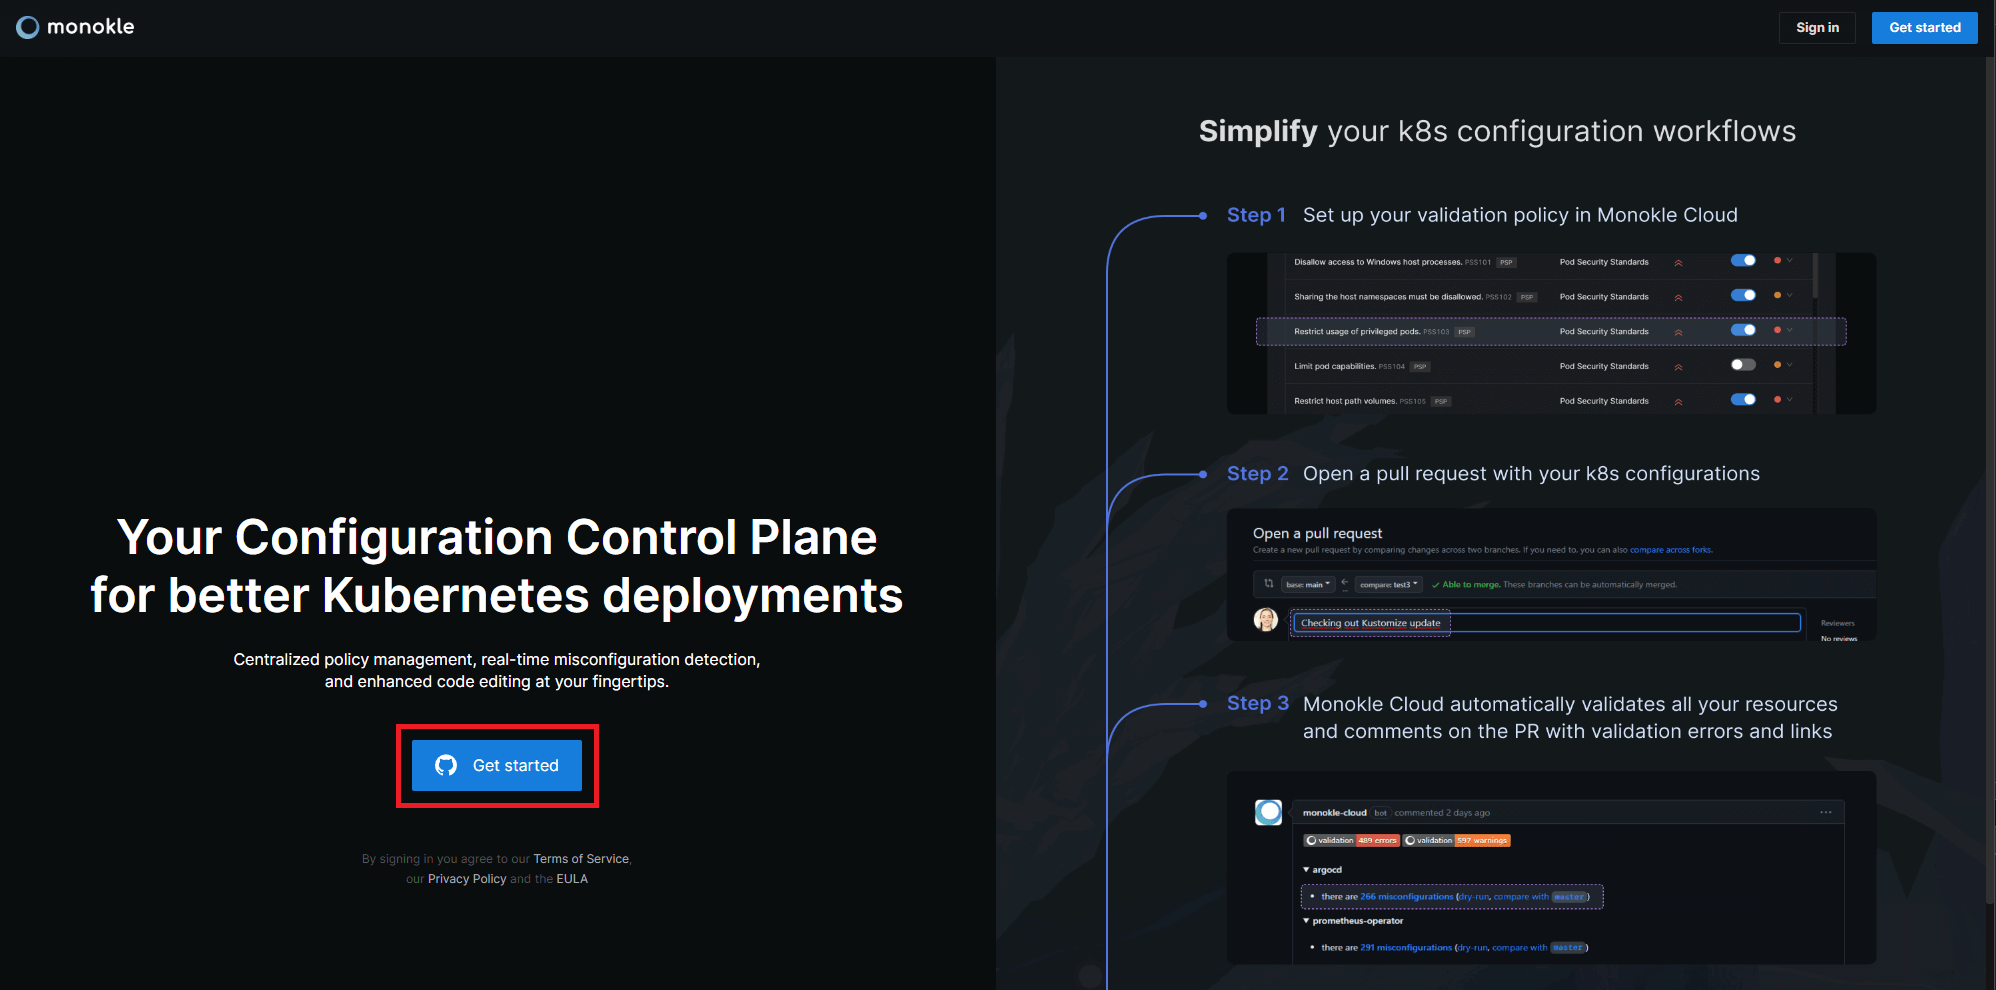
This loads Monokle into a new tab to start the setup using the invite link. Click on Get started.
Monokle requires user confirmation to accept/deny the invitation to the workspace.
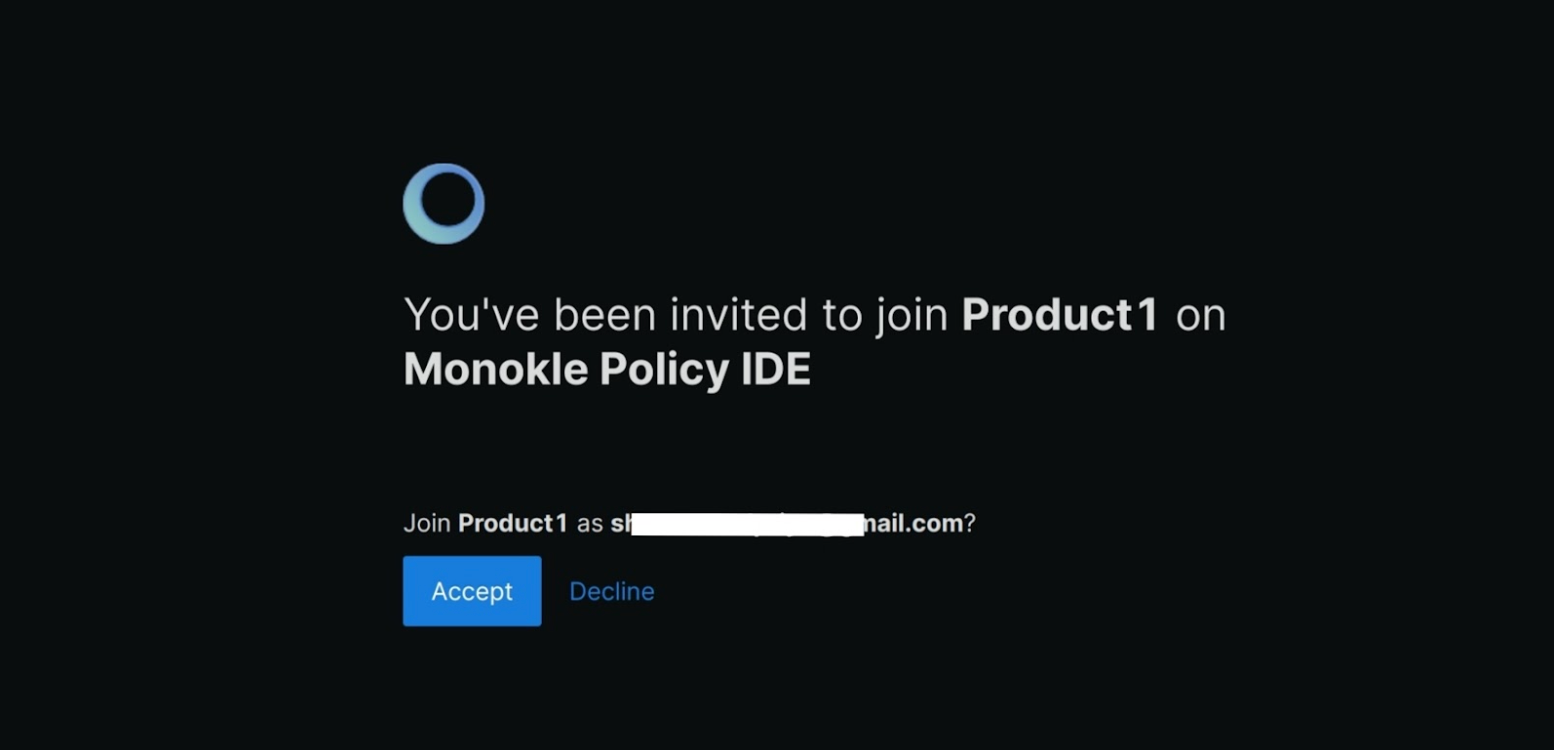
Click on Accept to accept the invitation. With the default settings, this new user will be able to view the workspace settings and the project details, and access the repository in the Monokle IDE. These are the minimal rights available for all the users who accept the invitation.
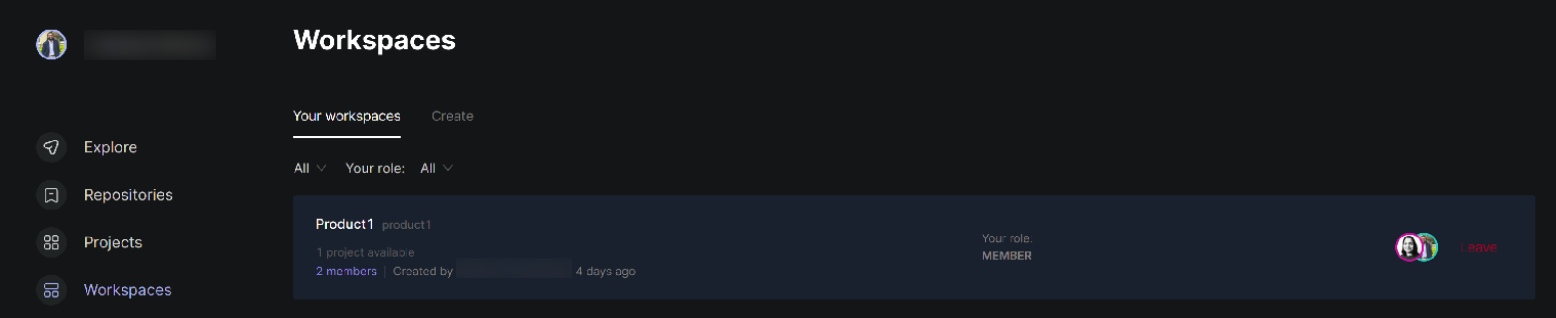
Monokle loads the workspace for the user and provides relevant details like workspace details, role of the user, etc.
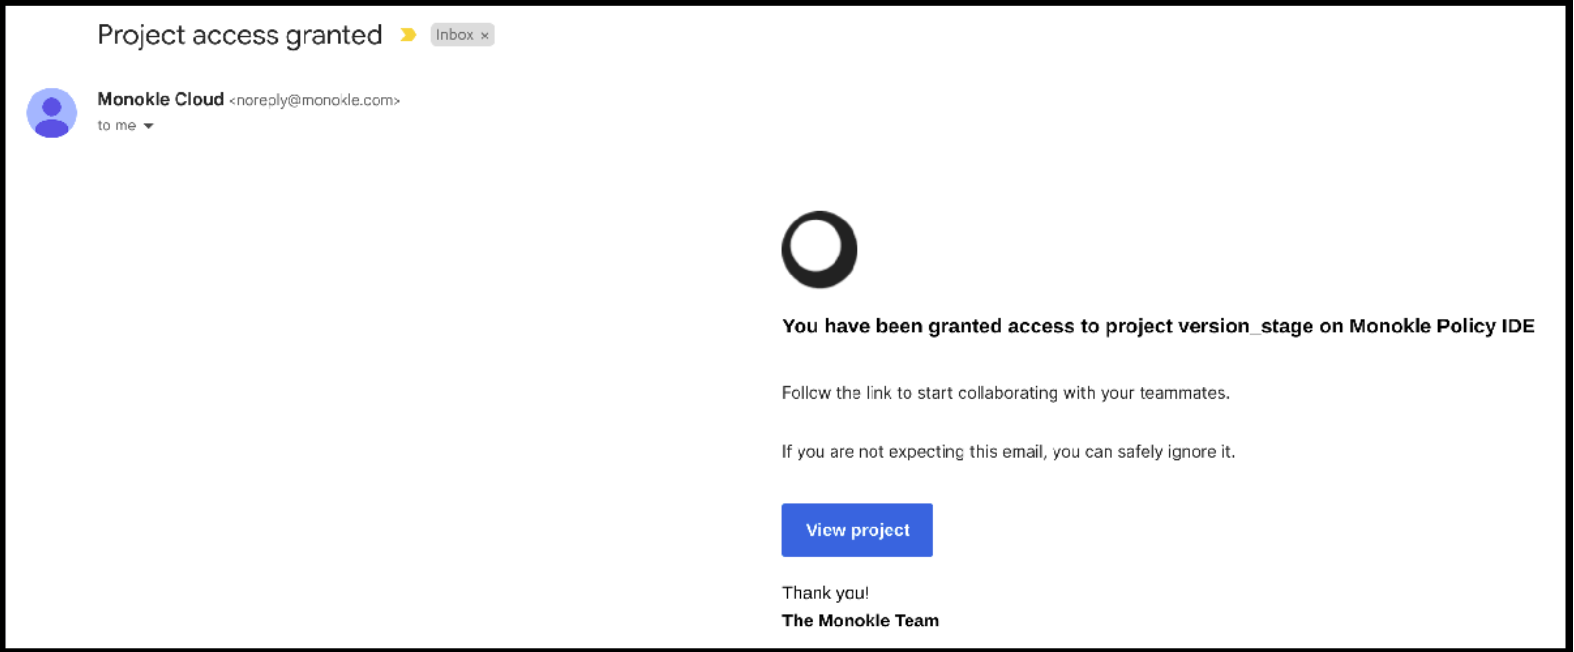
A user also receives a confirmation email once the invitation has been successfully accepted and the user is added to the project.
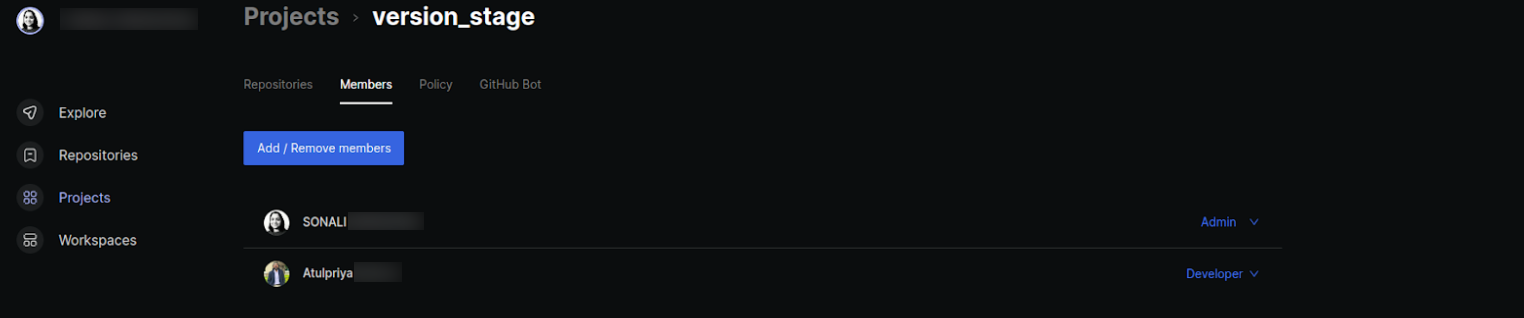
For the owner who sent the invite, Monokle updates the project members' dashboard with the user details and its role.
Now the user is added and able to collaborate with the team.
These steps will add the user with default minimal rights. In order to modify the access rights of the added users, check our next tutorial on managing your team (Coming Soon!).