Integrating the GitHub Bot
In this tutorial, you will learn how to enable the GitHub Bot in Monokle Cloud. It takes the guesswork out of PR approvals and helps with automating PR validations and audits, as well as direct access to other interesting features. All this contributes to better code reviews by peers.
Prerequisites:
- Configure Monokle Cloud with a GitHub account.
- Configure your repository in Monokle Cloud.
1. Enable GitHub Bot
Login to Monokle Cloud and Click on Projects in the menu bar. Monokle loads your projects list. Select the project that has the repository for which you want to enable GitHub Bot.
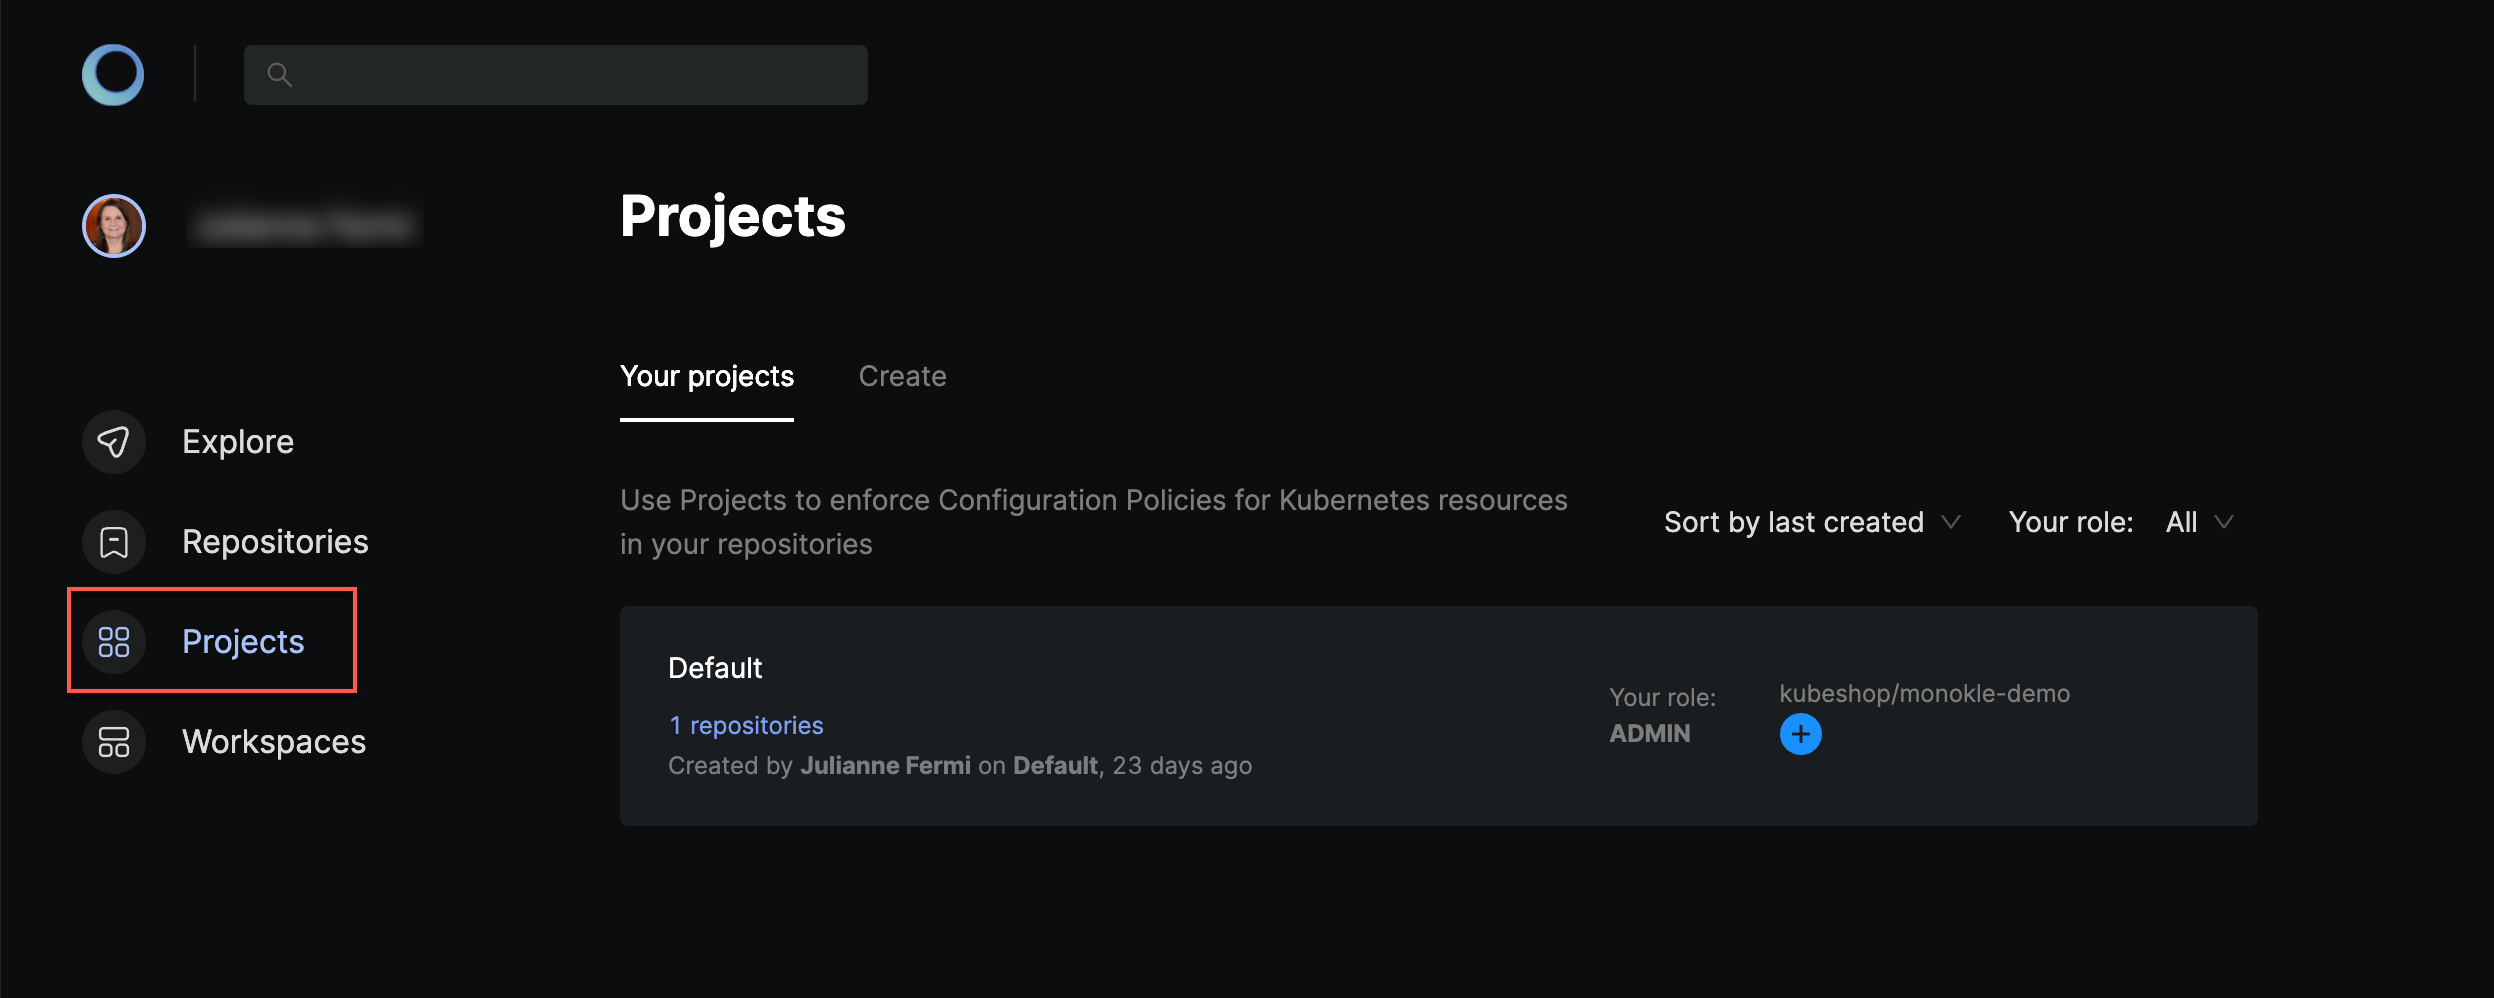
Monokle loads the list of repositories in the project. Click on the desired project and then click on the GitHub Bot tab.
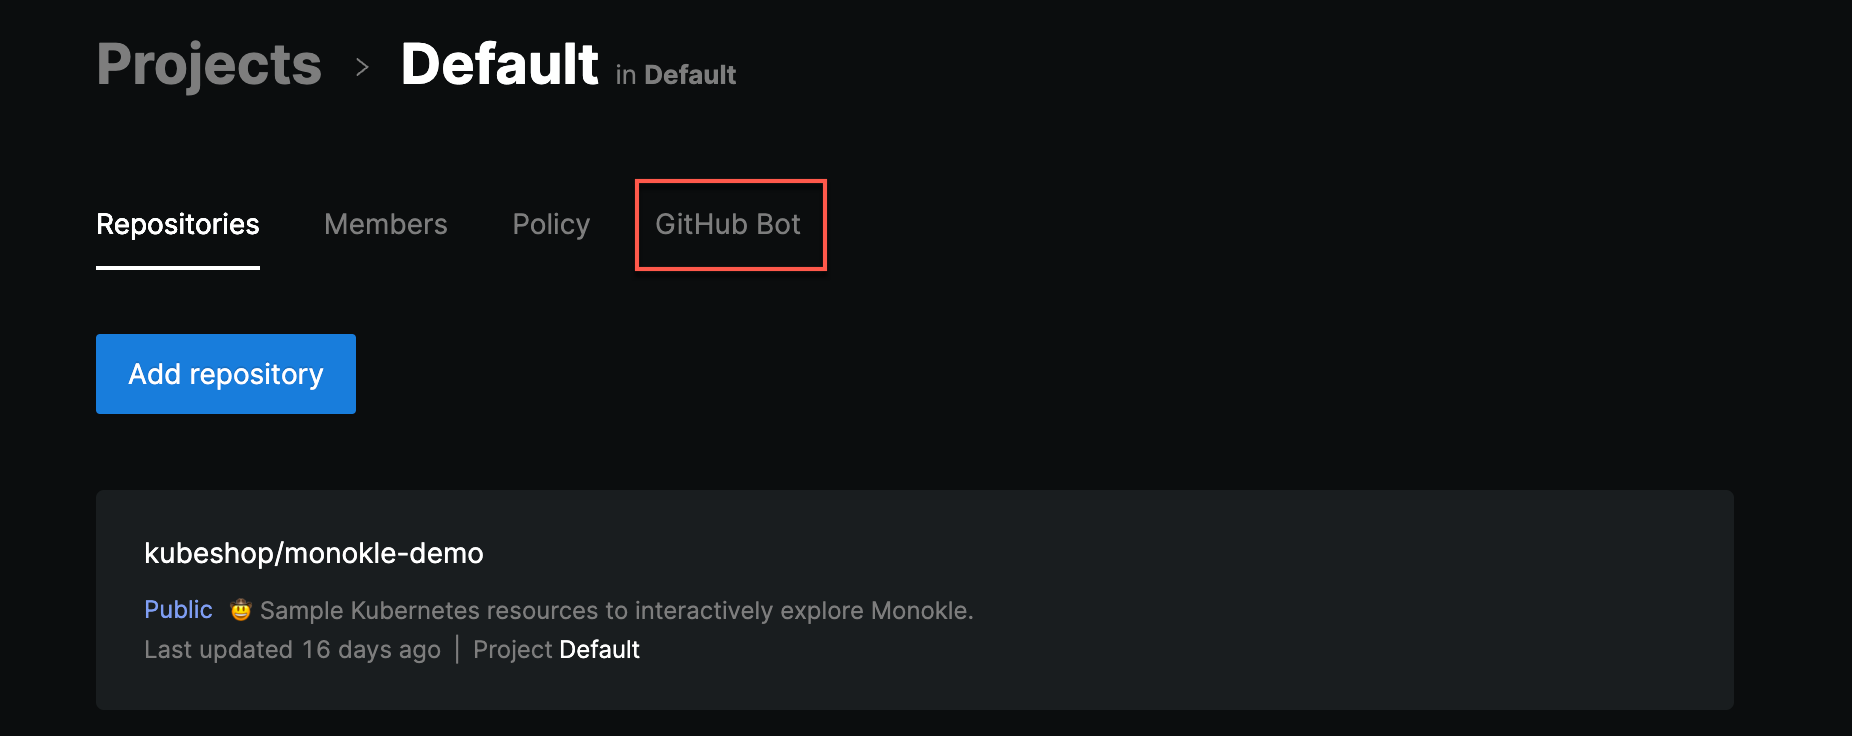
To enable GitHub Bot for the project, toggle the button that says Activate GitHub Bot. Once the button is clicked, Monokle by default enables the GitHub bot for all the repositories in the project. You can make use of the checkboxes to enable the GitHub bot for the selected repositories only.

2. Verify GitHub Bot is enabled by raising a PR
For the repository for which GitHub Bot is enabled, Monokle appends PR in the display next to the repository name.
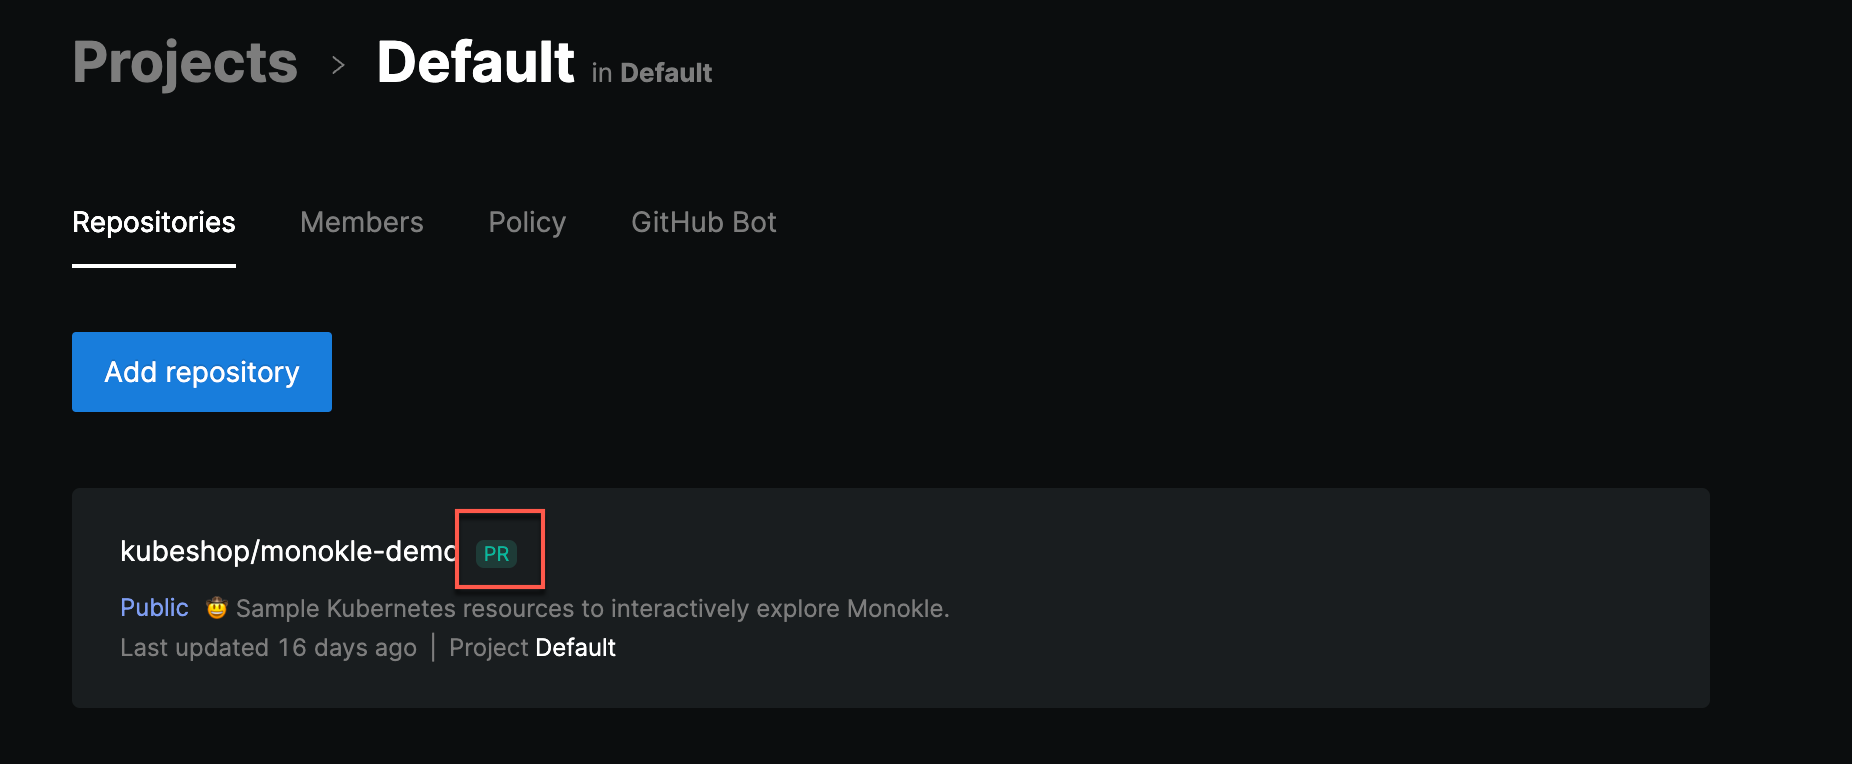
Let’s walk through an example of making some changes in the repository and raising a PR to see the GitHub bot in action.
Access the repository in the IDE by clicking on the repository name in the repositories list of your project or you can make use of the custom button that appears if you have accessed a repository recently. In the above screenshot, you can see the custom button for the monokle-demo repository that says Back to monokle-demo.
A. Load your repository in Monokle Cloud IDE
Monokle loads the K8 resources available on the repository in the Monokle Cloud IDE.
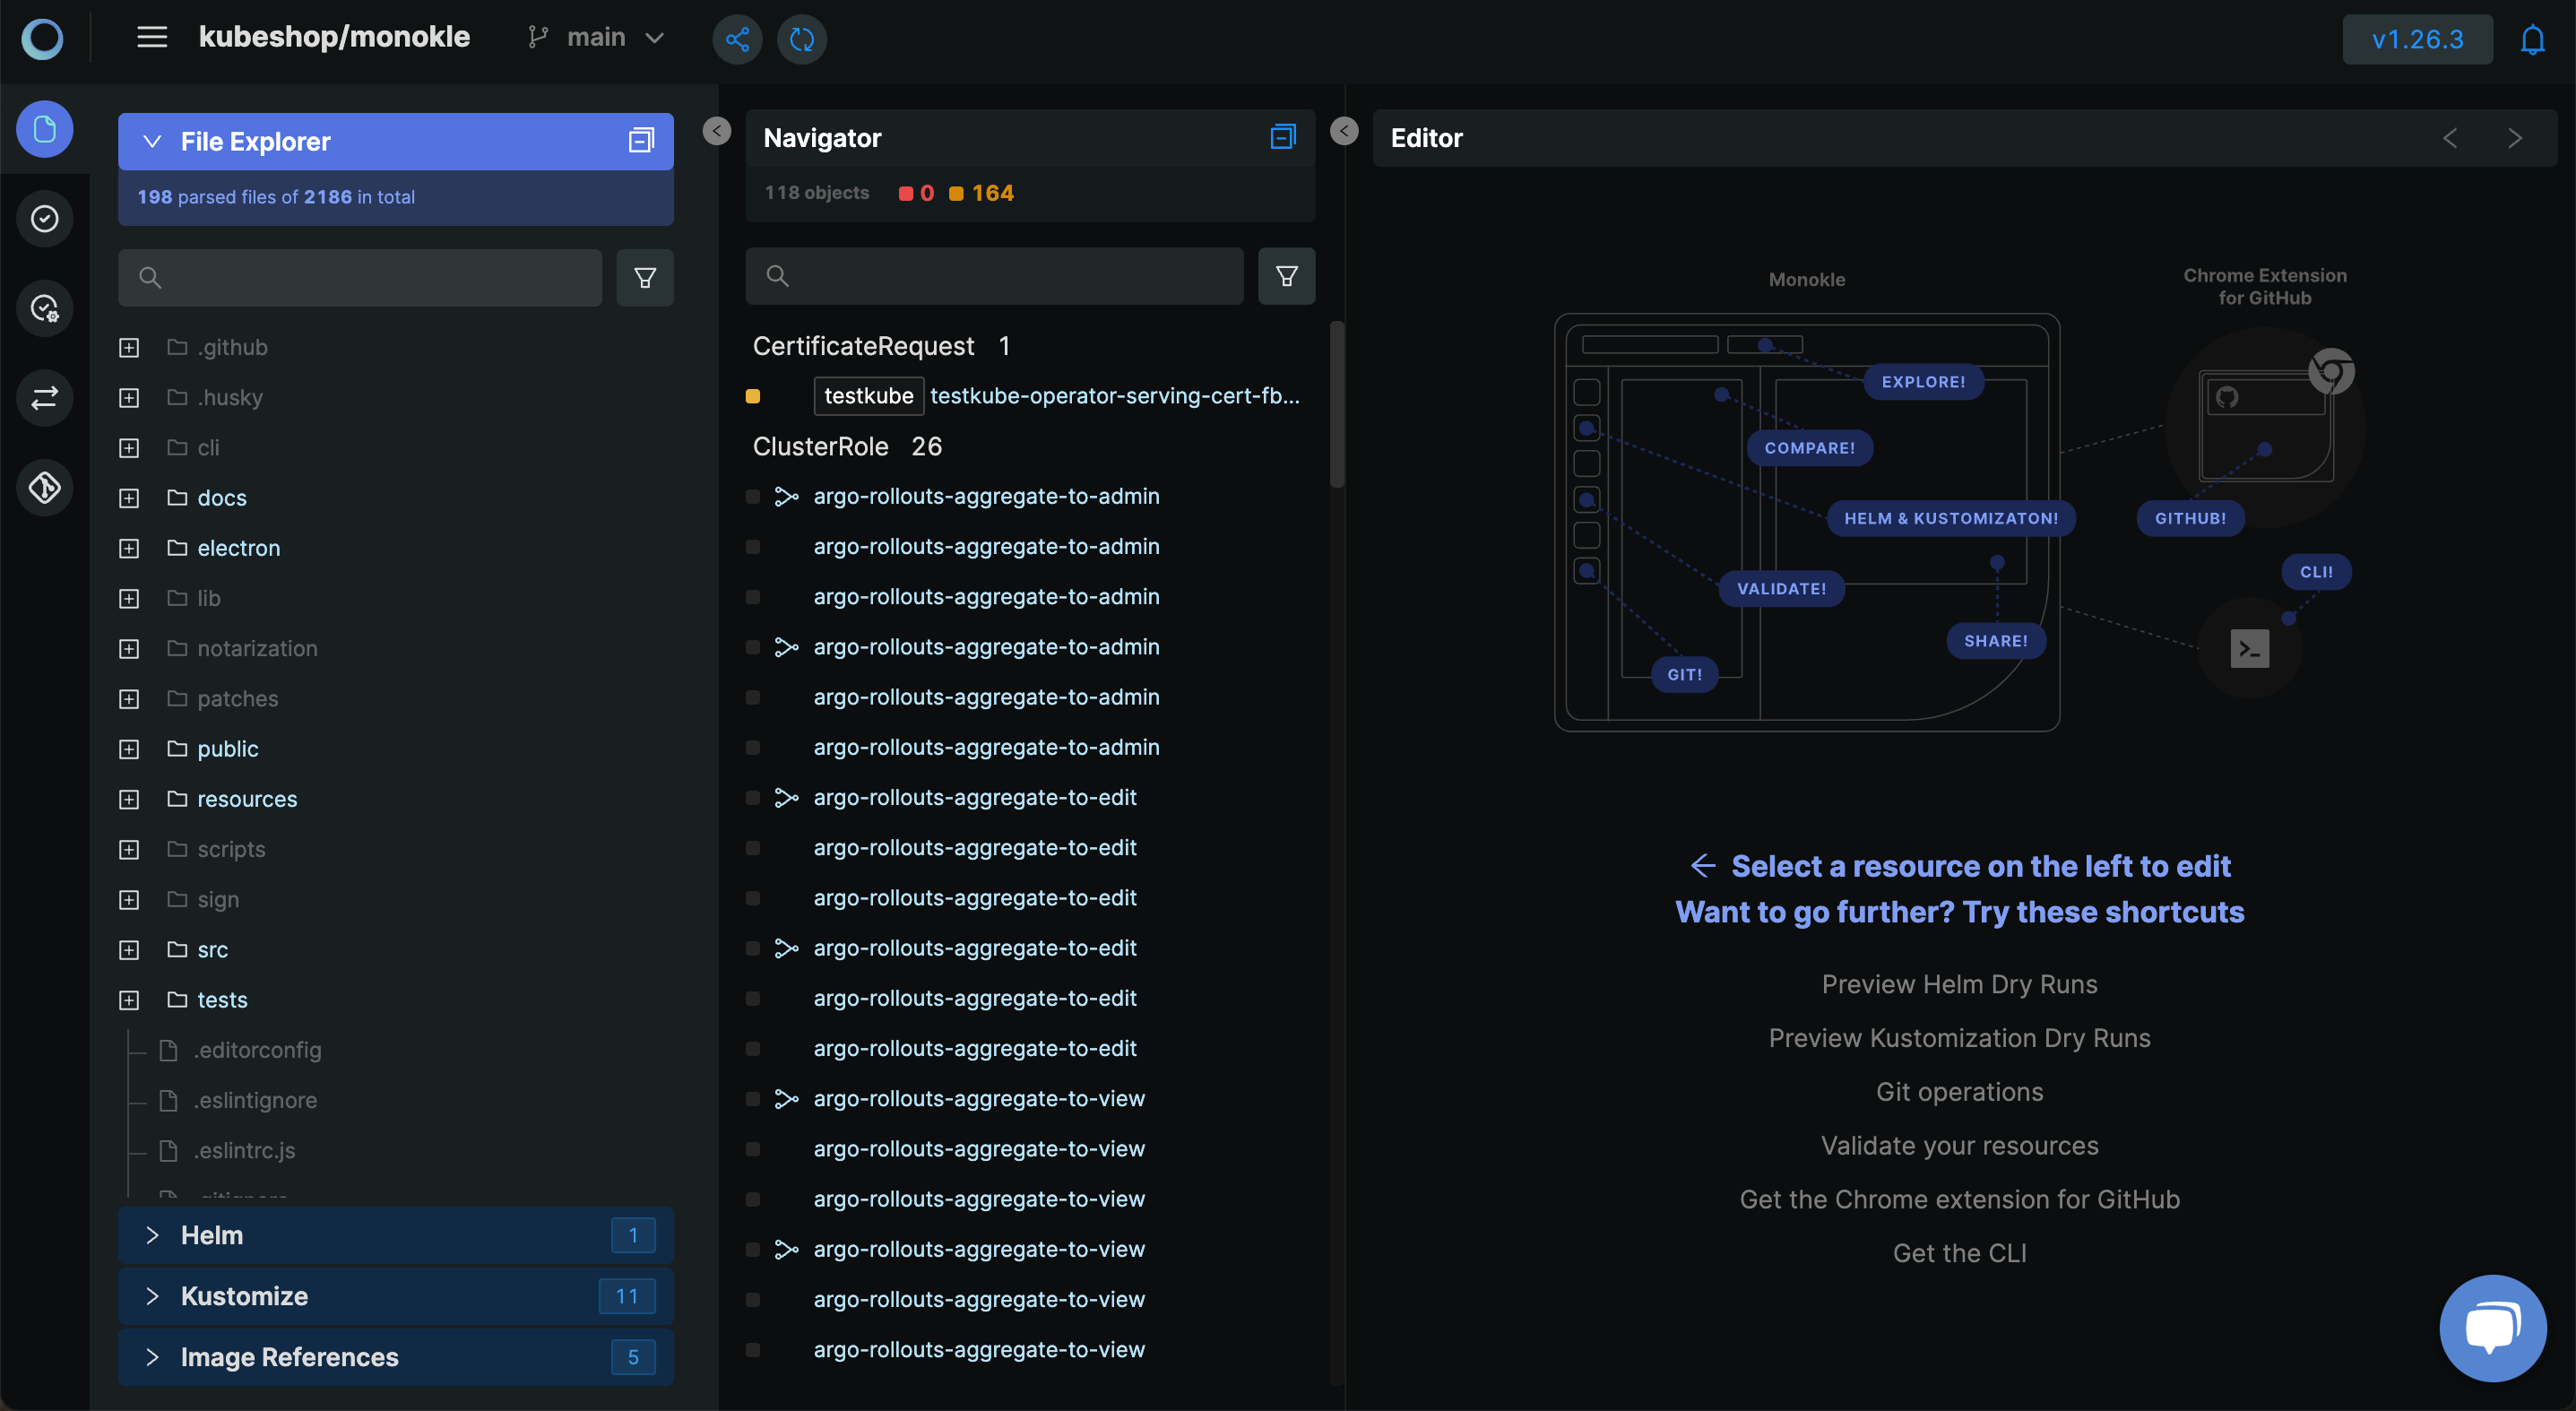
The Monokle Cloud IDE has three sections:
- File Explorer: Maintains the list of all the files in the repository.
- Navigator: Segregates the Kubernetes resources based on the type along with other details like validation errors, resource links, etc.
- Editor: Allows editing of YAML files.
B. Update YAML using Editor and raise your 1st PR with one-click
Select any of the resources and make some changes using the Editor. Monokle identifies the changes in real time and pops a one-click button with the number of changes you made to initiate raising a PR.
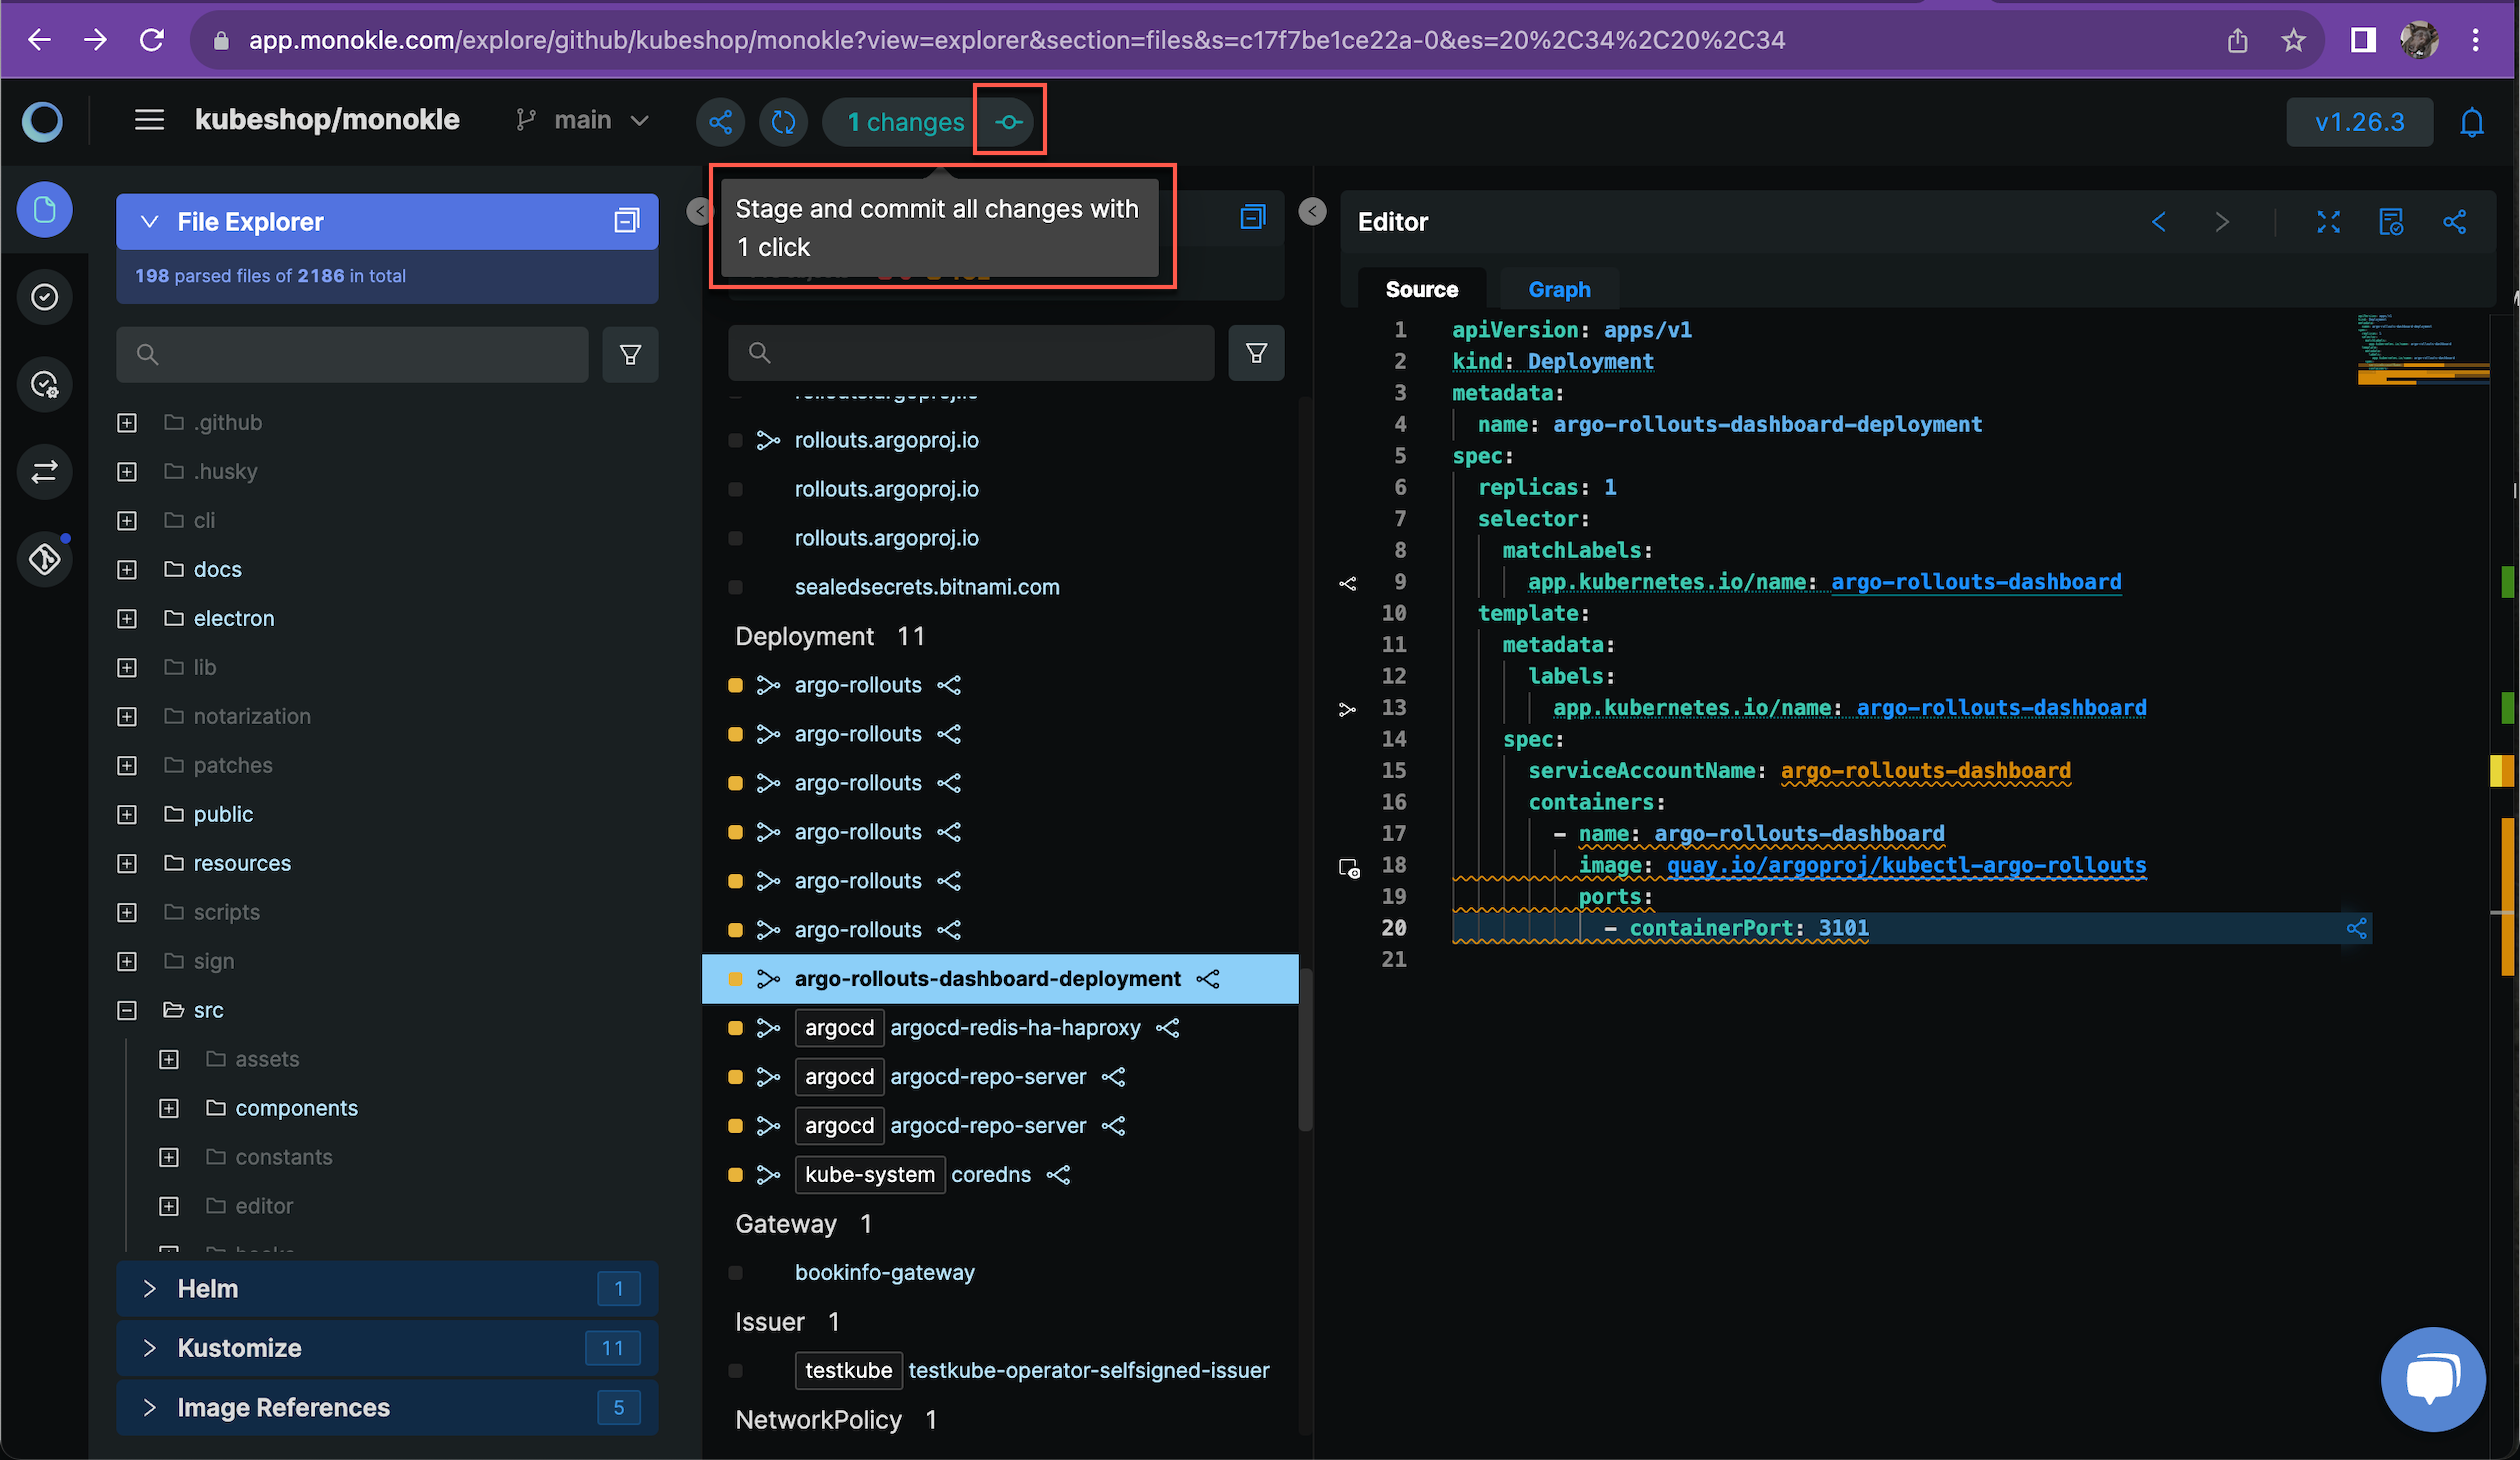
To start a PR, select the option to create a new branch and start a pull request. Enter the Commit message and the New branch name.
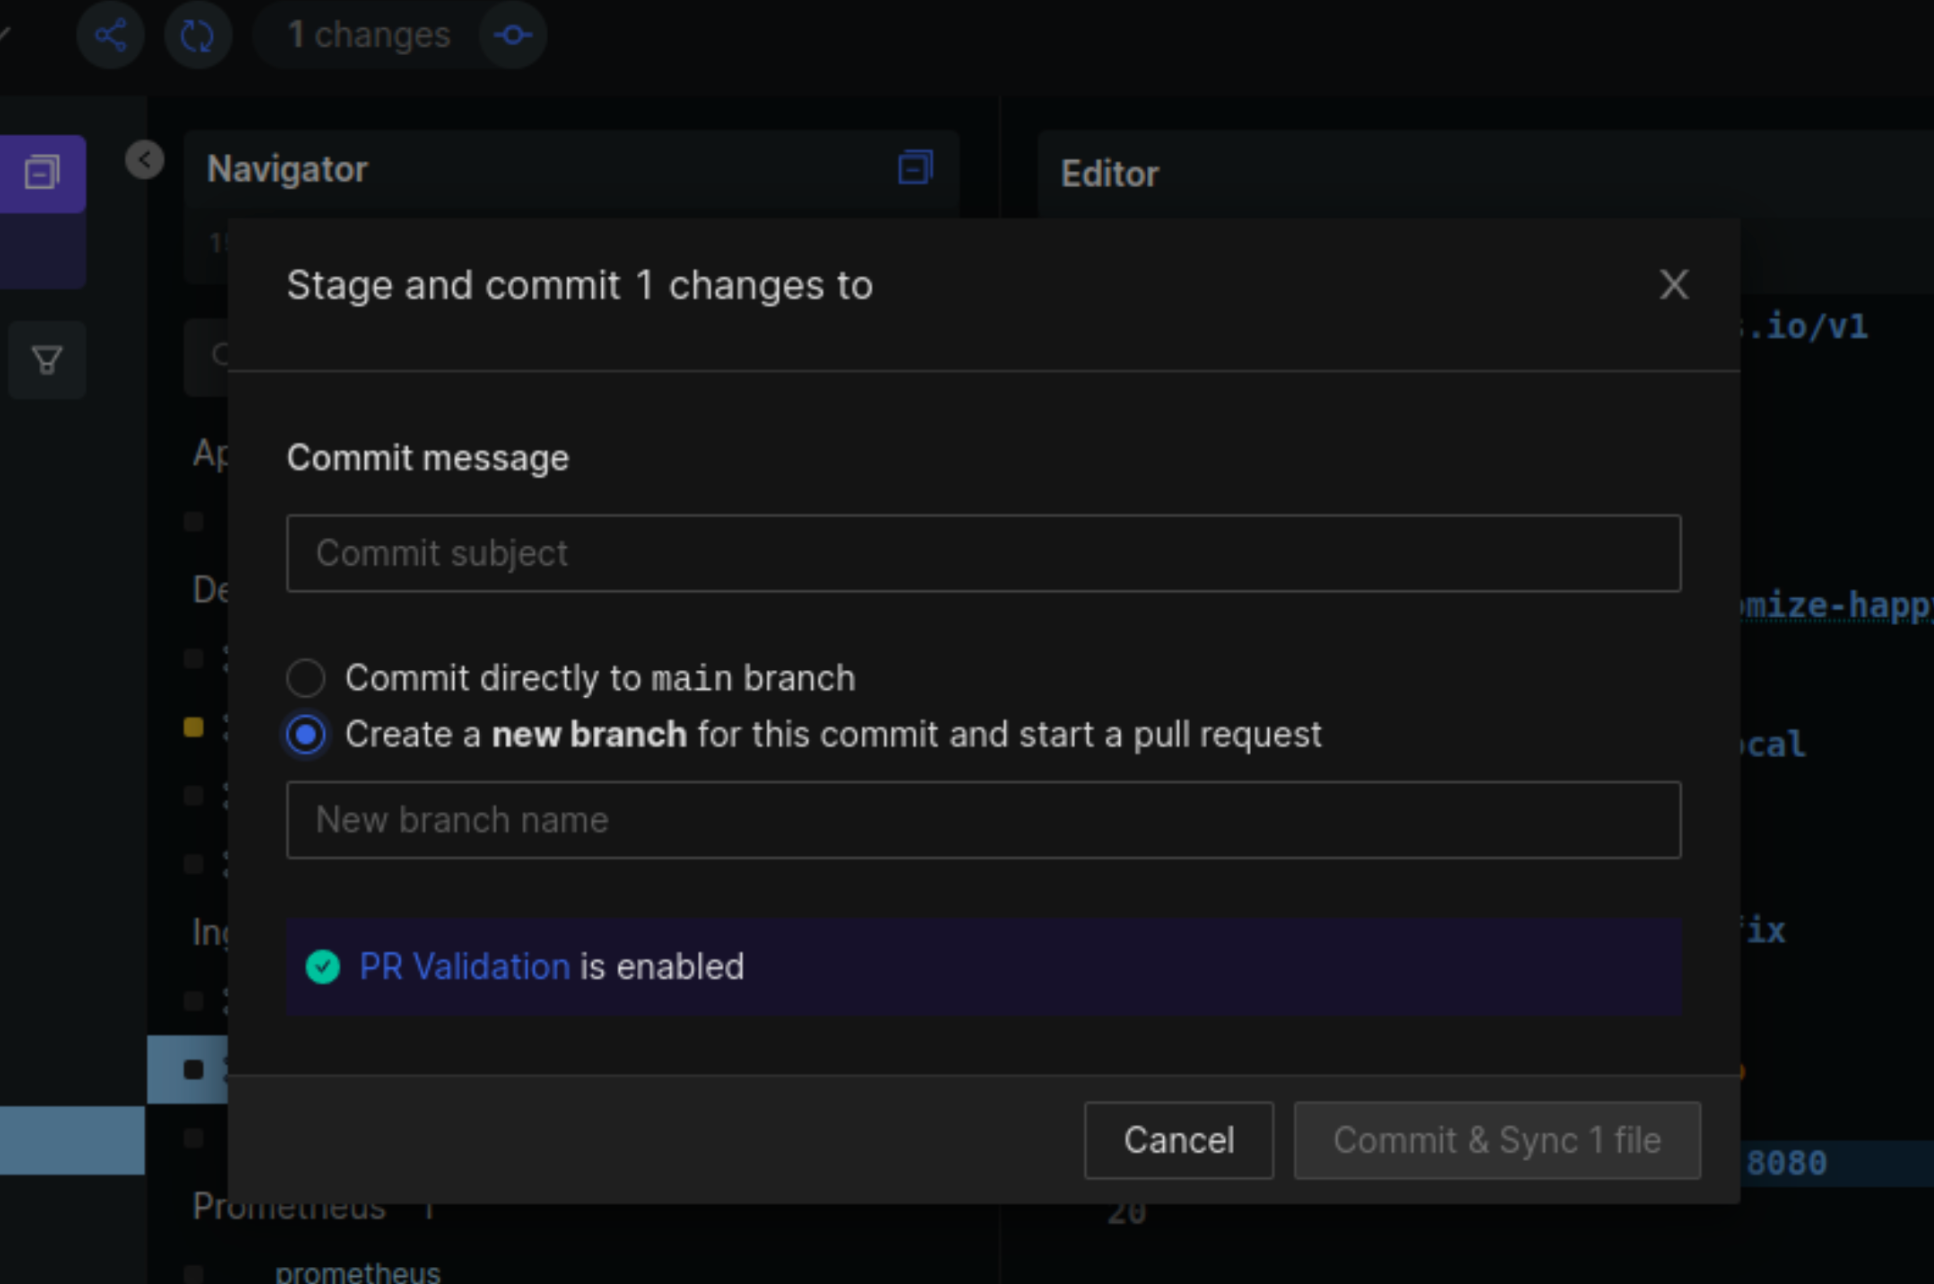
Click on Commit & Sync 1 file. This button may vary depending on how many files you are staging.
Make sure that pop-ups are not blocked in the browser for Monokle Cloud.
Monokle loads GitHub in a new tab with the preview of a PR to add more details to the PR that will be raised. Select the branch you want to raise the PR against and verify the commits. Click on Create pull request.
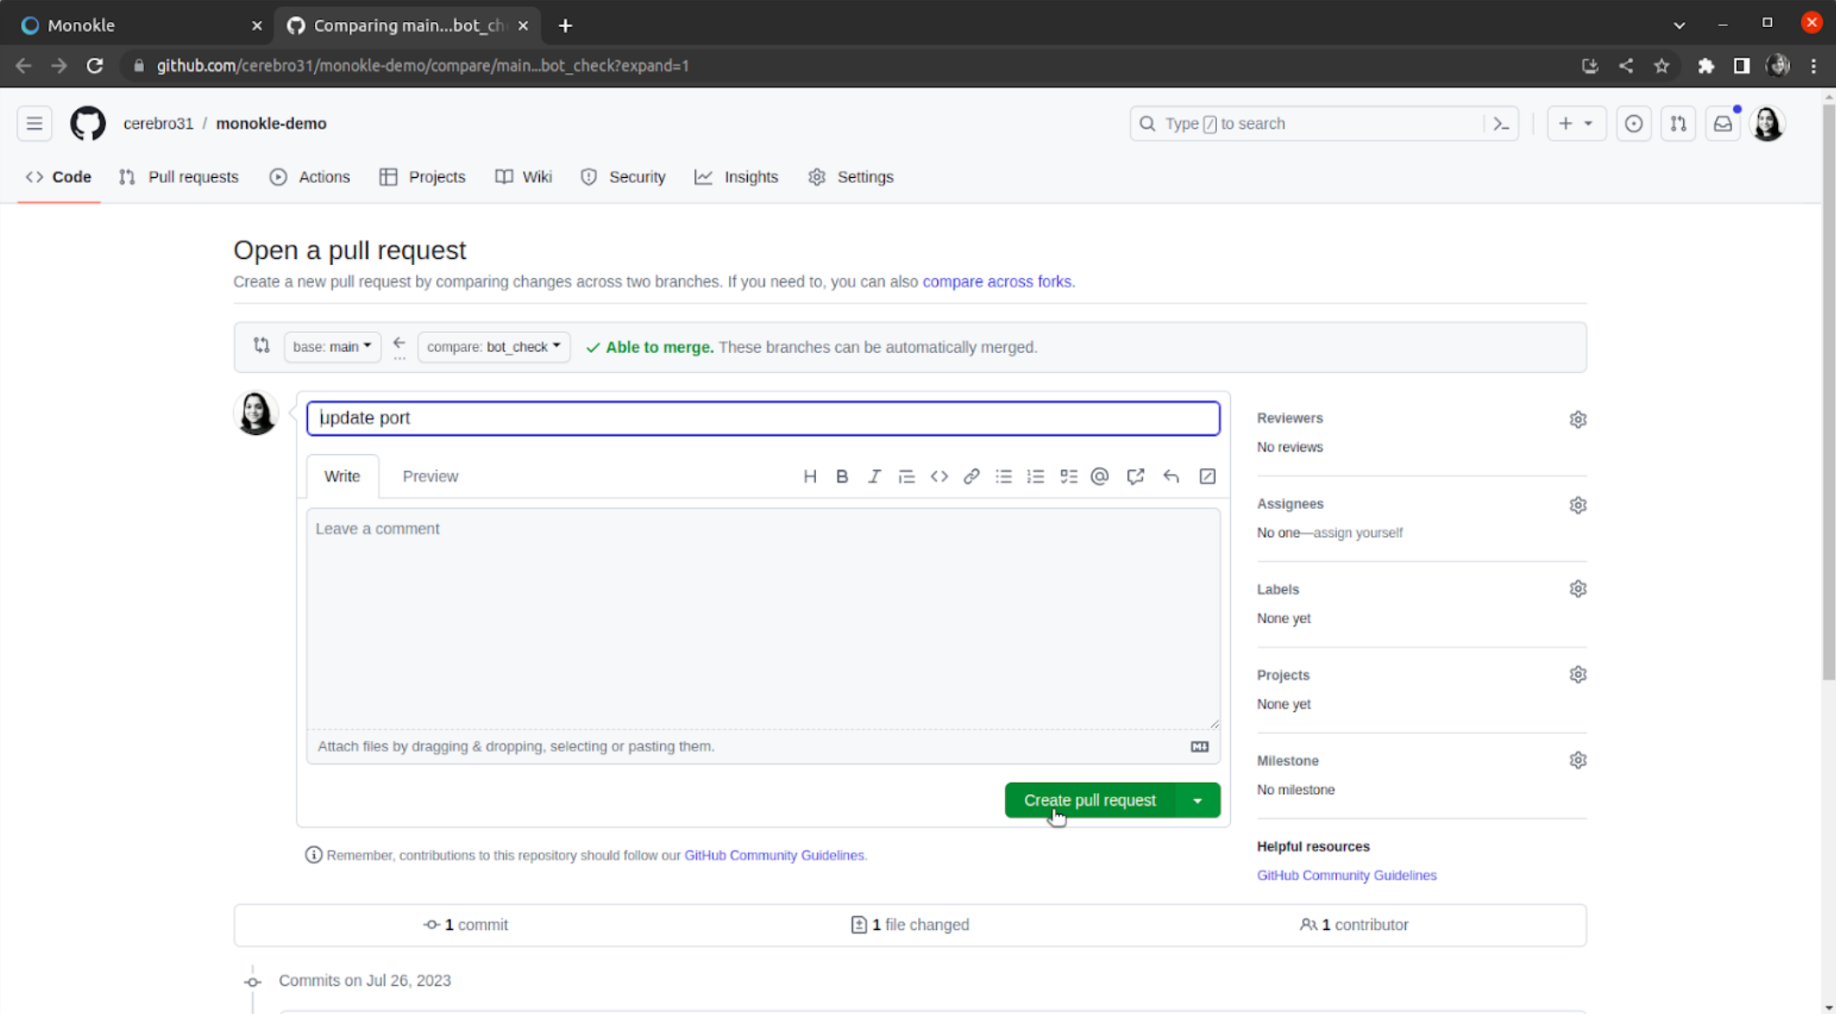
A PR is successfully created with the new branch as shown below:
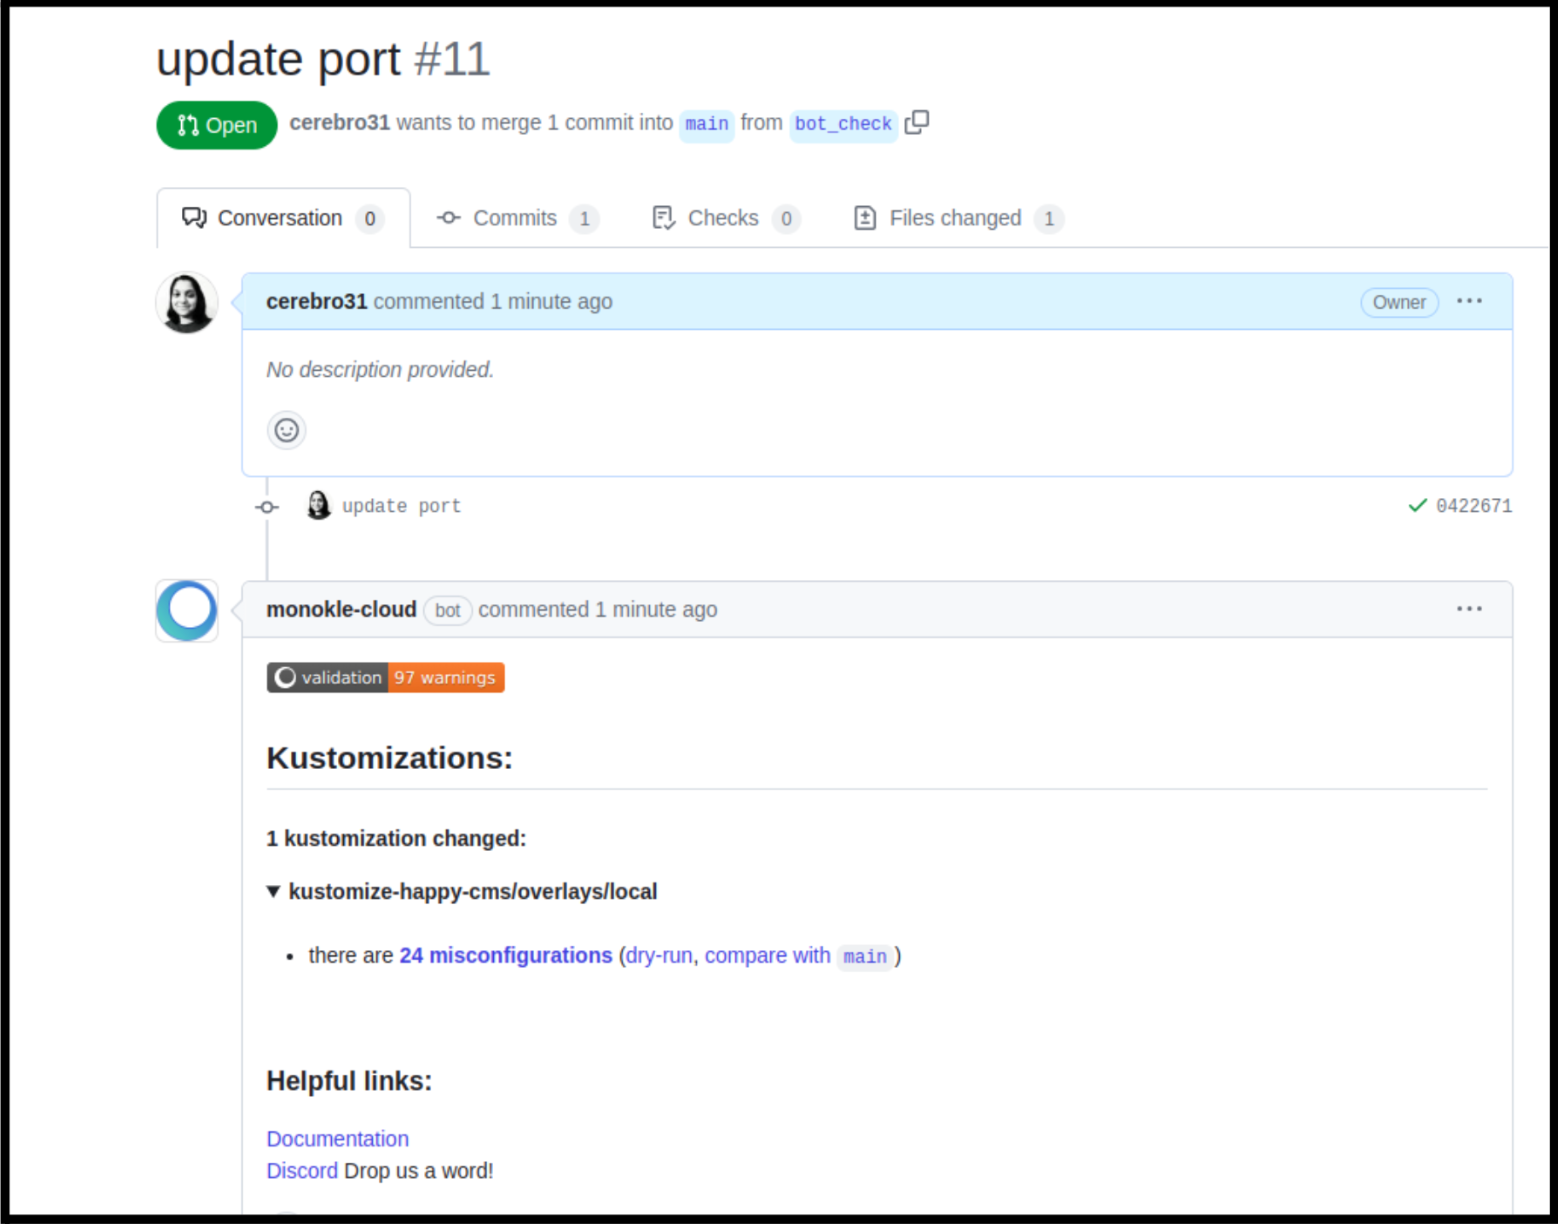
In the above screenshot, you can see the monokle-cloud bot in action. It has scanned the repo and provided:
- Validation results: 97 warnings
- Misconfigurations check: 24 misconfigurations
- Access to Dry-run of Kustomizations.
- Comparison of the new branch with the
mainbranch.
You can click on these links in the PR to explore the Monokle GitHub Bot features. For example, Click on validation 97 warnings. It loads the validation overview of your repository after performing an audit based on the default validation rules.
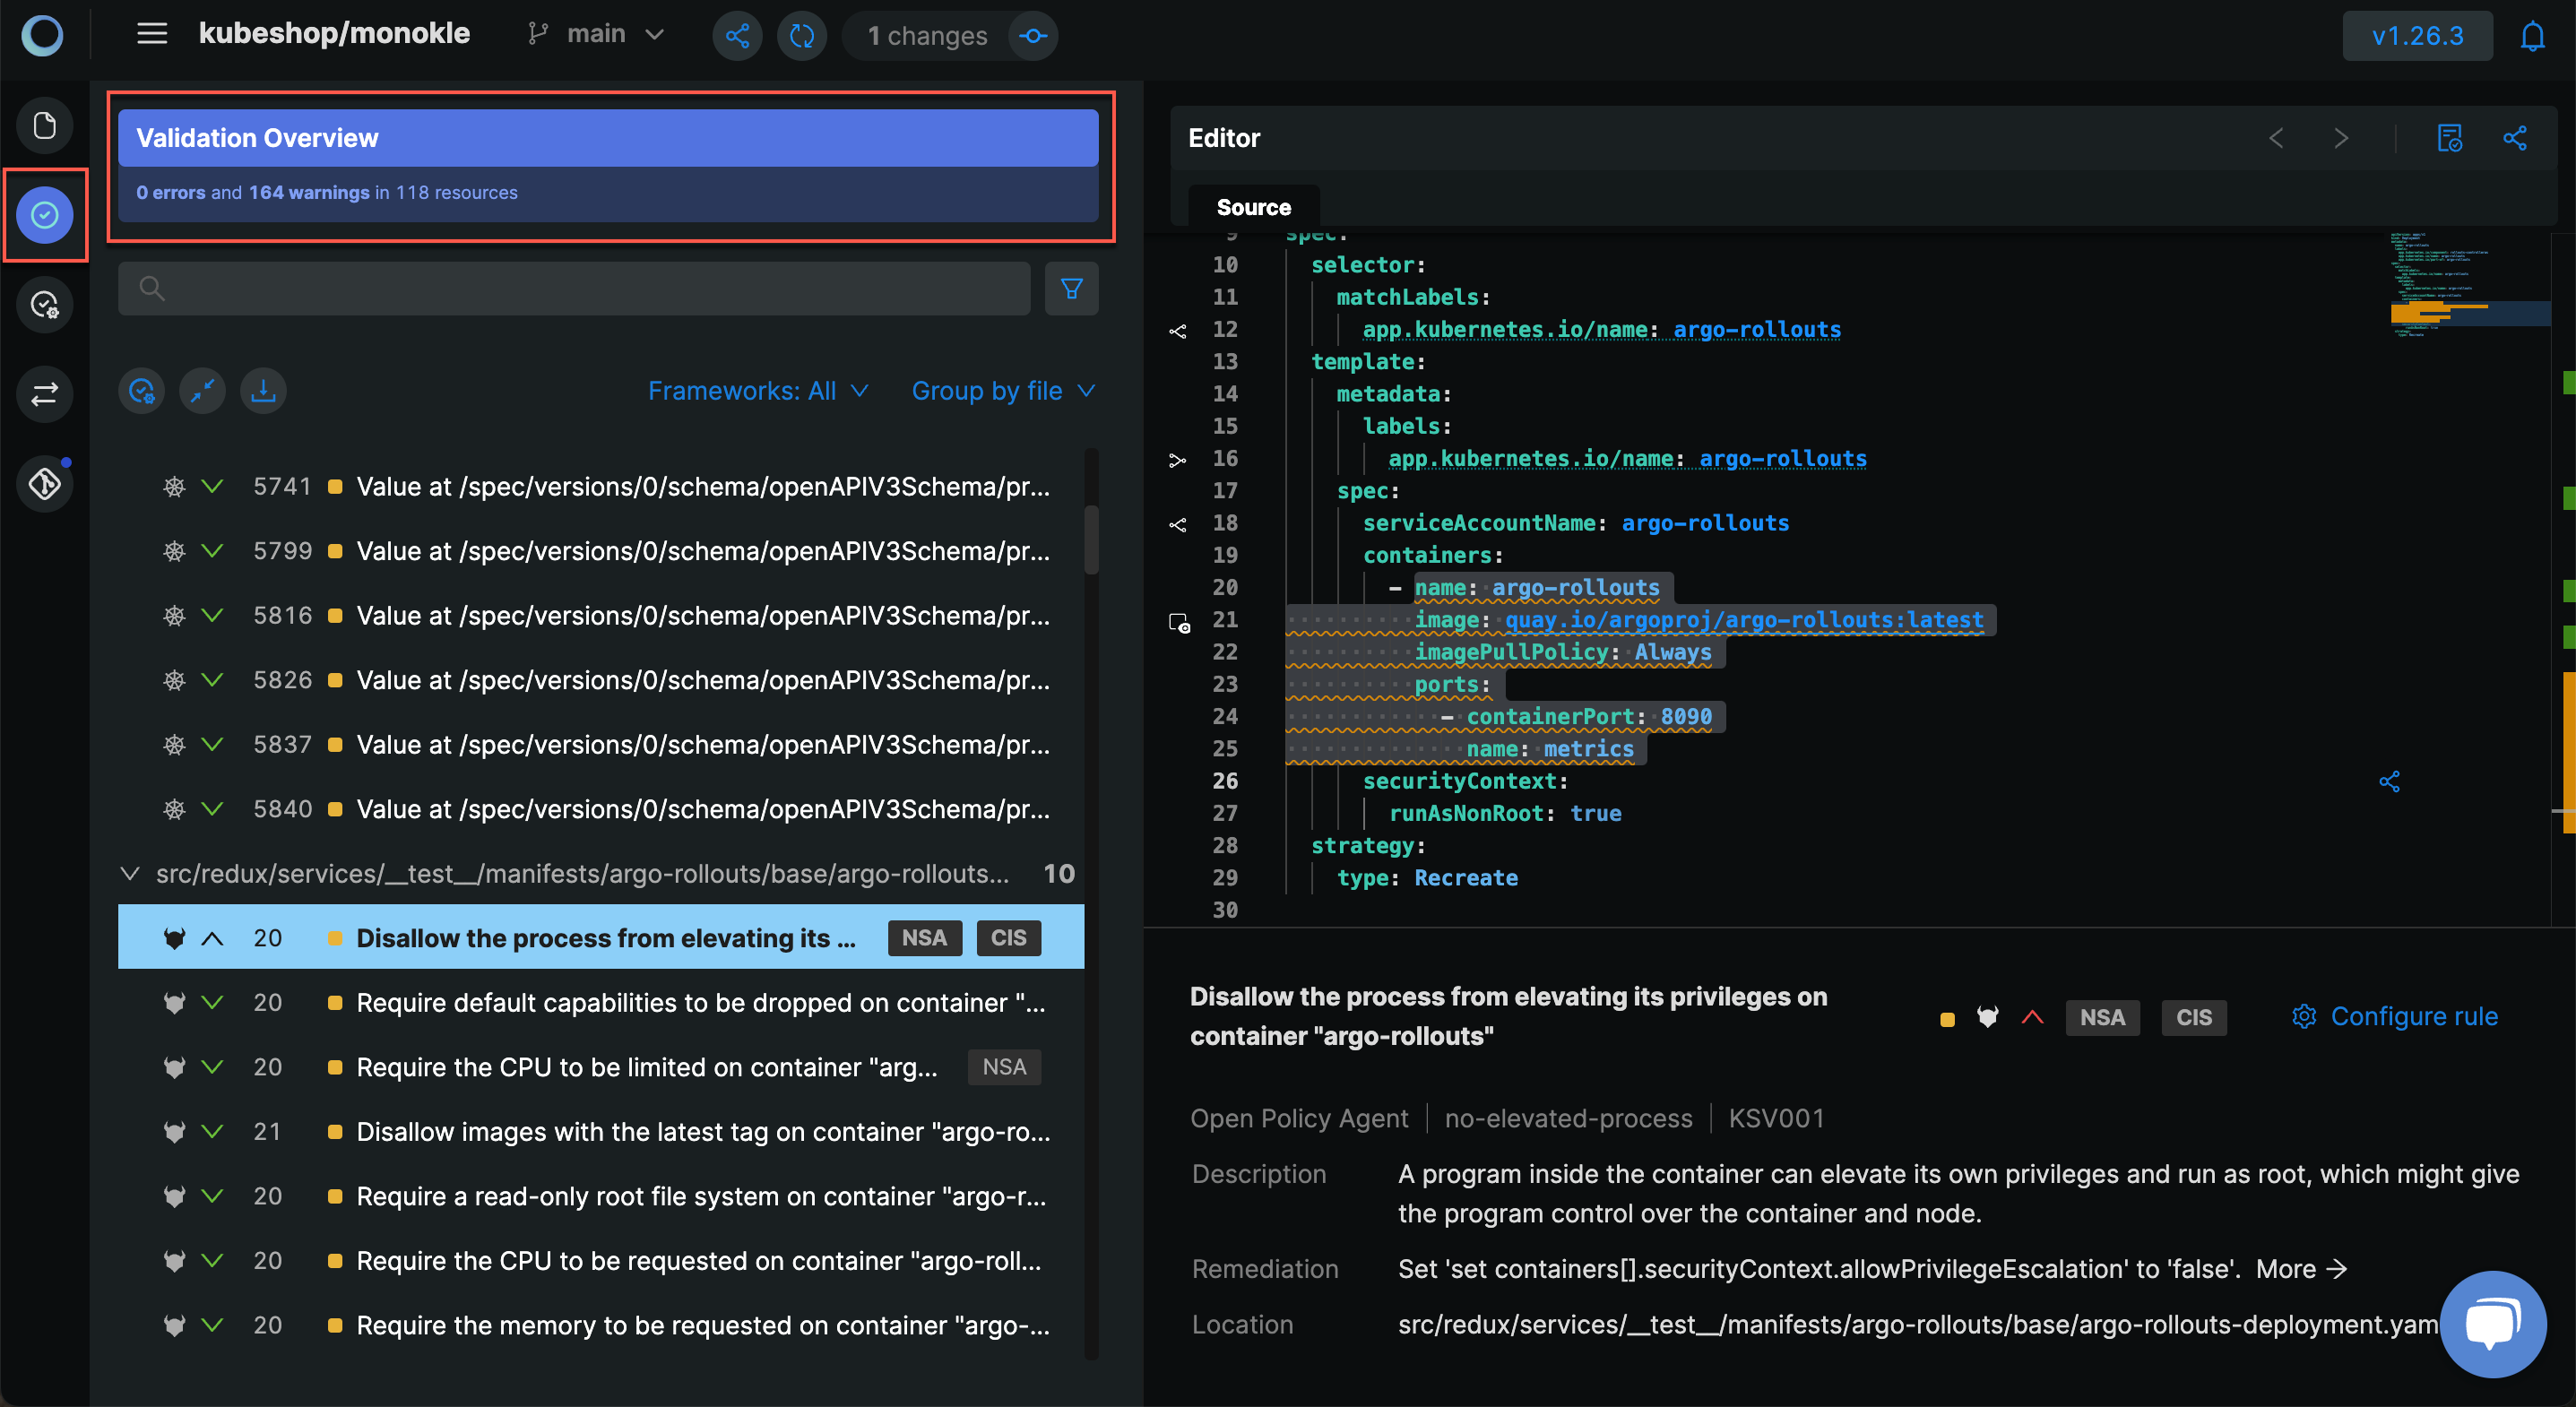
Configure validation based on your requirements and automate PR validations using GitHub Bot. Make use of the Editor to fix misconfigurations and raise the PR using Monokle Cloud.
In the next tutorial, you will learn how to enable policies specific to your requirements.