Forking a Repo
Forking an existing public repository with Kubernetes configurations is a great way to both put Monokle Cloud through its paces and to find/fix possible misconfigurations in the repository so you can contribute your improvements back to the project.
The process breaks down into two parts:
- Cloning the repo itself.
- Configuring it for Monokle Cloud by installing/configuring the Monokle Cloud GitHub App.
Let’s walk through a quick example of this:
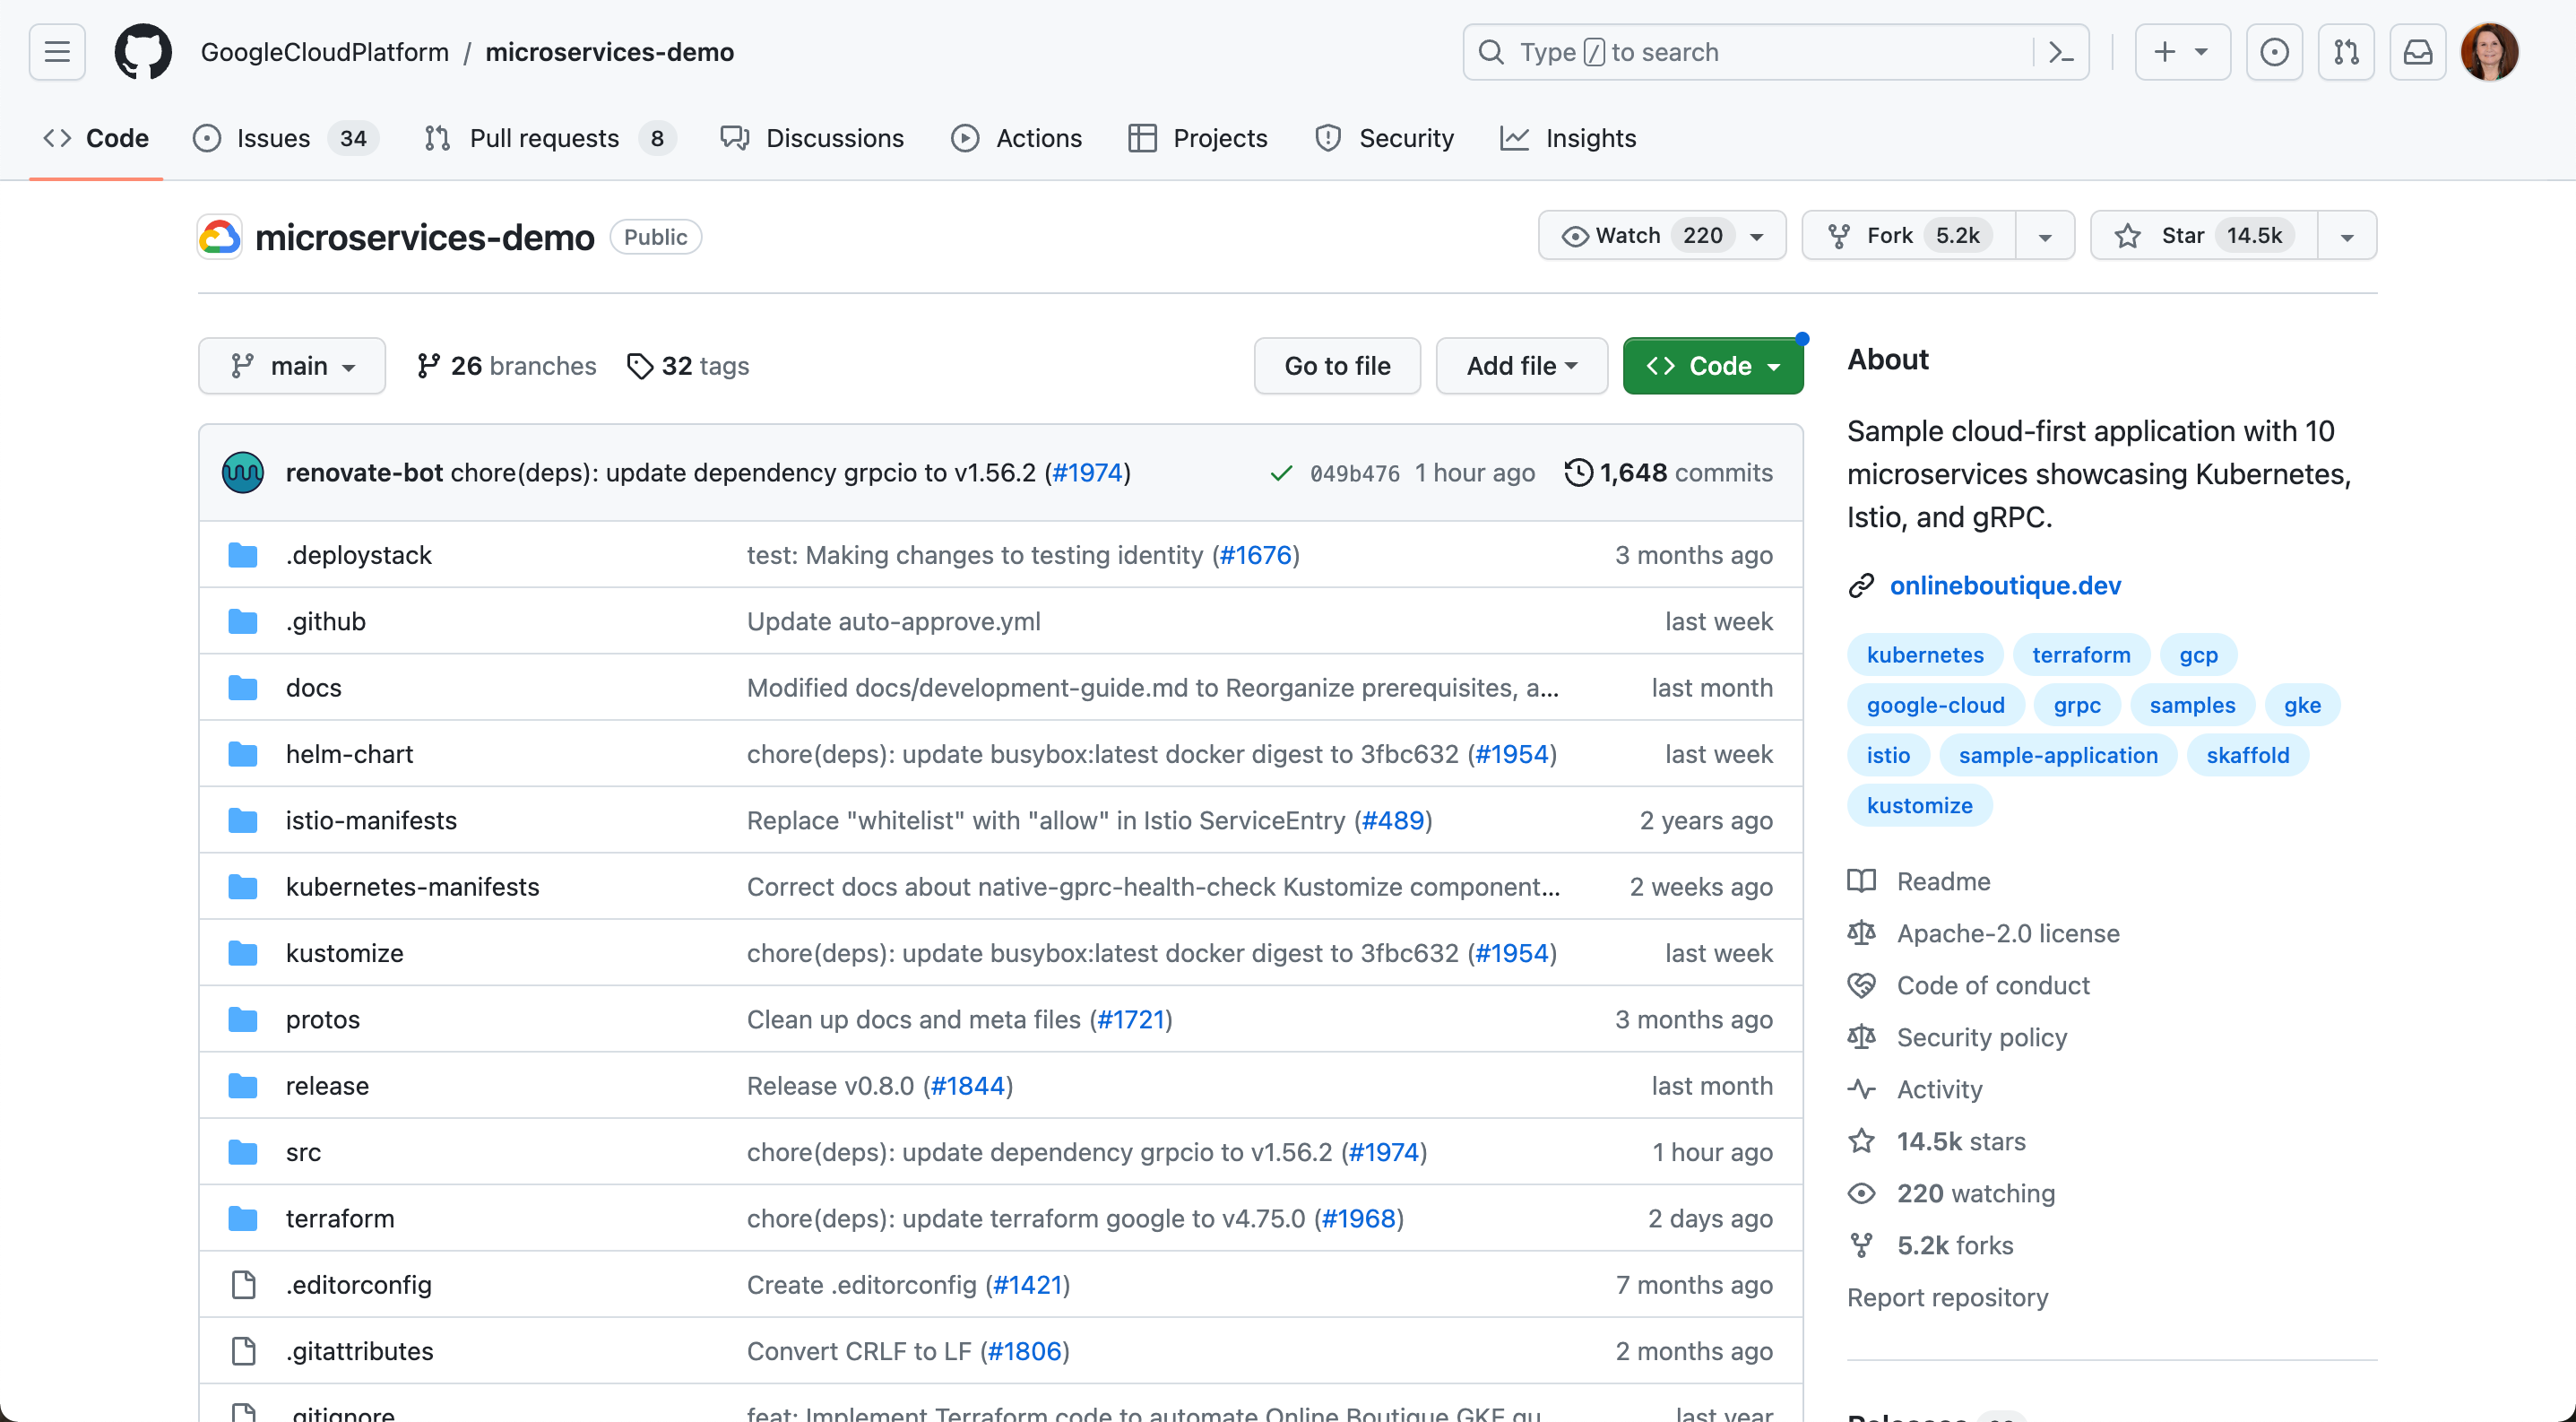
1. Go to the repo you want to fork
We’ll use the Google MicroServices demo repository at https://github.com/GoogleCloudPlatform/microservices-demo.
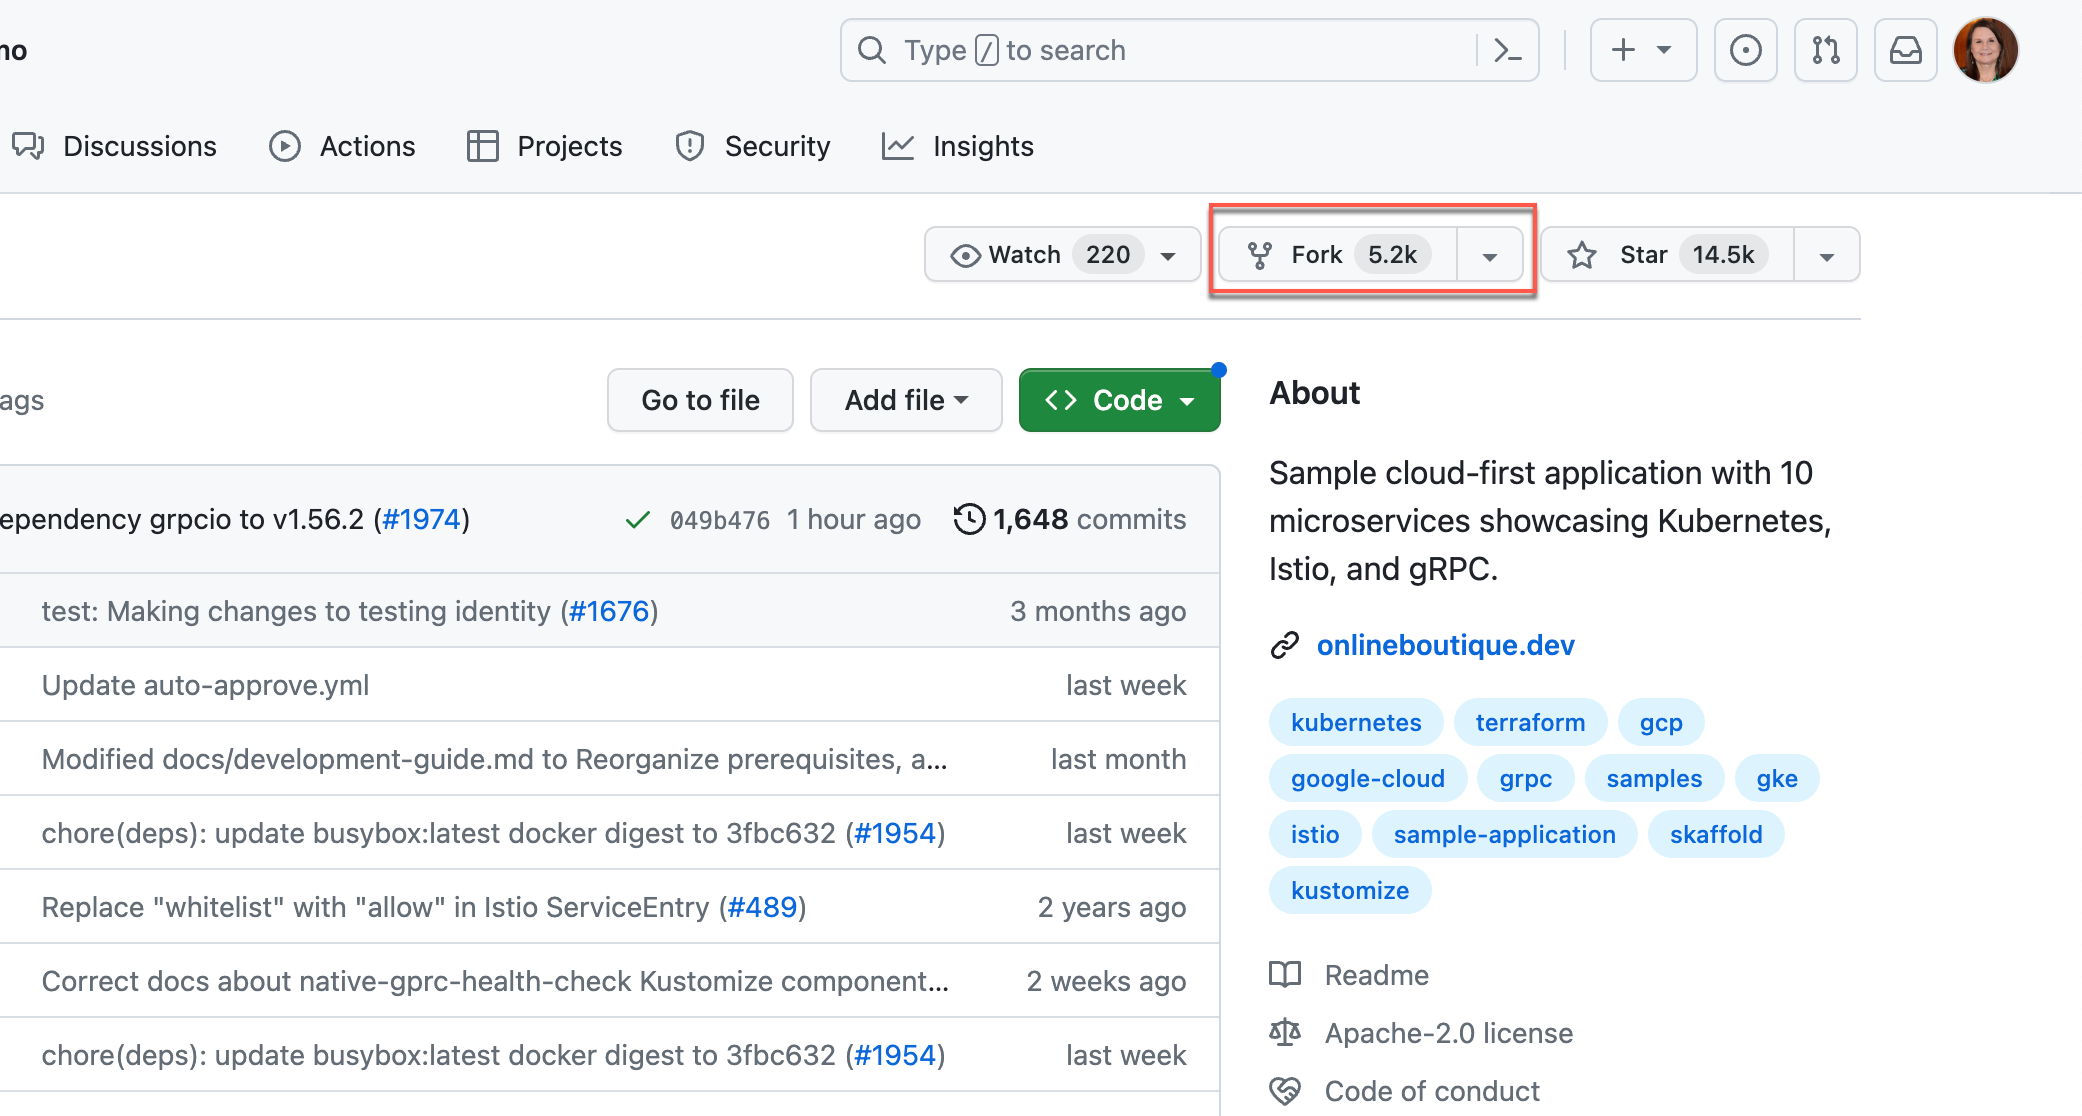
2. Select the “Fork” action on the top-right
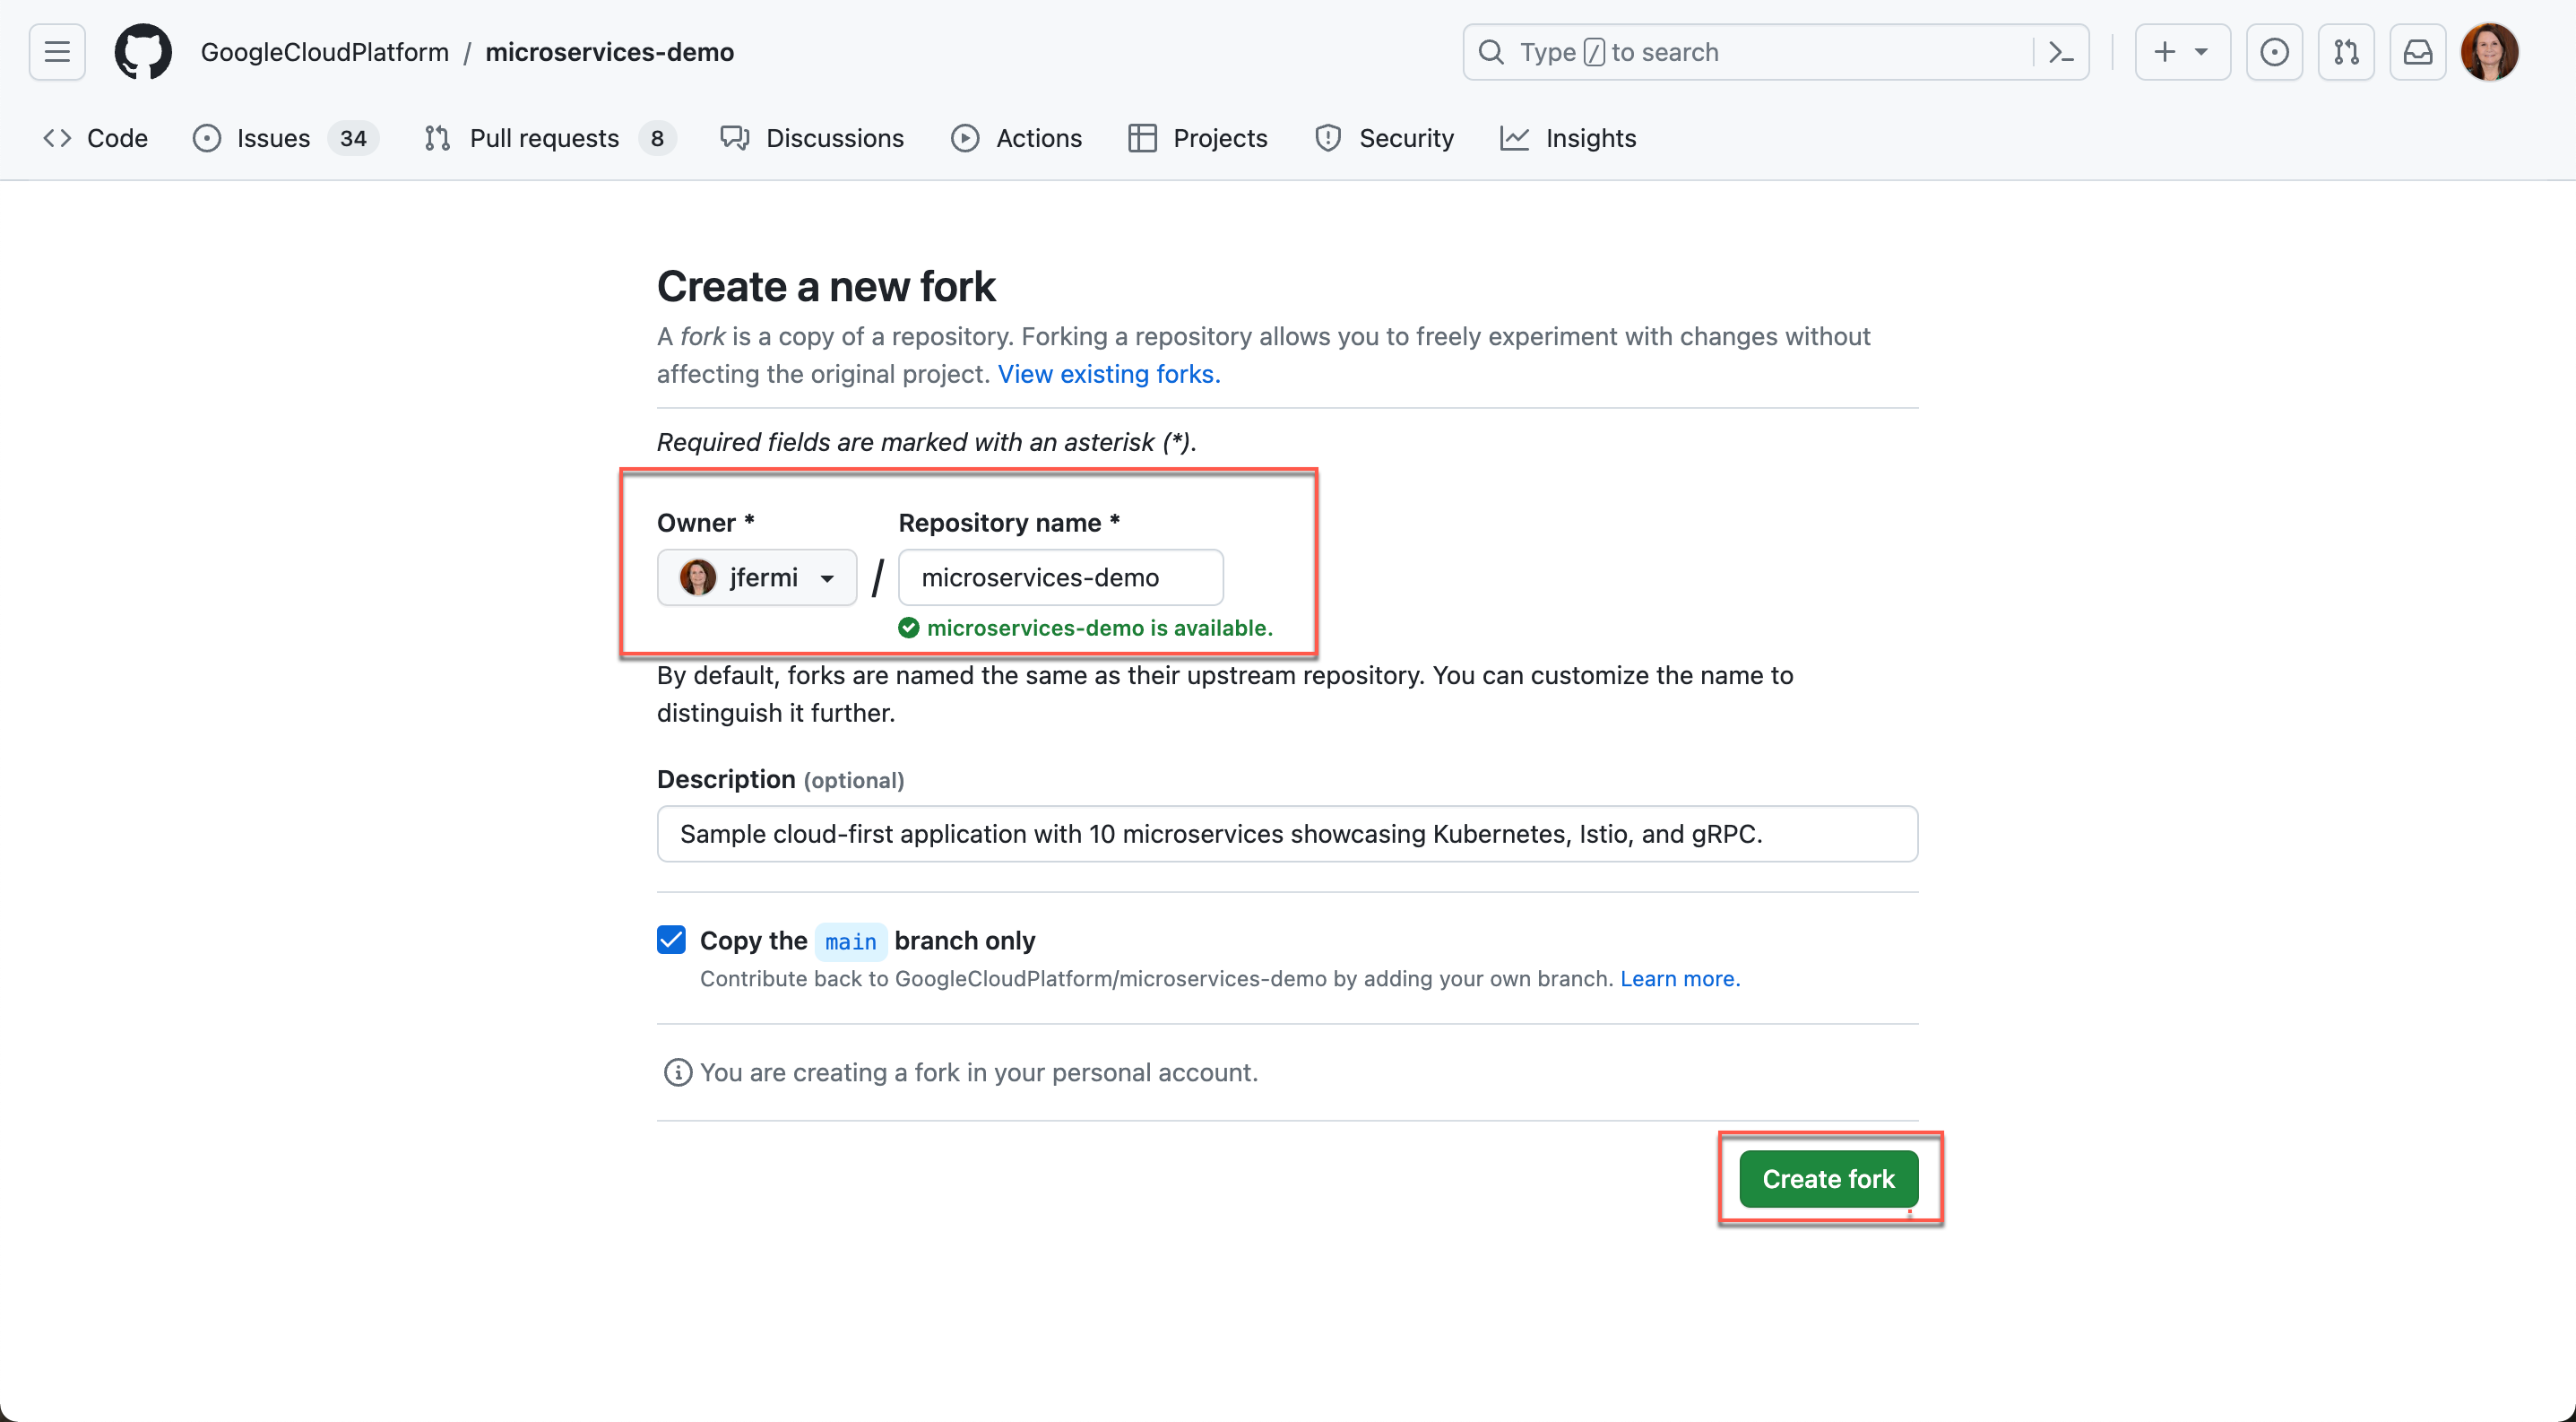
3. Select GitHub Account
On the next screen, select to which GitHub account you want to fork the repo - presumably your personal account, and select Create Fork:
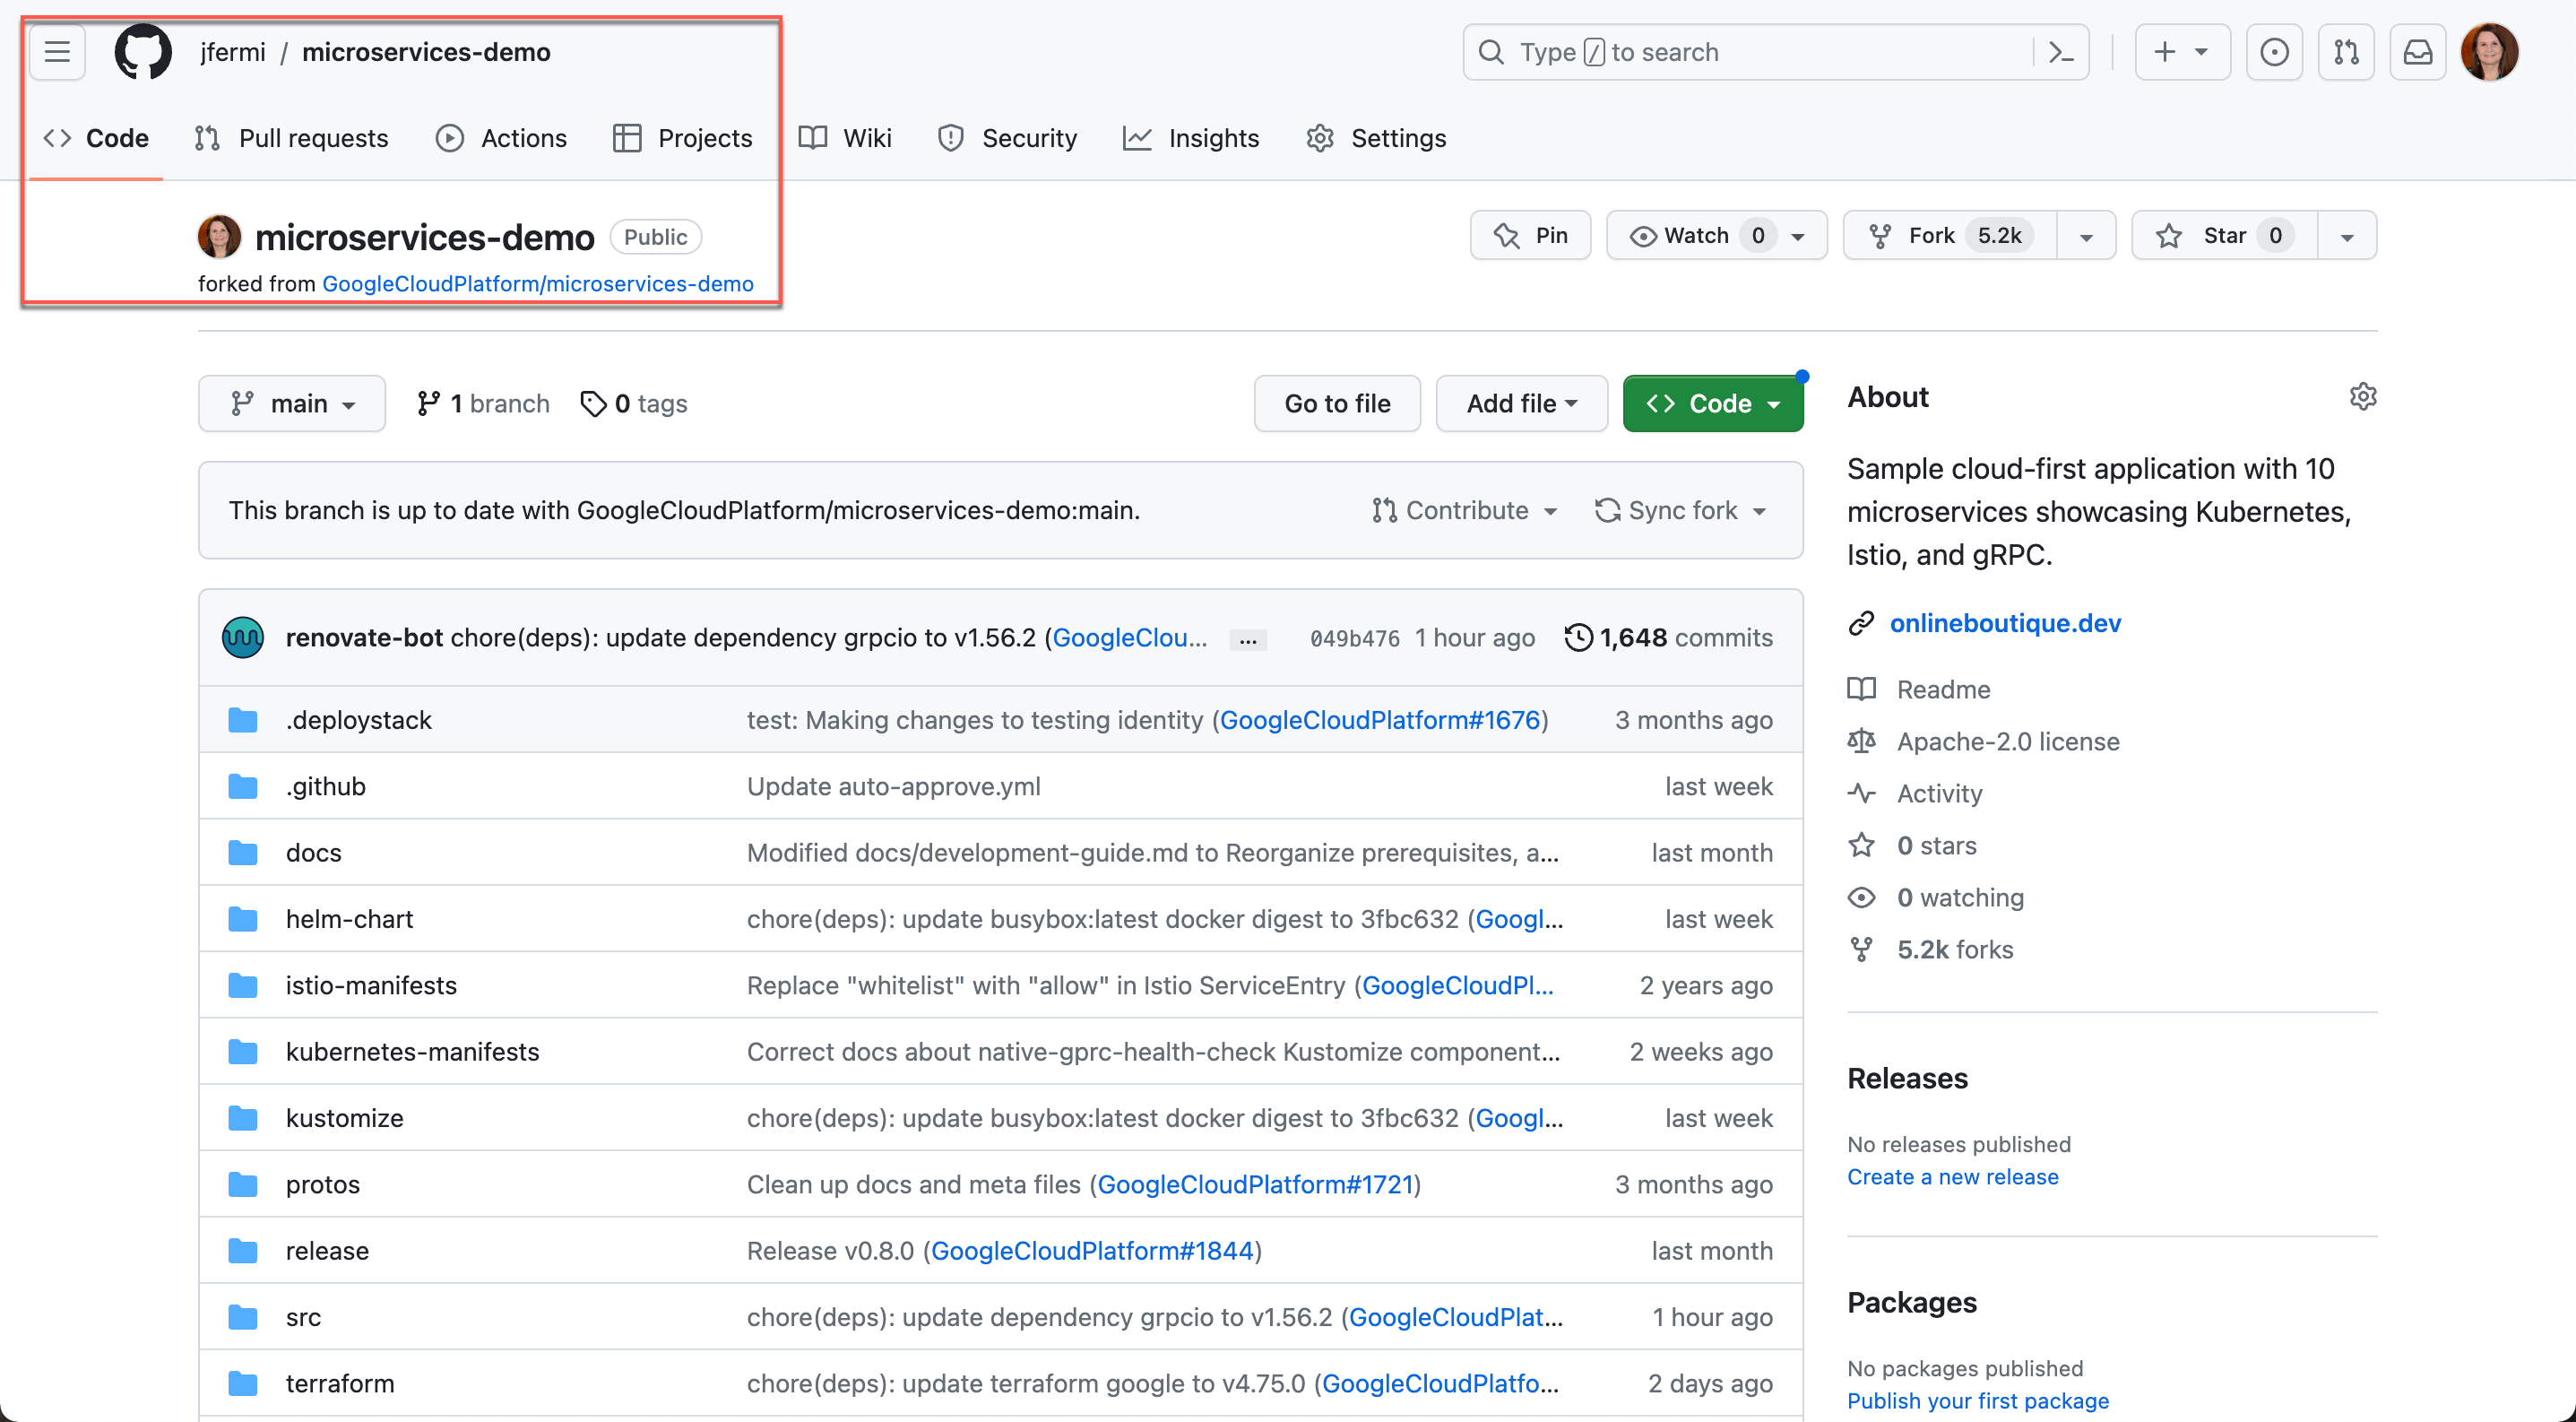
4. Wait for GitHub to do its magic
Eventually, you’ll see the repo under your account.
5. Install
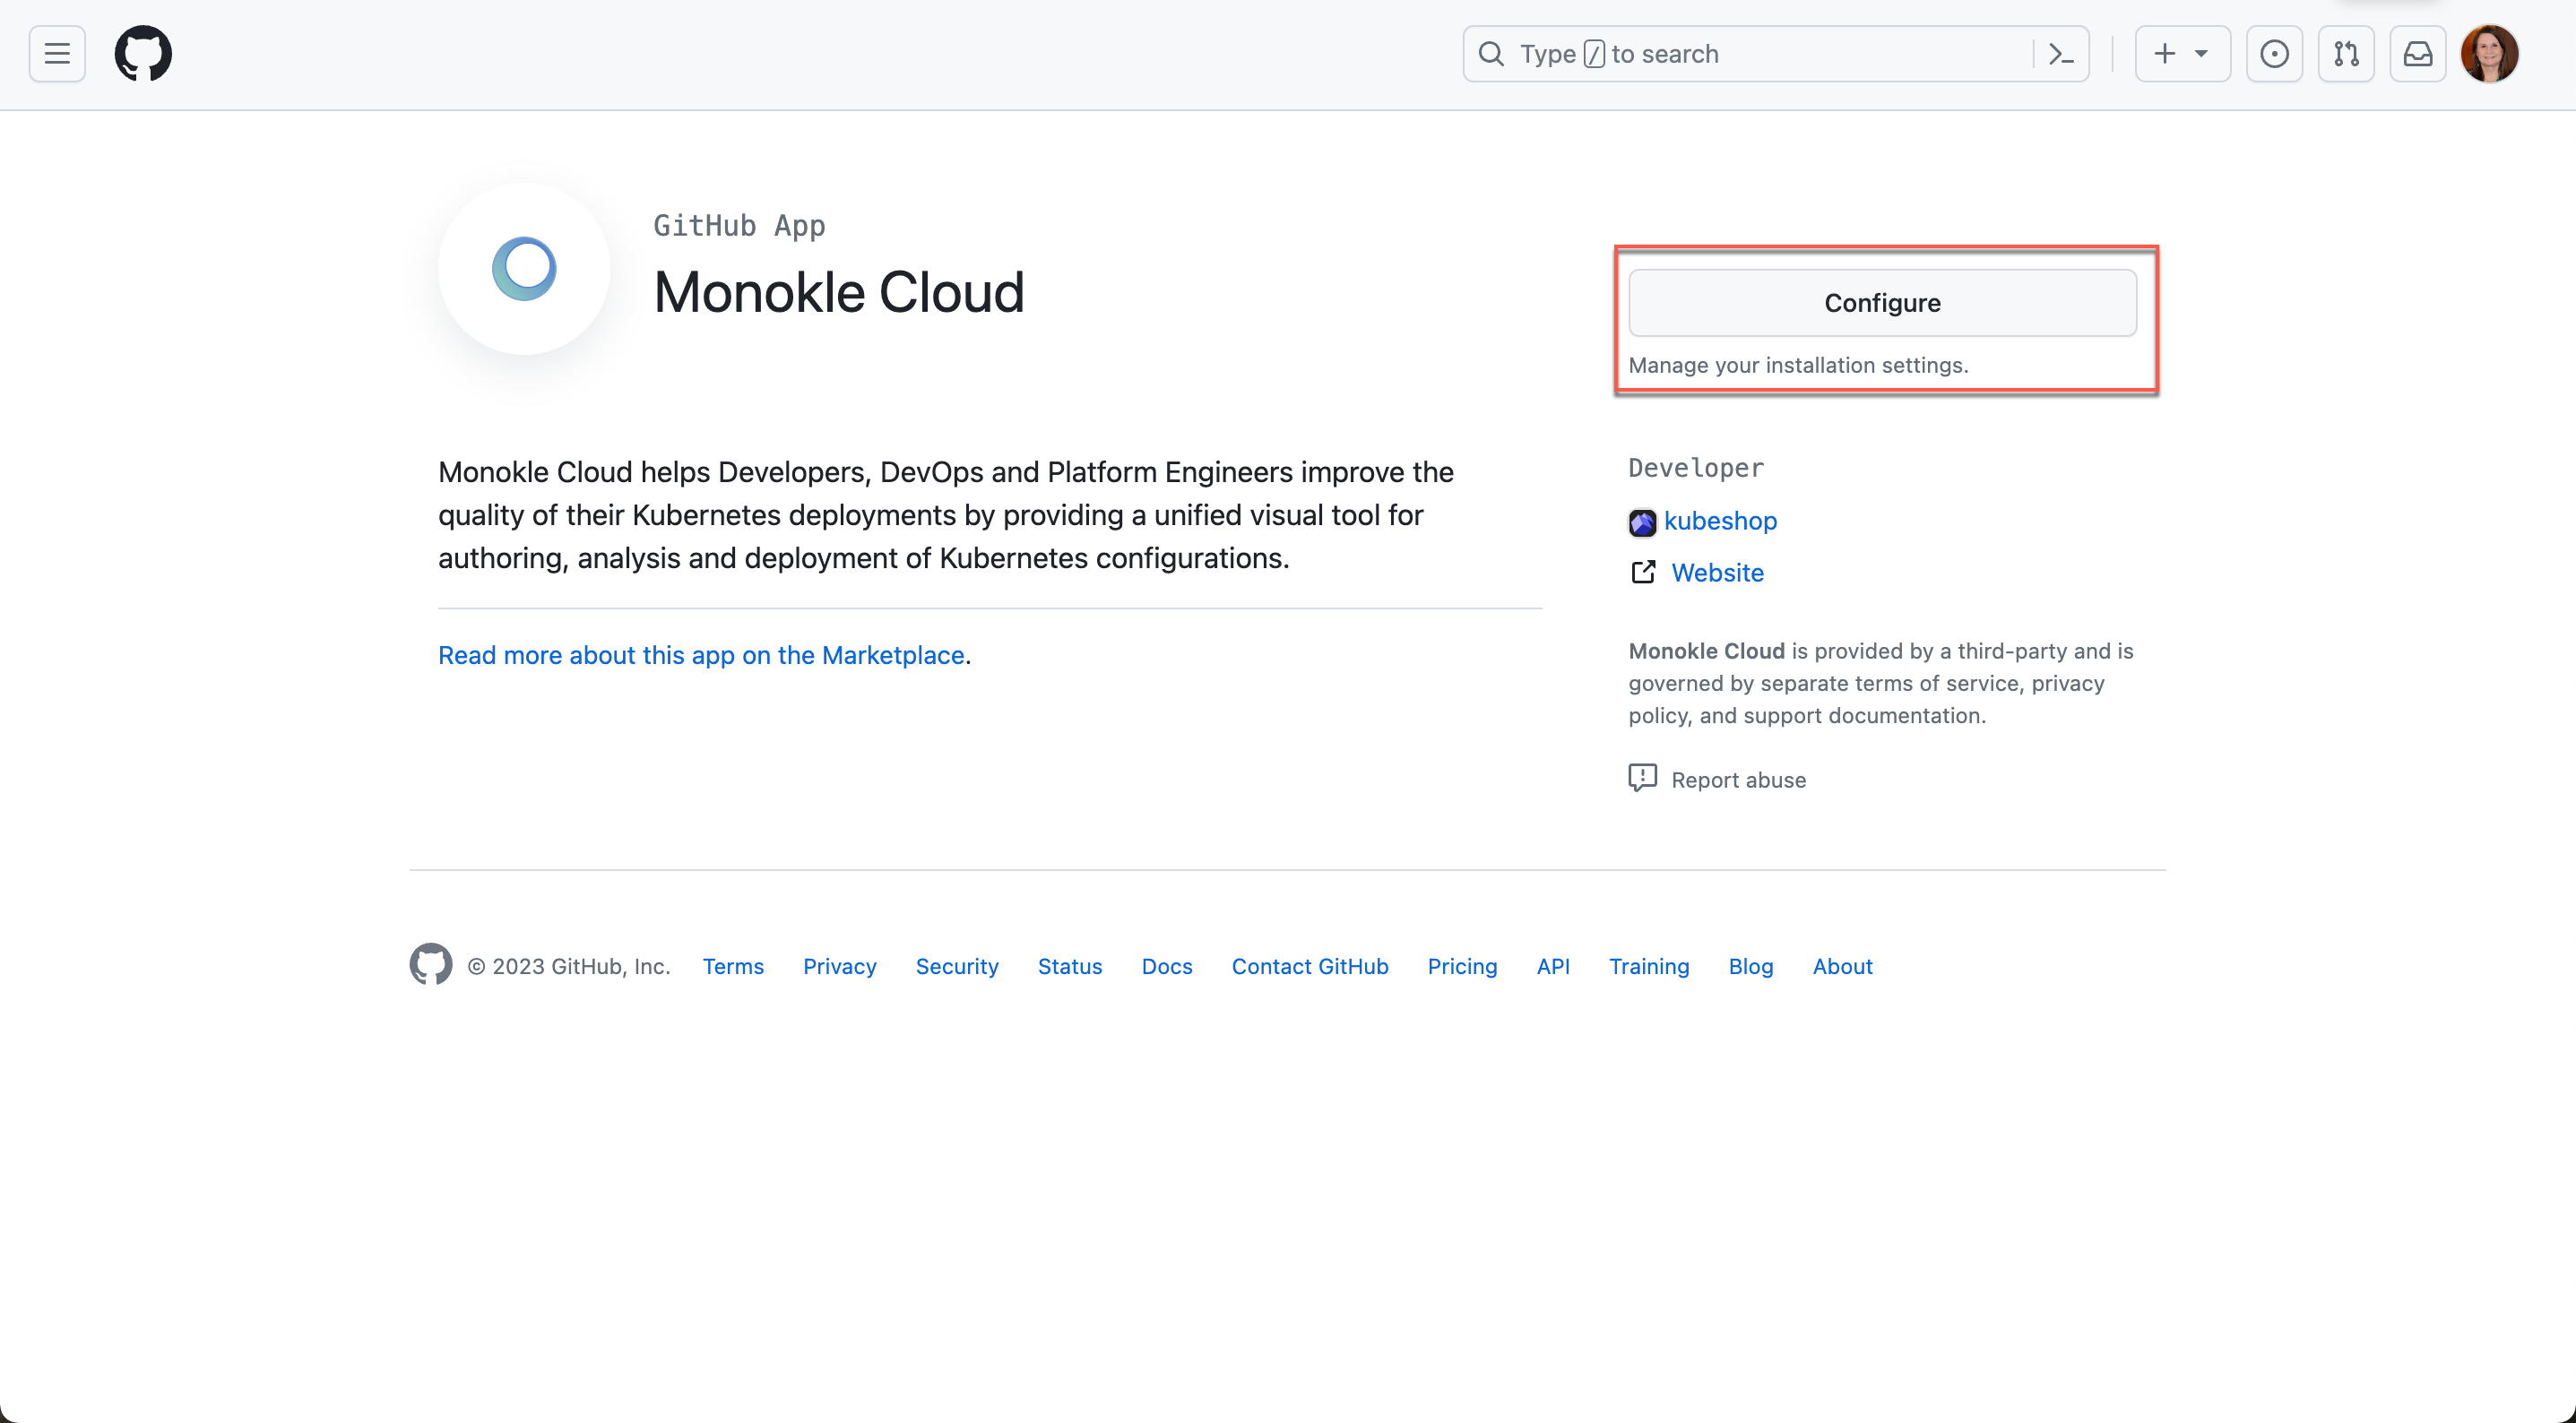
To make full use of the Monokle Cloud PR Validation functionality, you’ll need to install/configure the Monokle Cloud App for the cloned repository. Go to the Monokle Cloud App in the GitHub Application Directory - https://github.com/apps/monokle-cloud
6. Configure
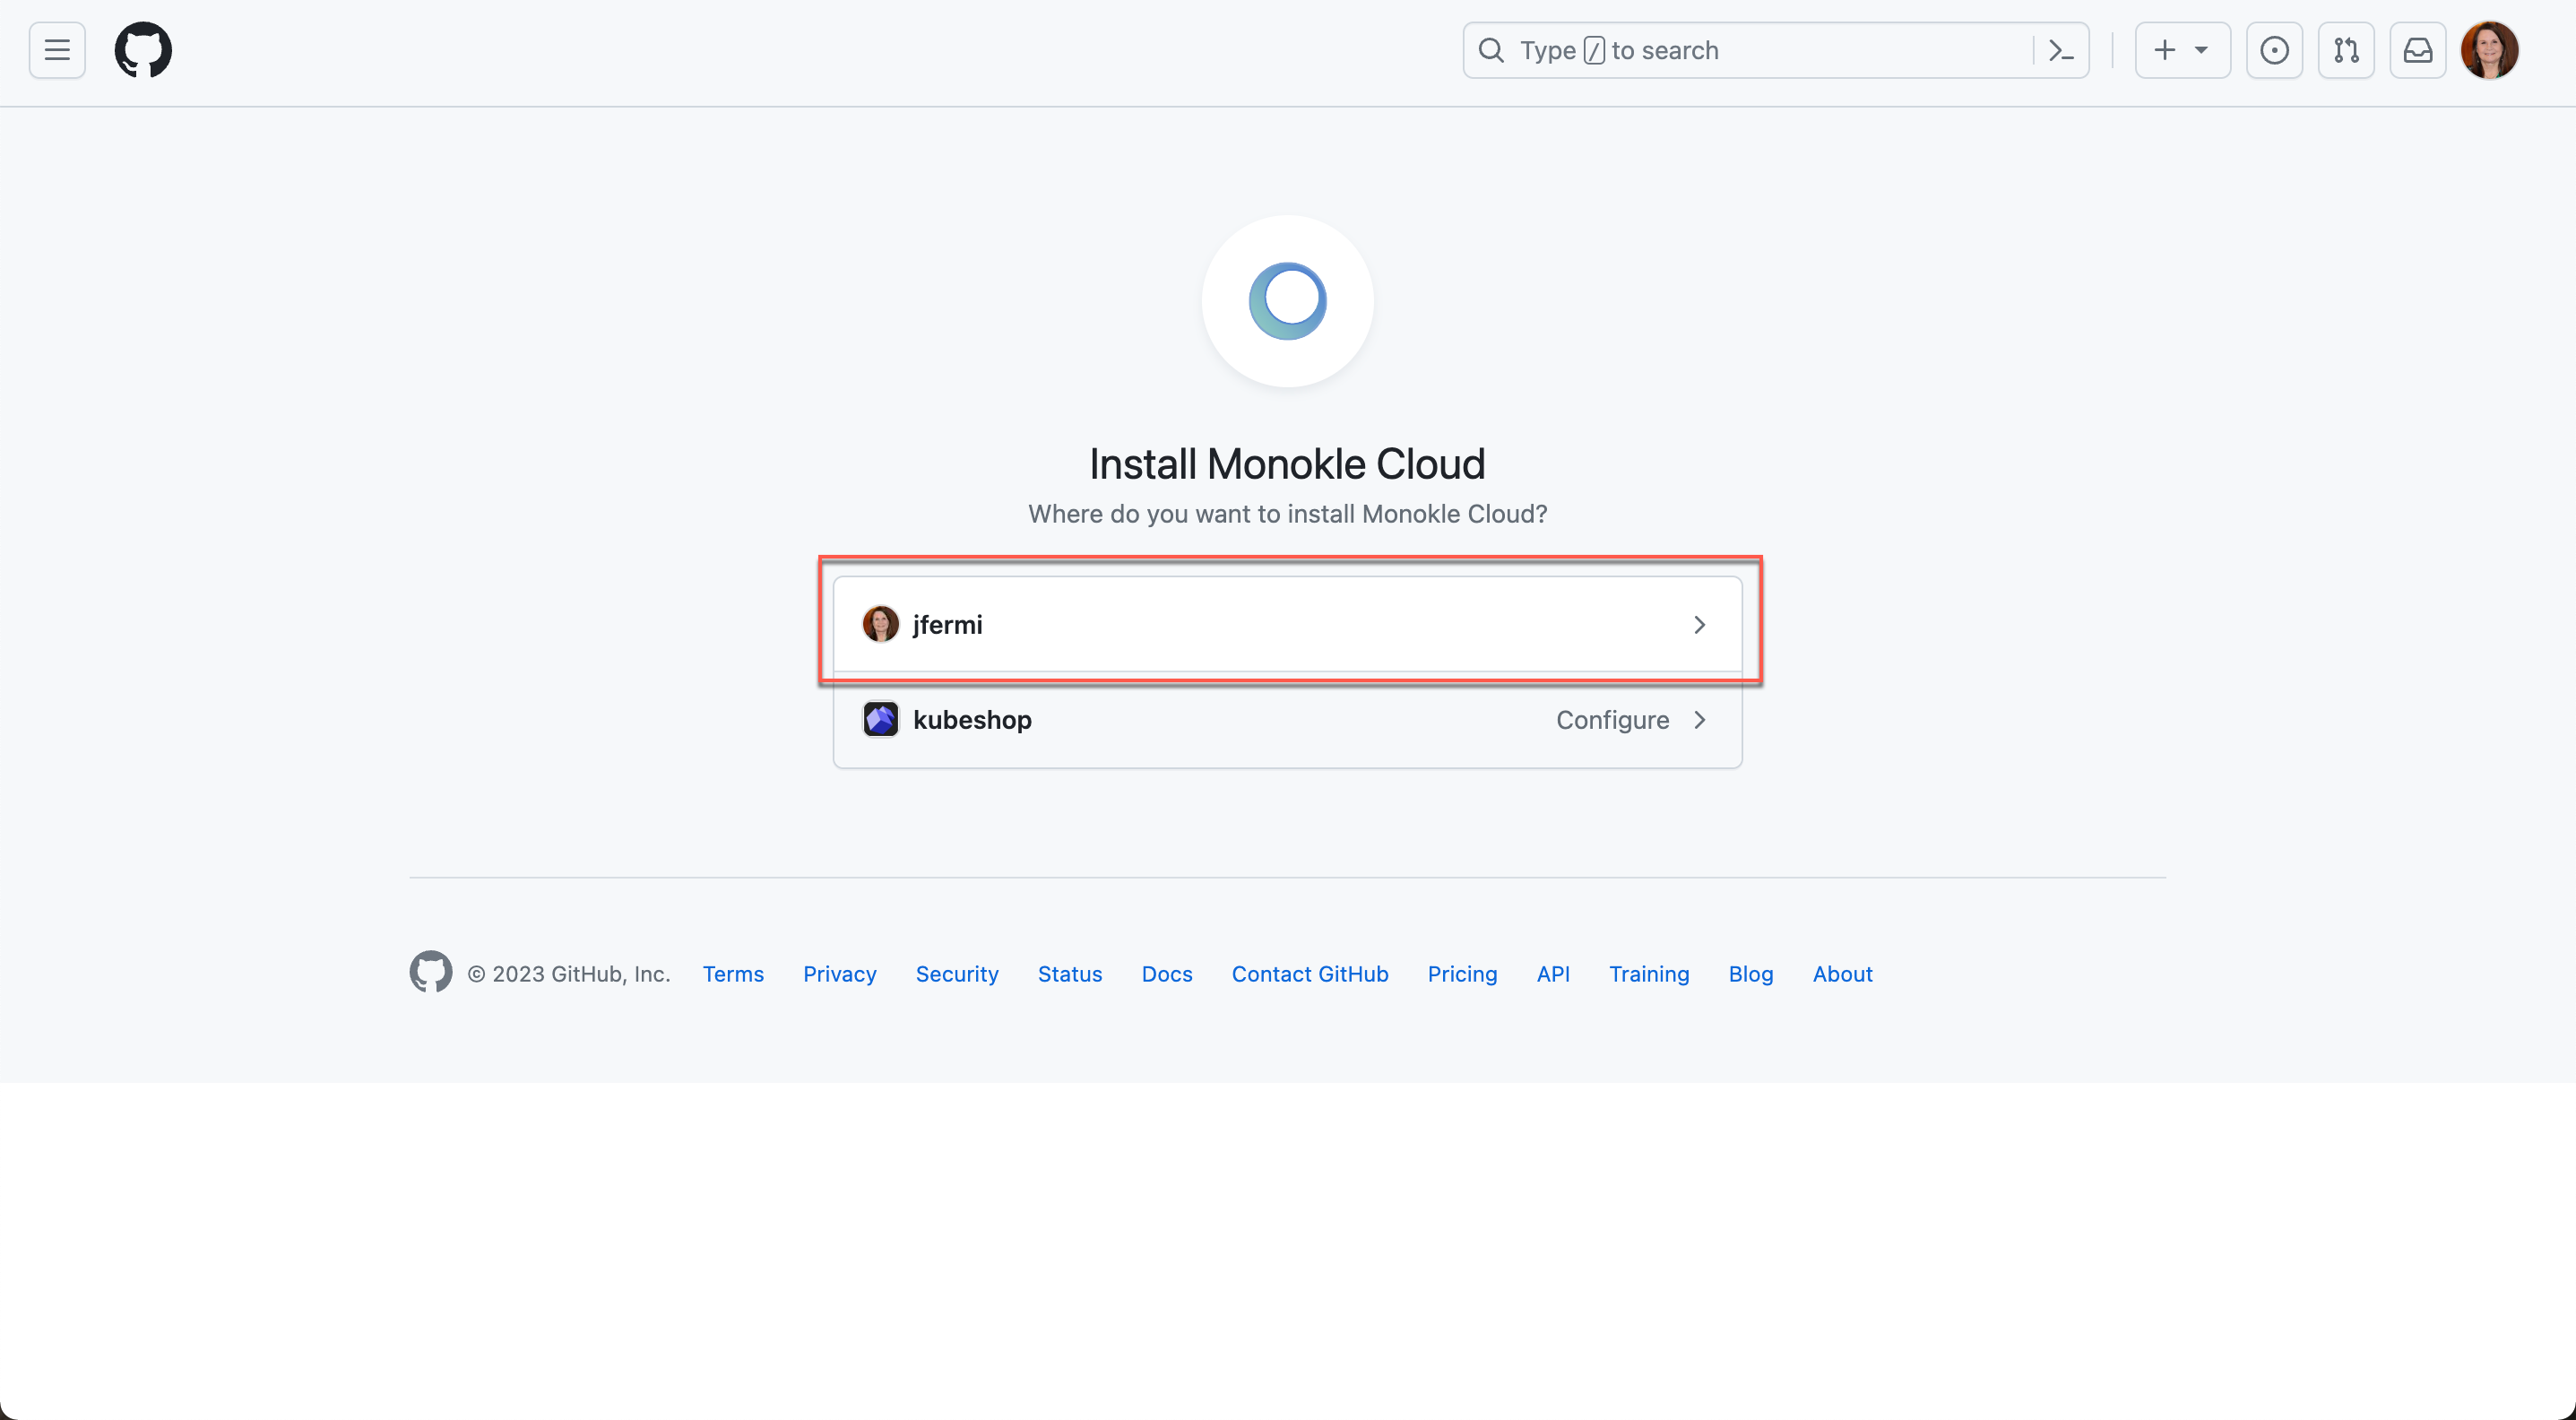
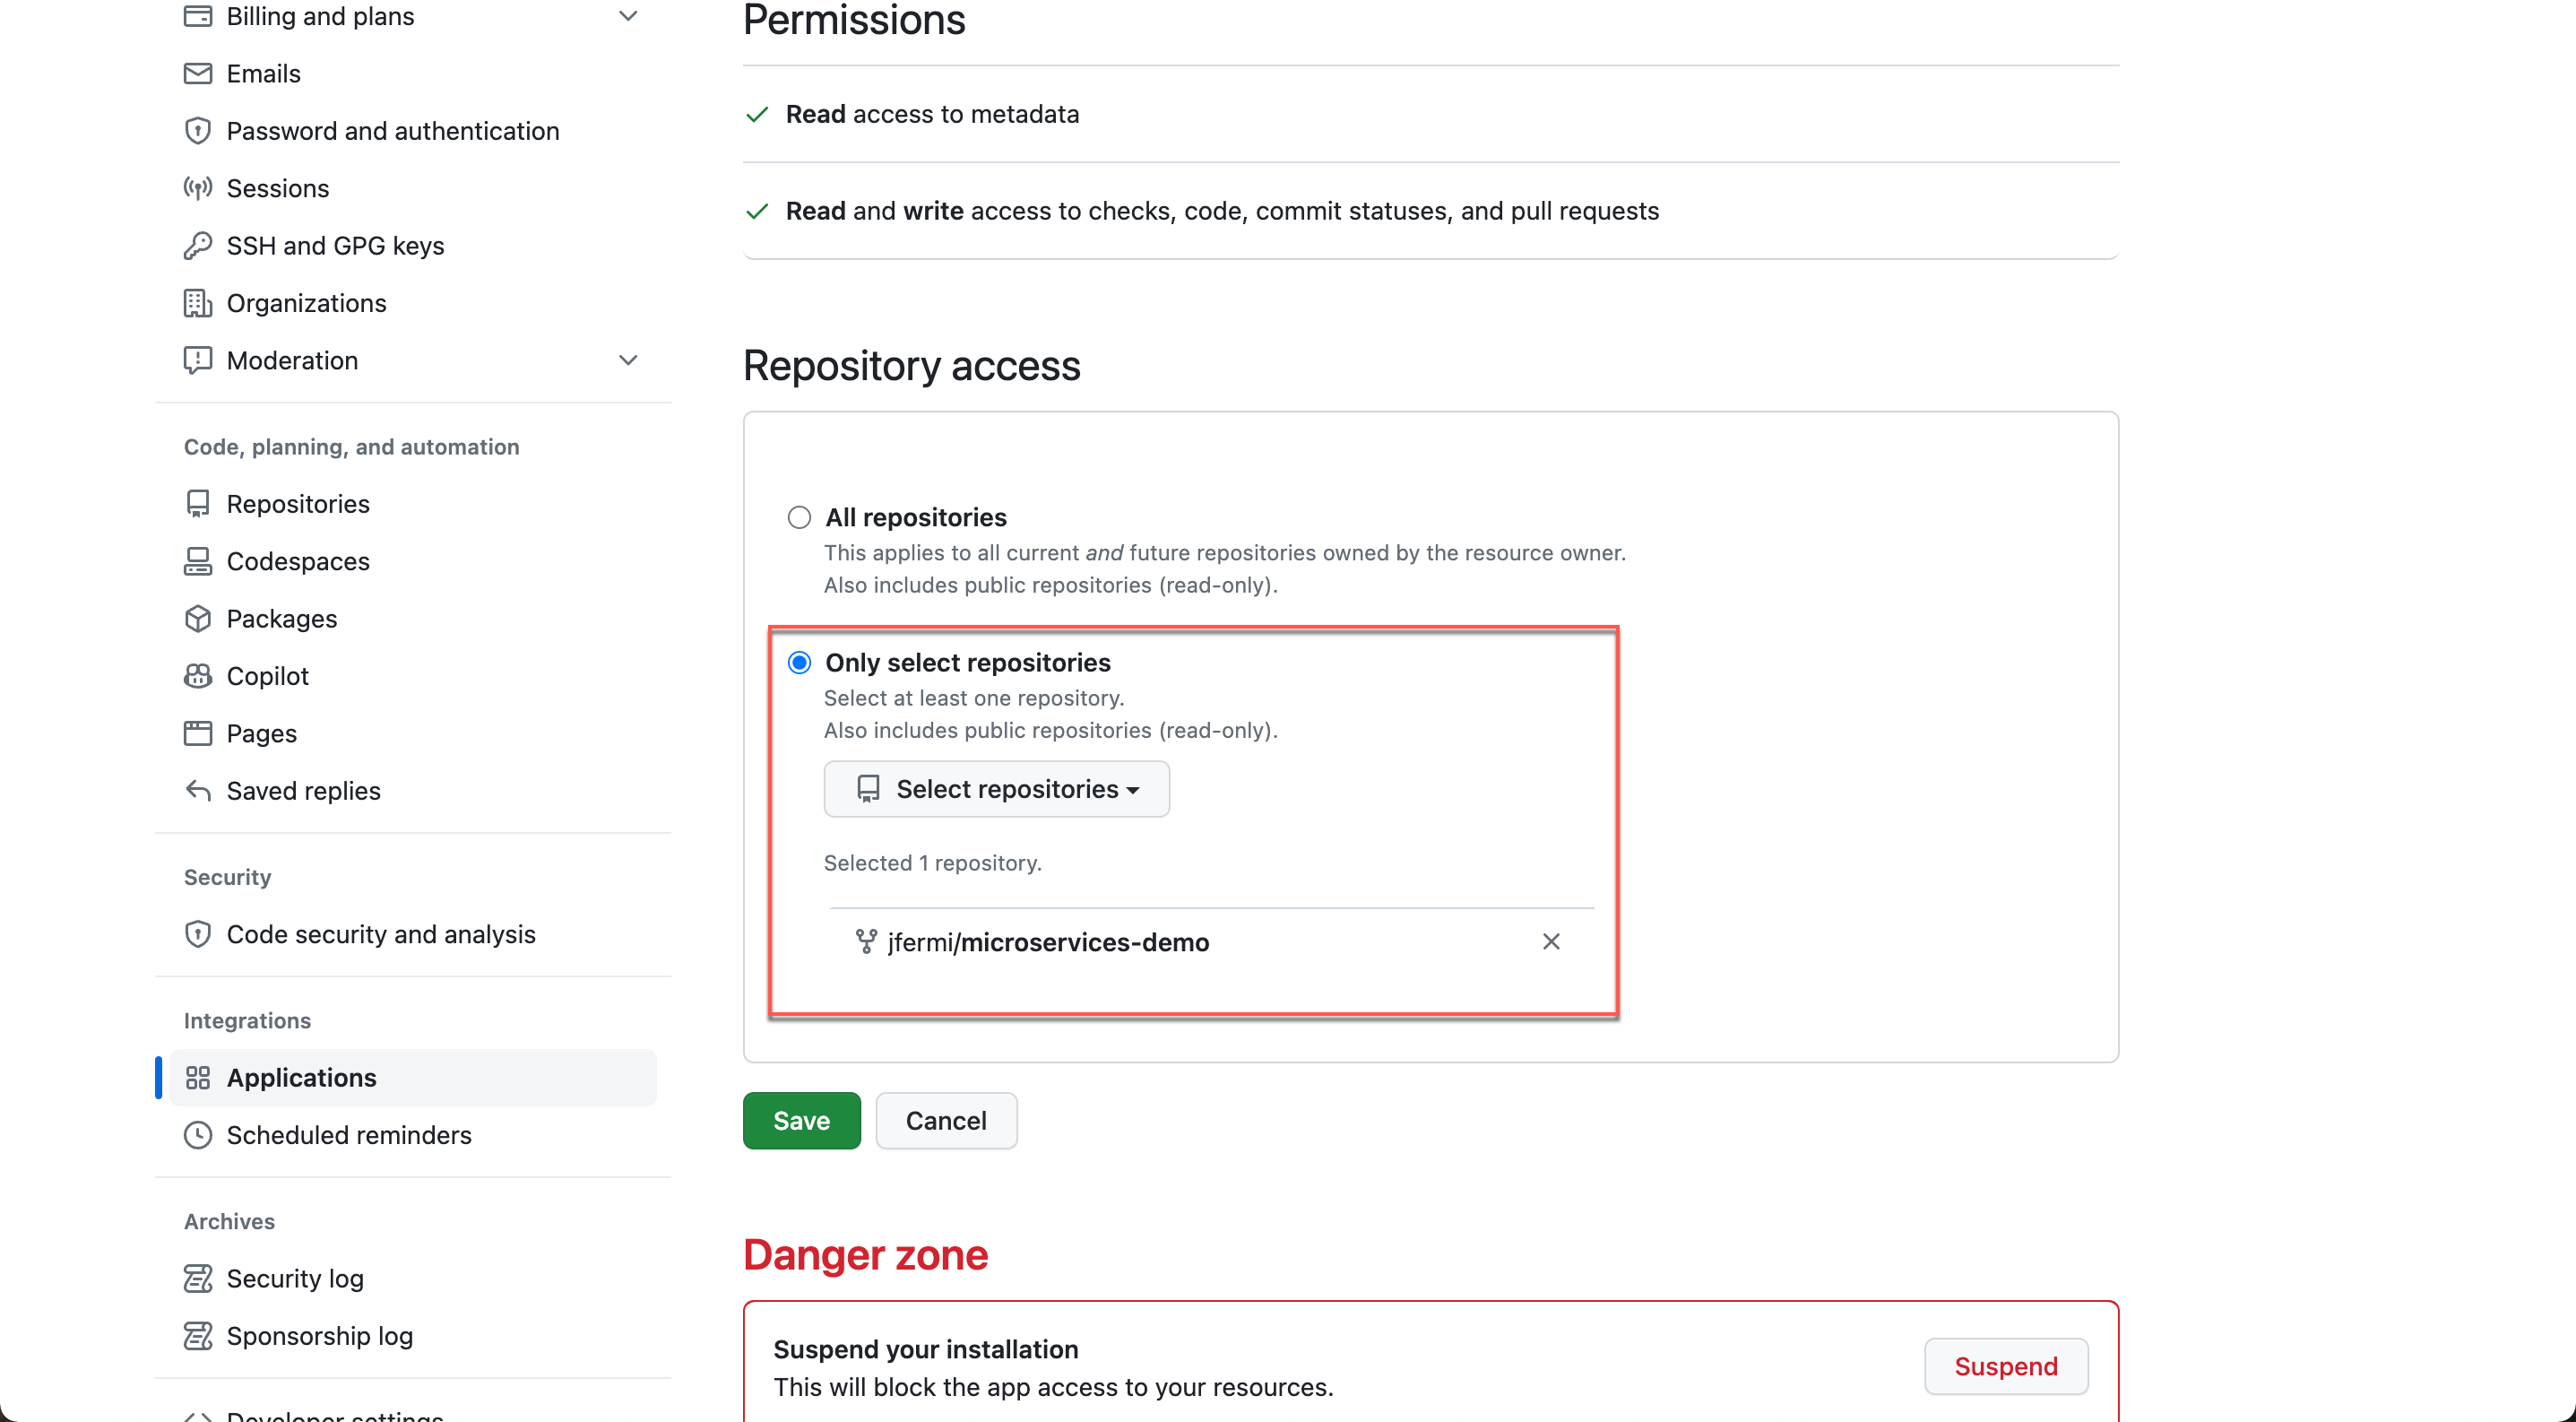
Select the “Configure” button on the top right - and select to enable it for your account and forked repository:
Then, select to enable it for your account and forked repository:
7. Save your changes
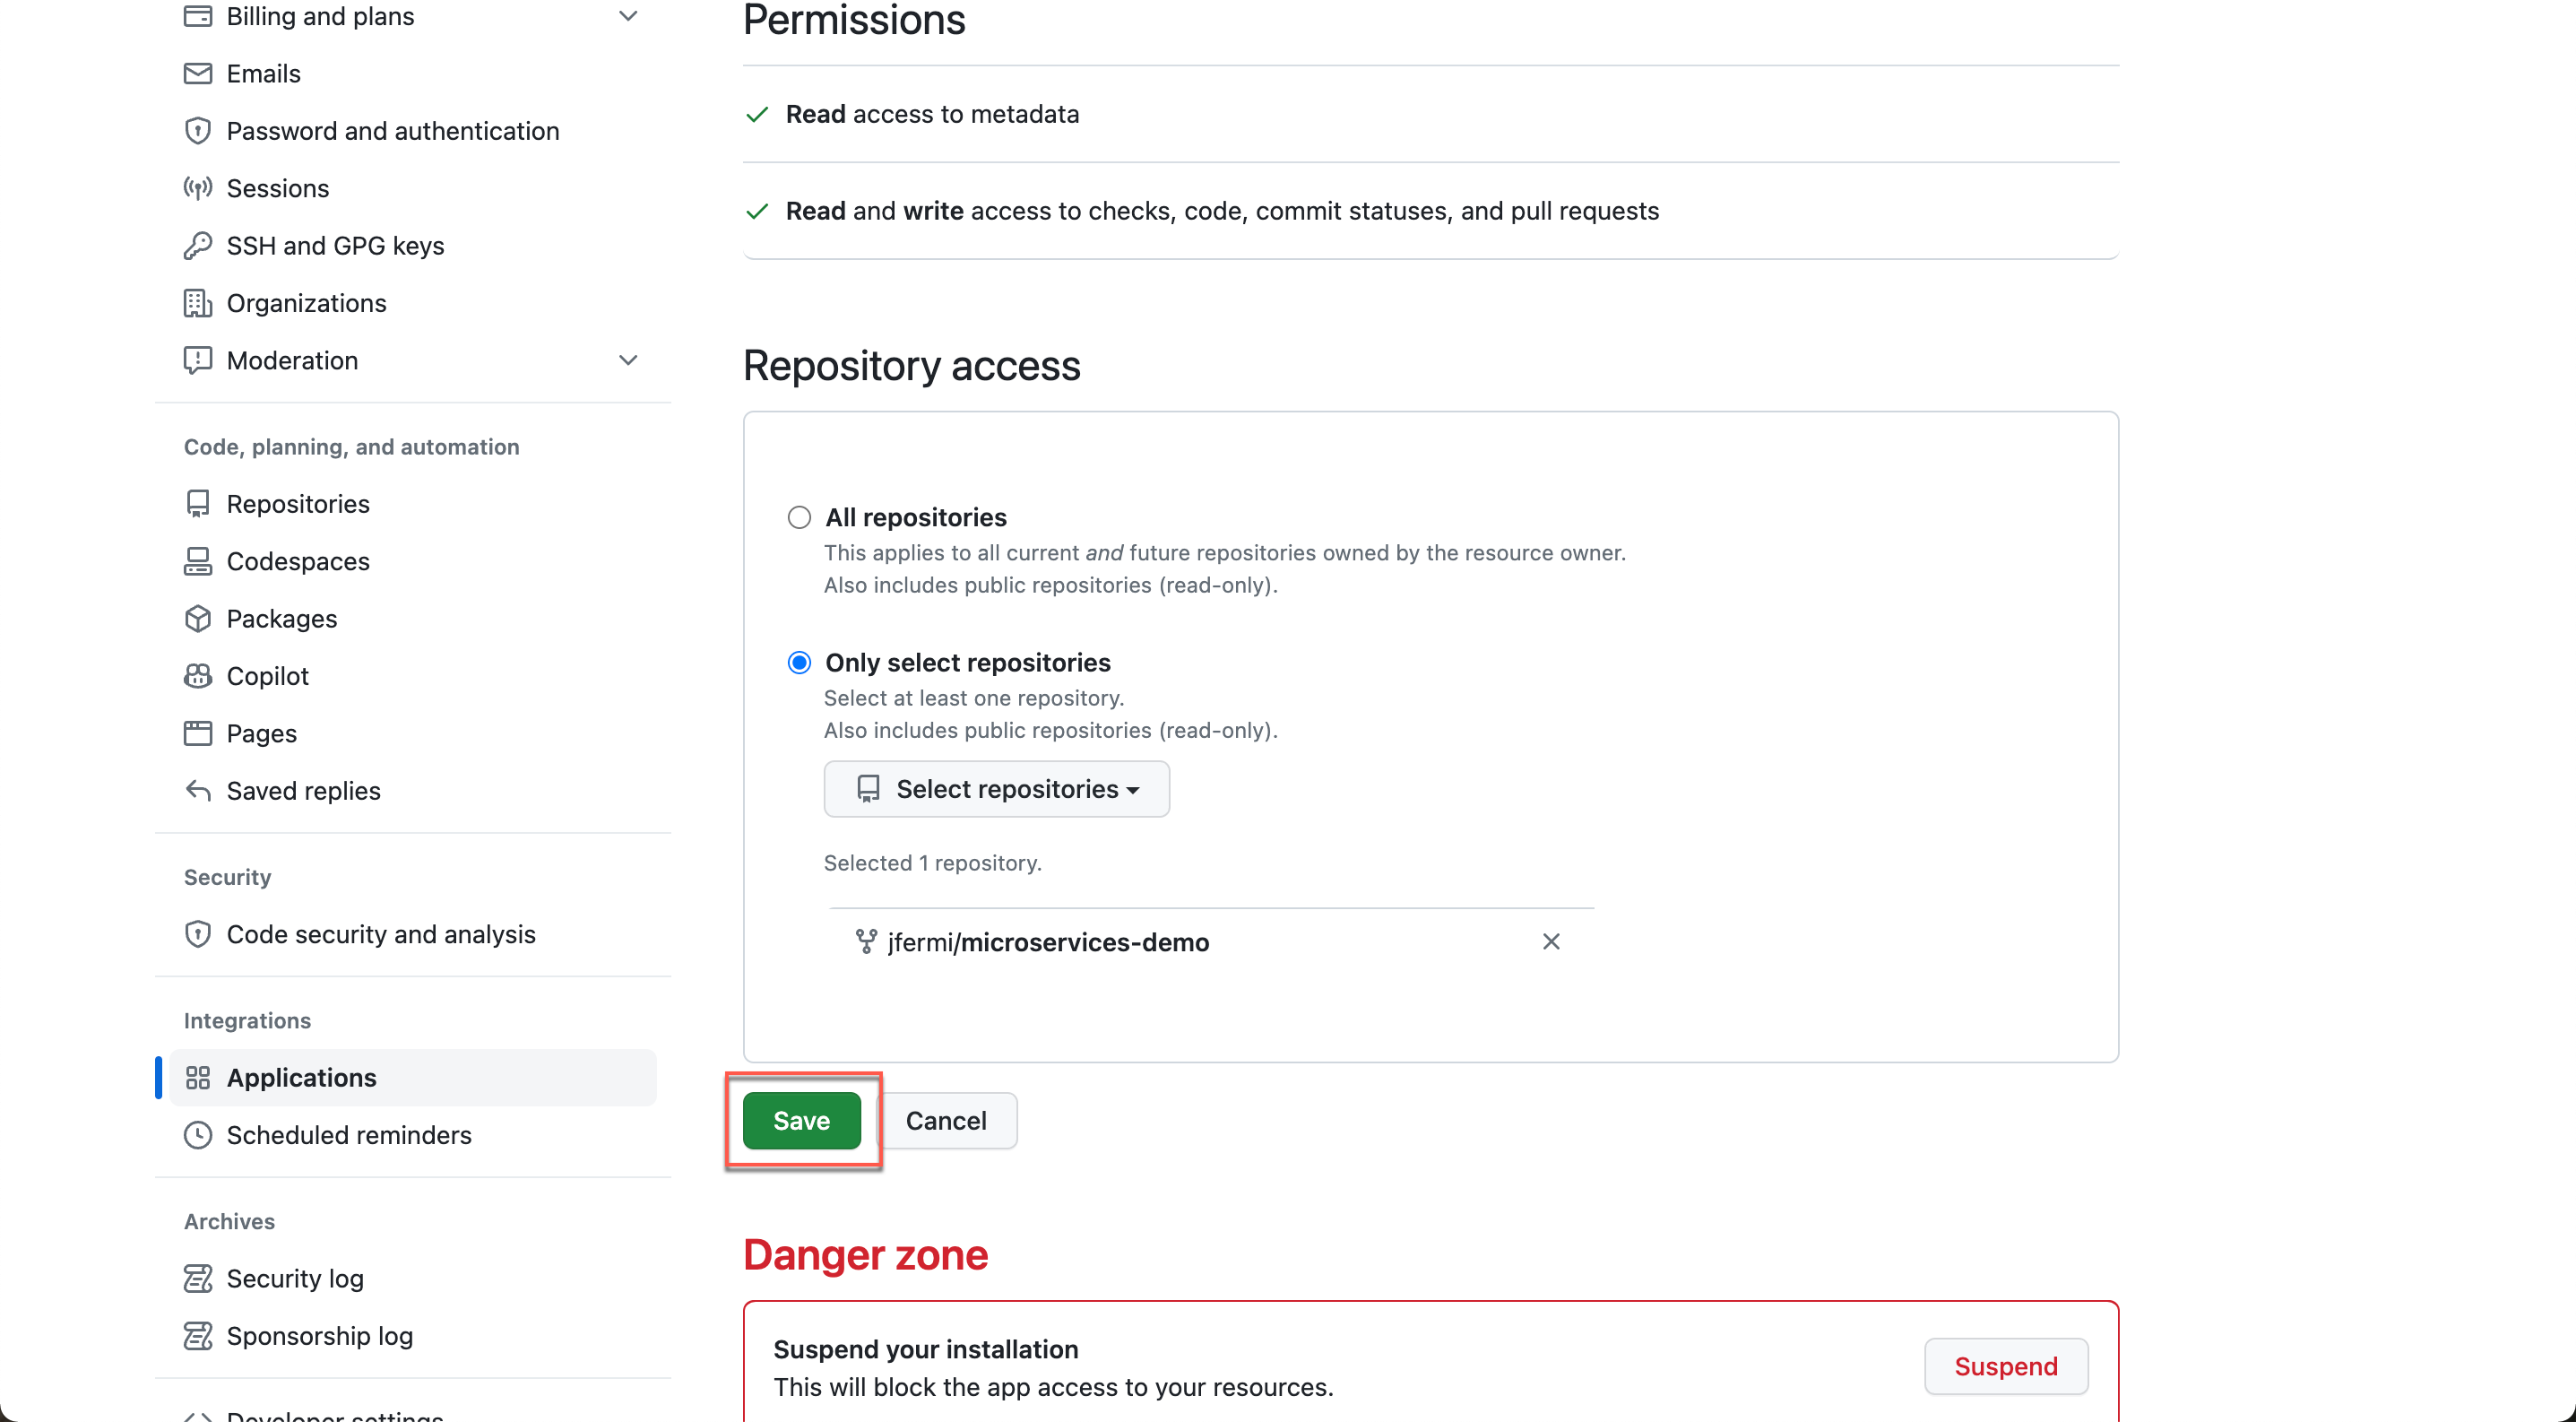
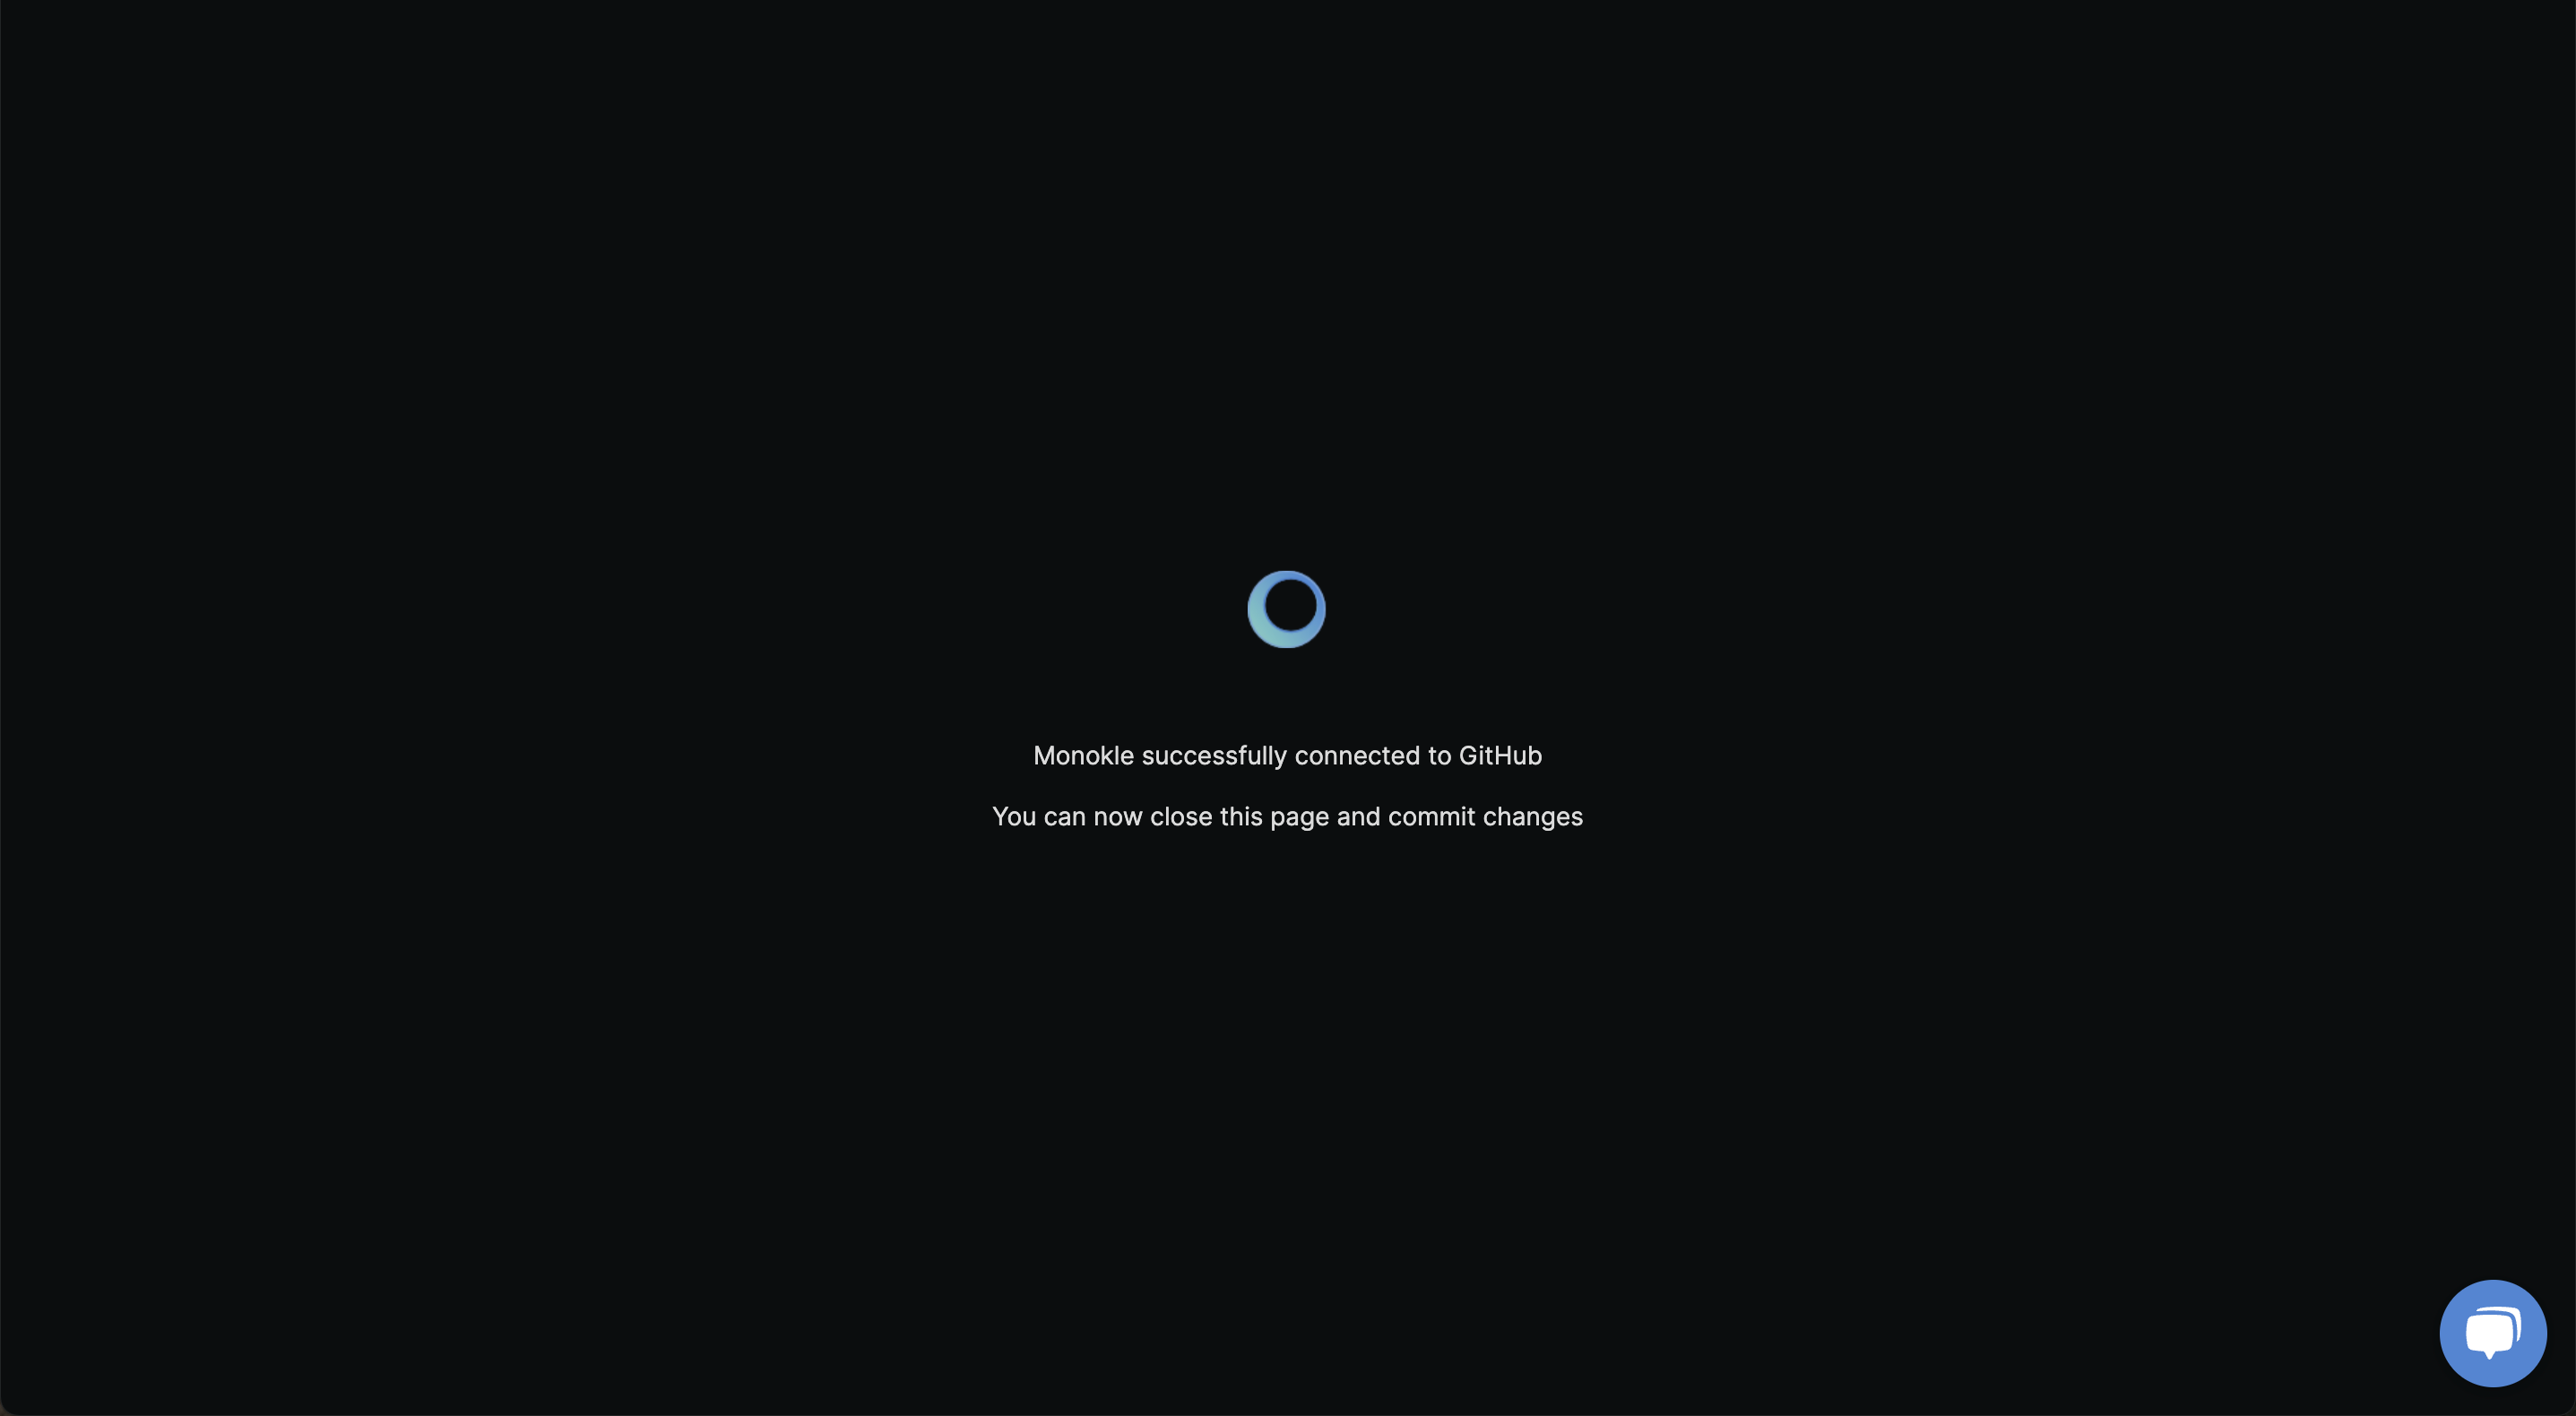
This will take you to a confirmation page on Monokle Cloud:
8. Select the configured repository
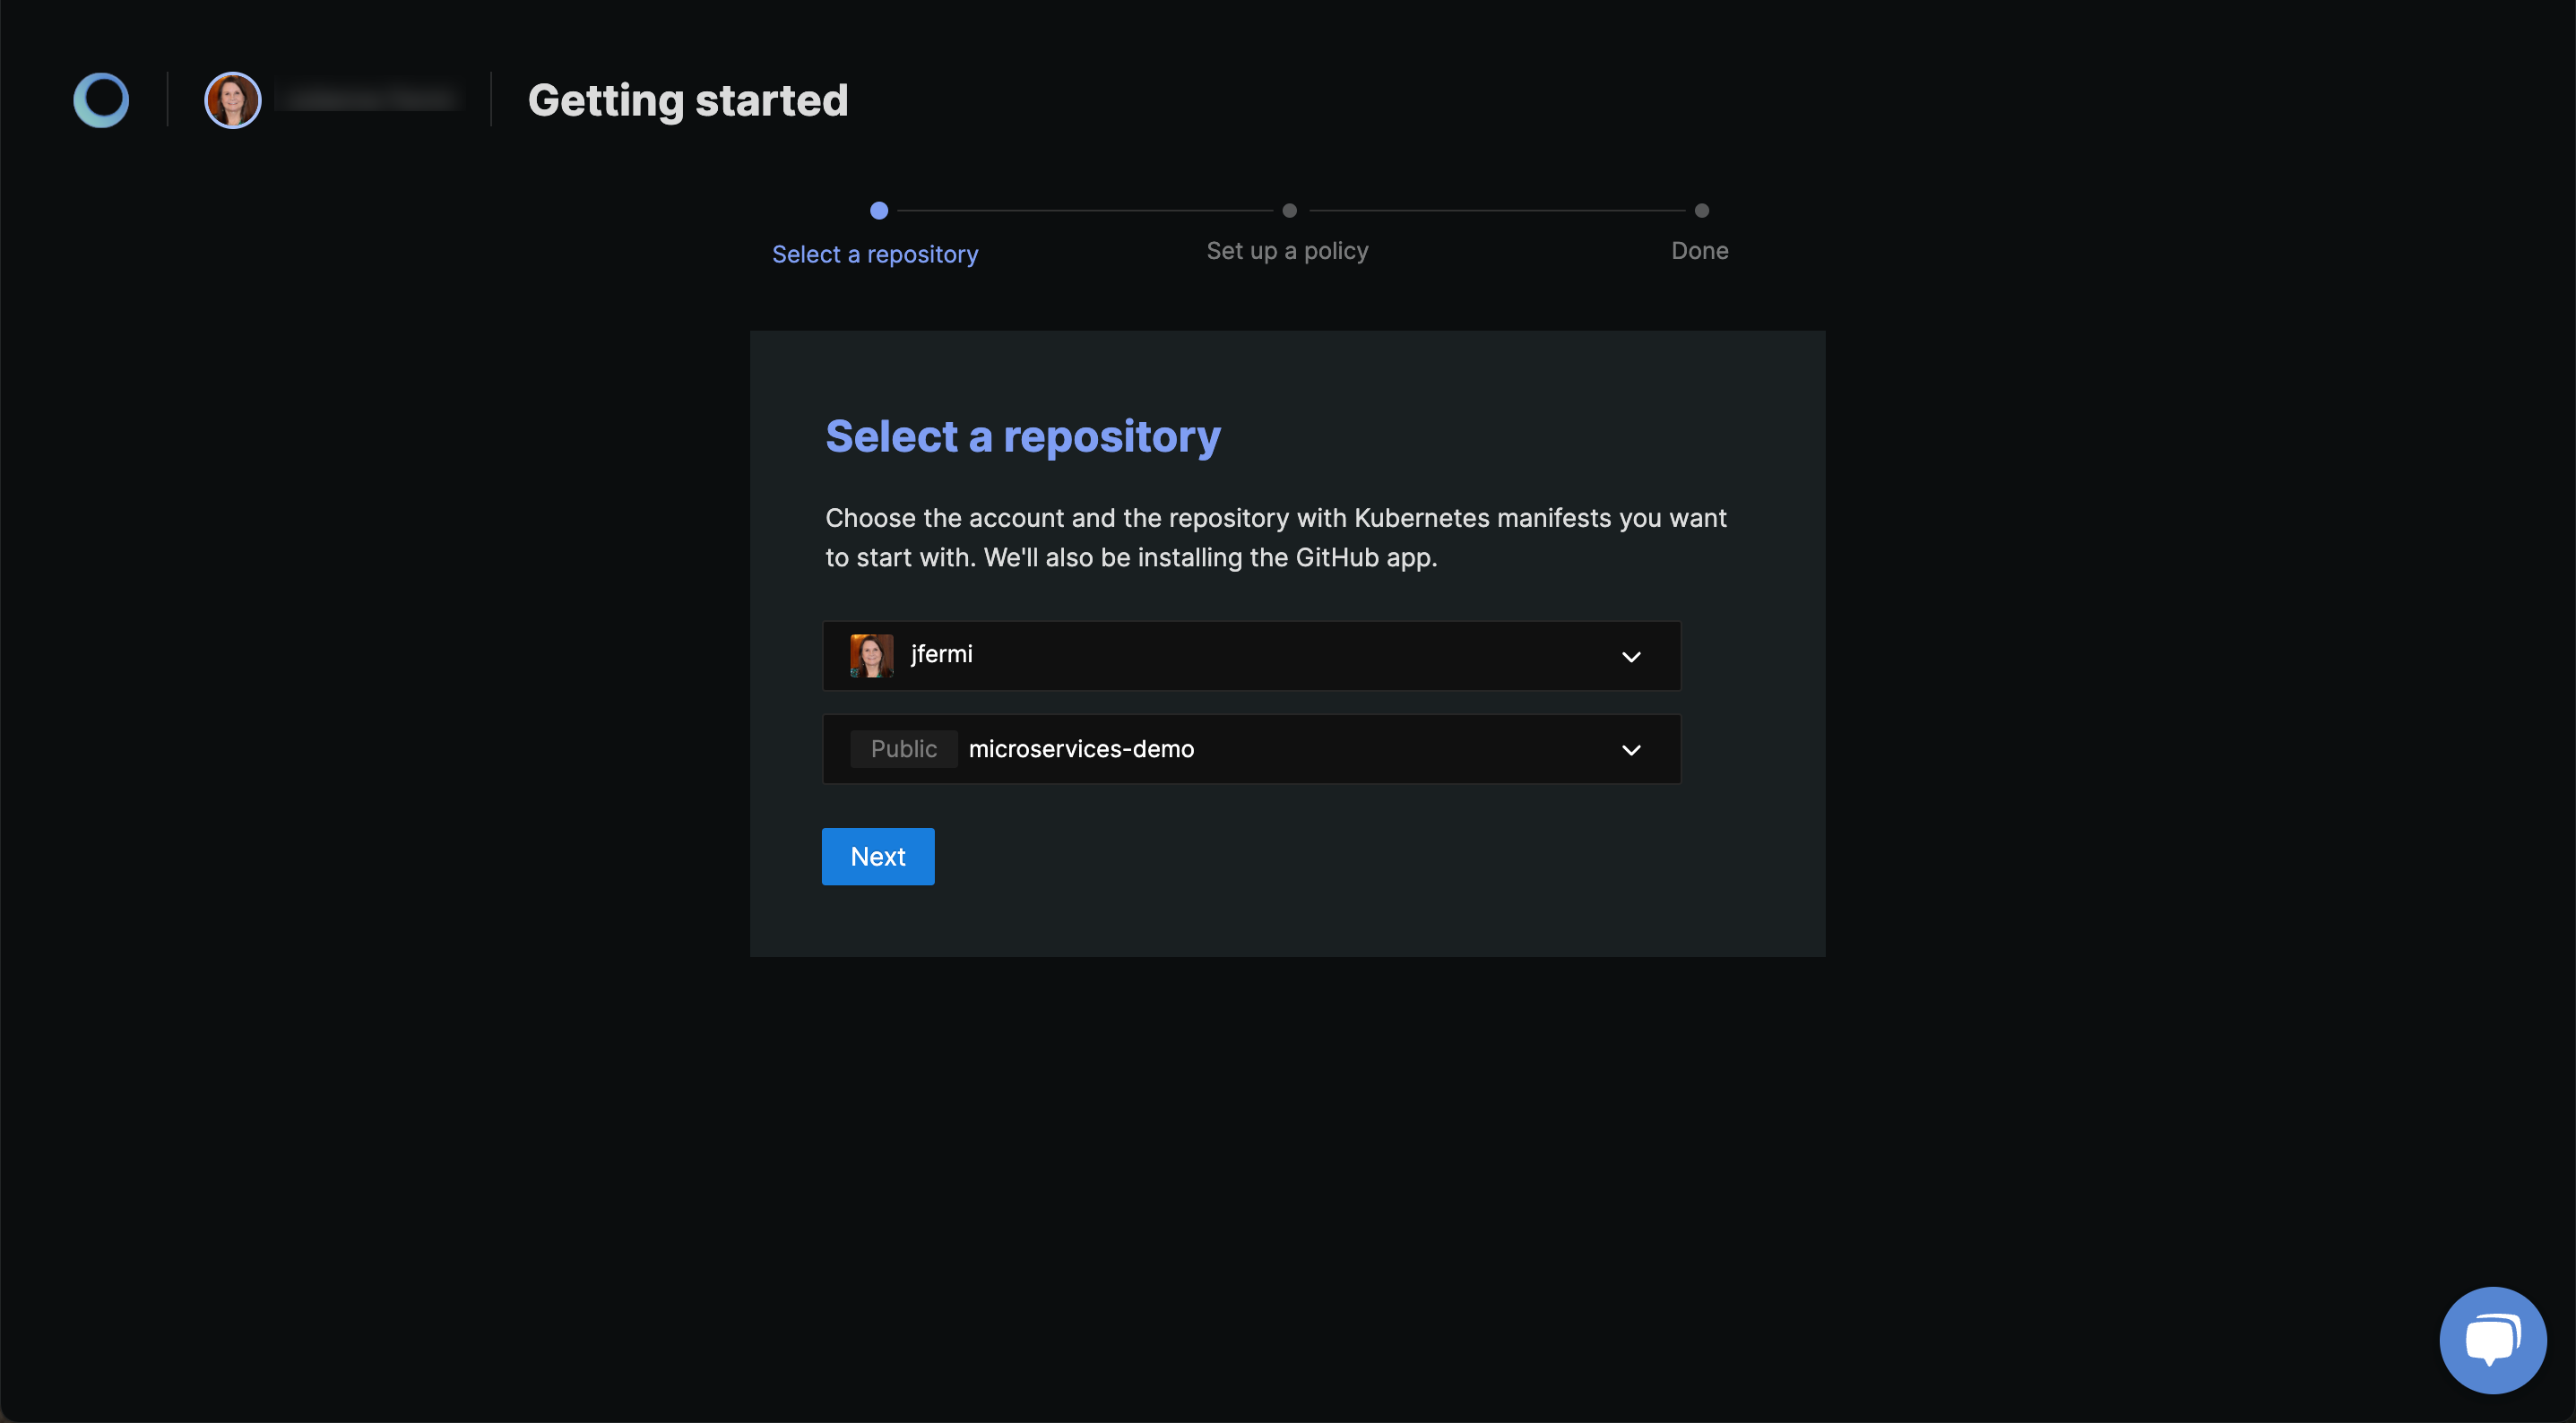
Now you’re all set! Go (back) to the Monokle Cloud getting-started flow at https://app.monokle.com/getting-started where you can now select the configured repository:
What's Next?
Continue to the Fix Your First Misconfigurations guide with your repository to find and fix misconfigurations! Good Luck!