Policy Management: Enable Default Policies
Monokle helps you achieve high-quality Kubernetes configurations throughout the application lifecycle by enforcing Kubernetes standard practices and hardening guidance through policies. It will help you proactively determine potential misconfigurations and avoid vulnerabilities, finding backdoors post-deployment.
With Monokle, you can configure default policies or make use of a policy editor to tailor them to your needs. In this tutorial, we will dive deep into each of the default policies that can be enabled using Monokle Cloud and learn how to enable them.
Enable Default Policies
This can be done in two ways:
- Policy Wizard: An easy-to-use wizard to enable policies on all the repositories in the project.
- Validation Settings: This is for advanced-level users who need greater control of the policies specific to the repository.
Let’s see how you can enable policies using these methods.
Policy Wizard
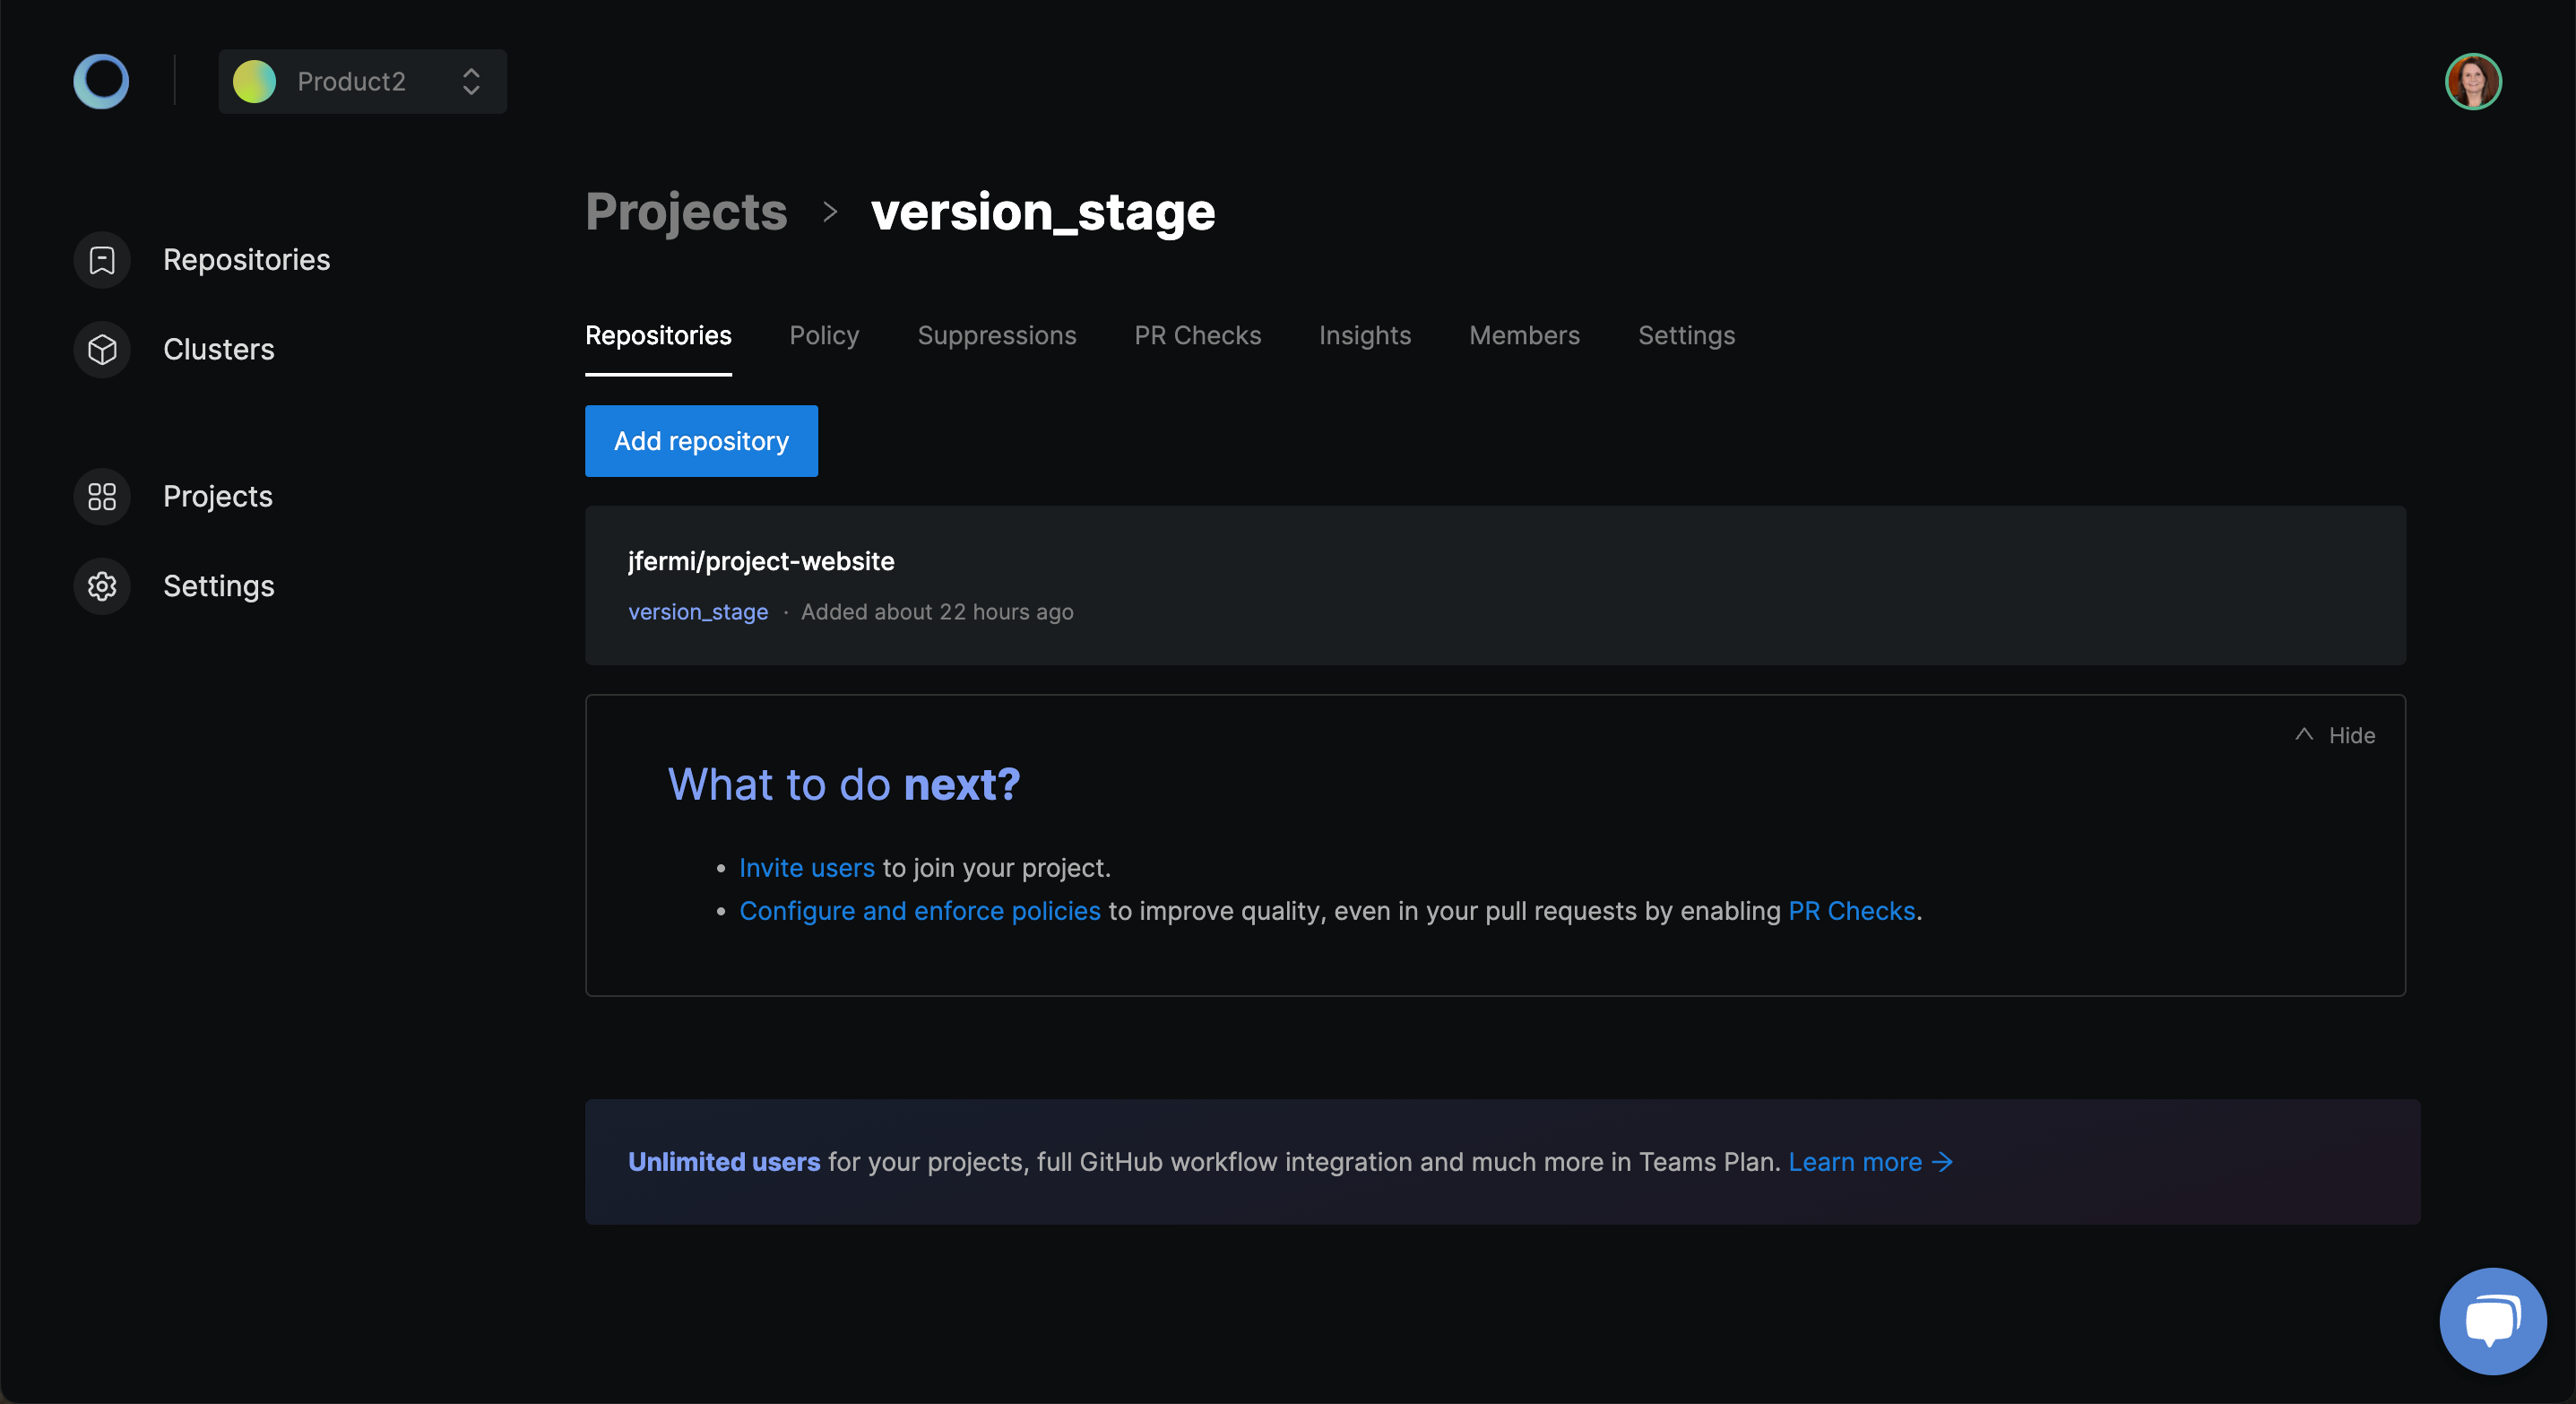
When you select a project and view the repository list, Monokle provides a one-click button at the bottom to configure the default policies for the complete project.
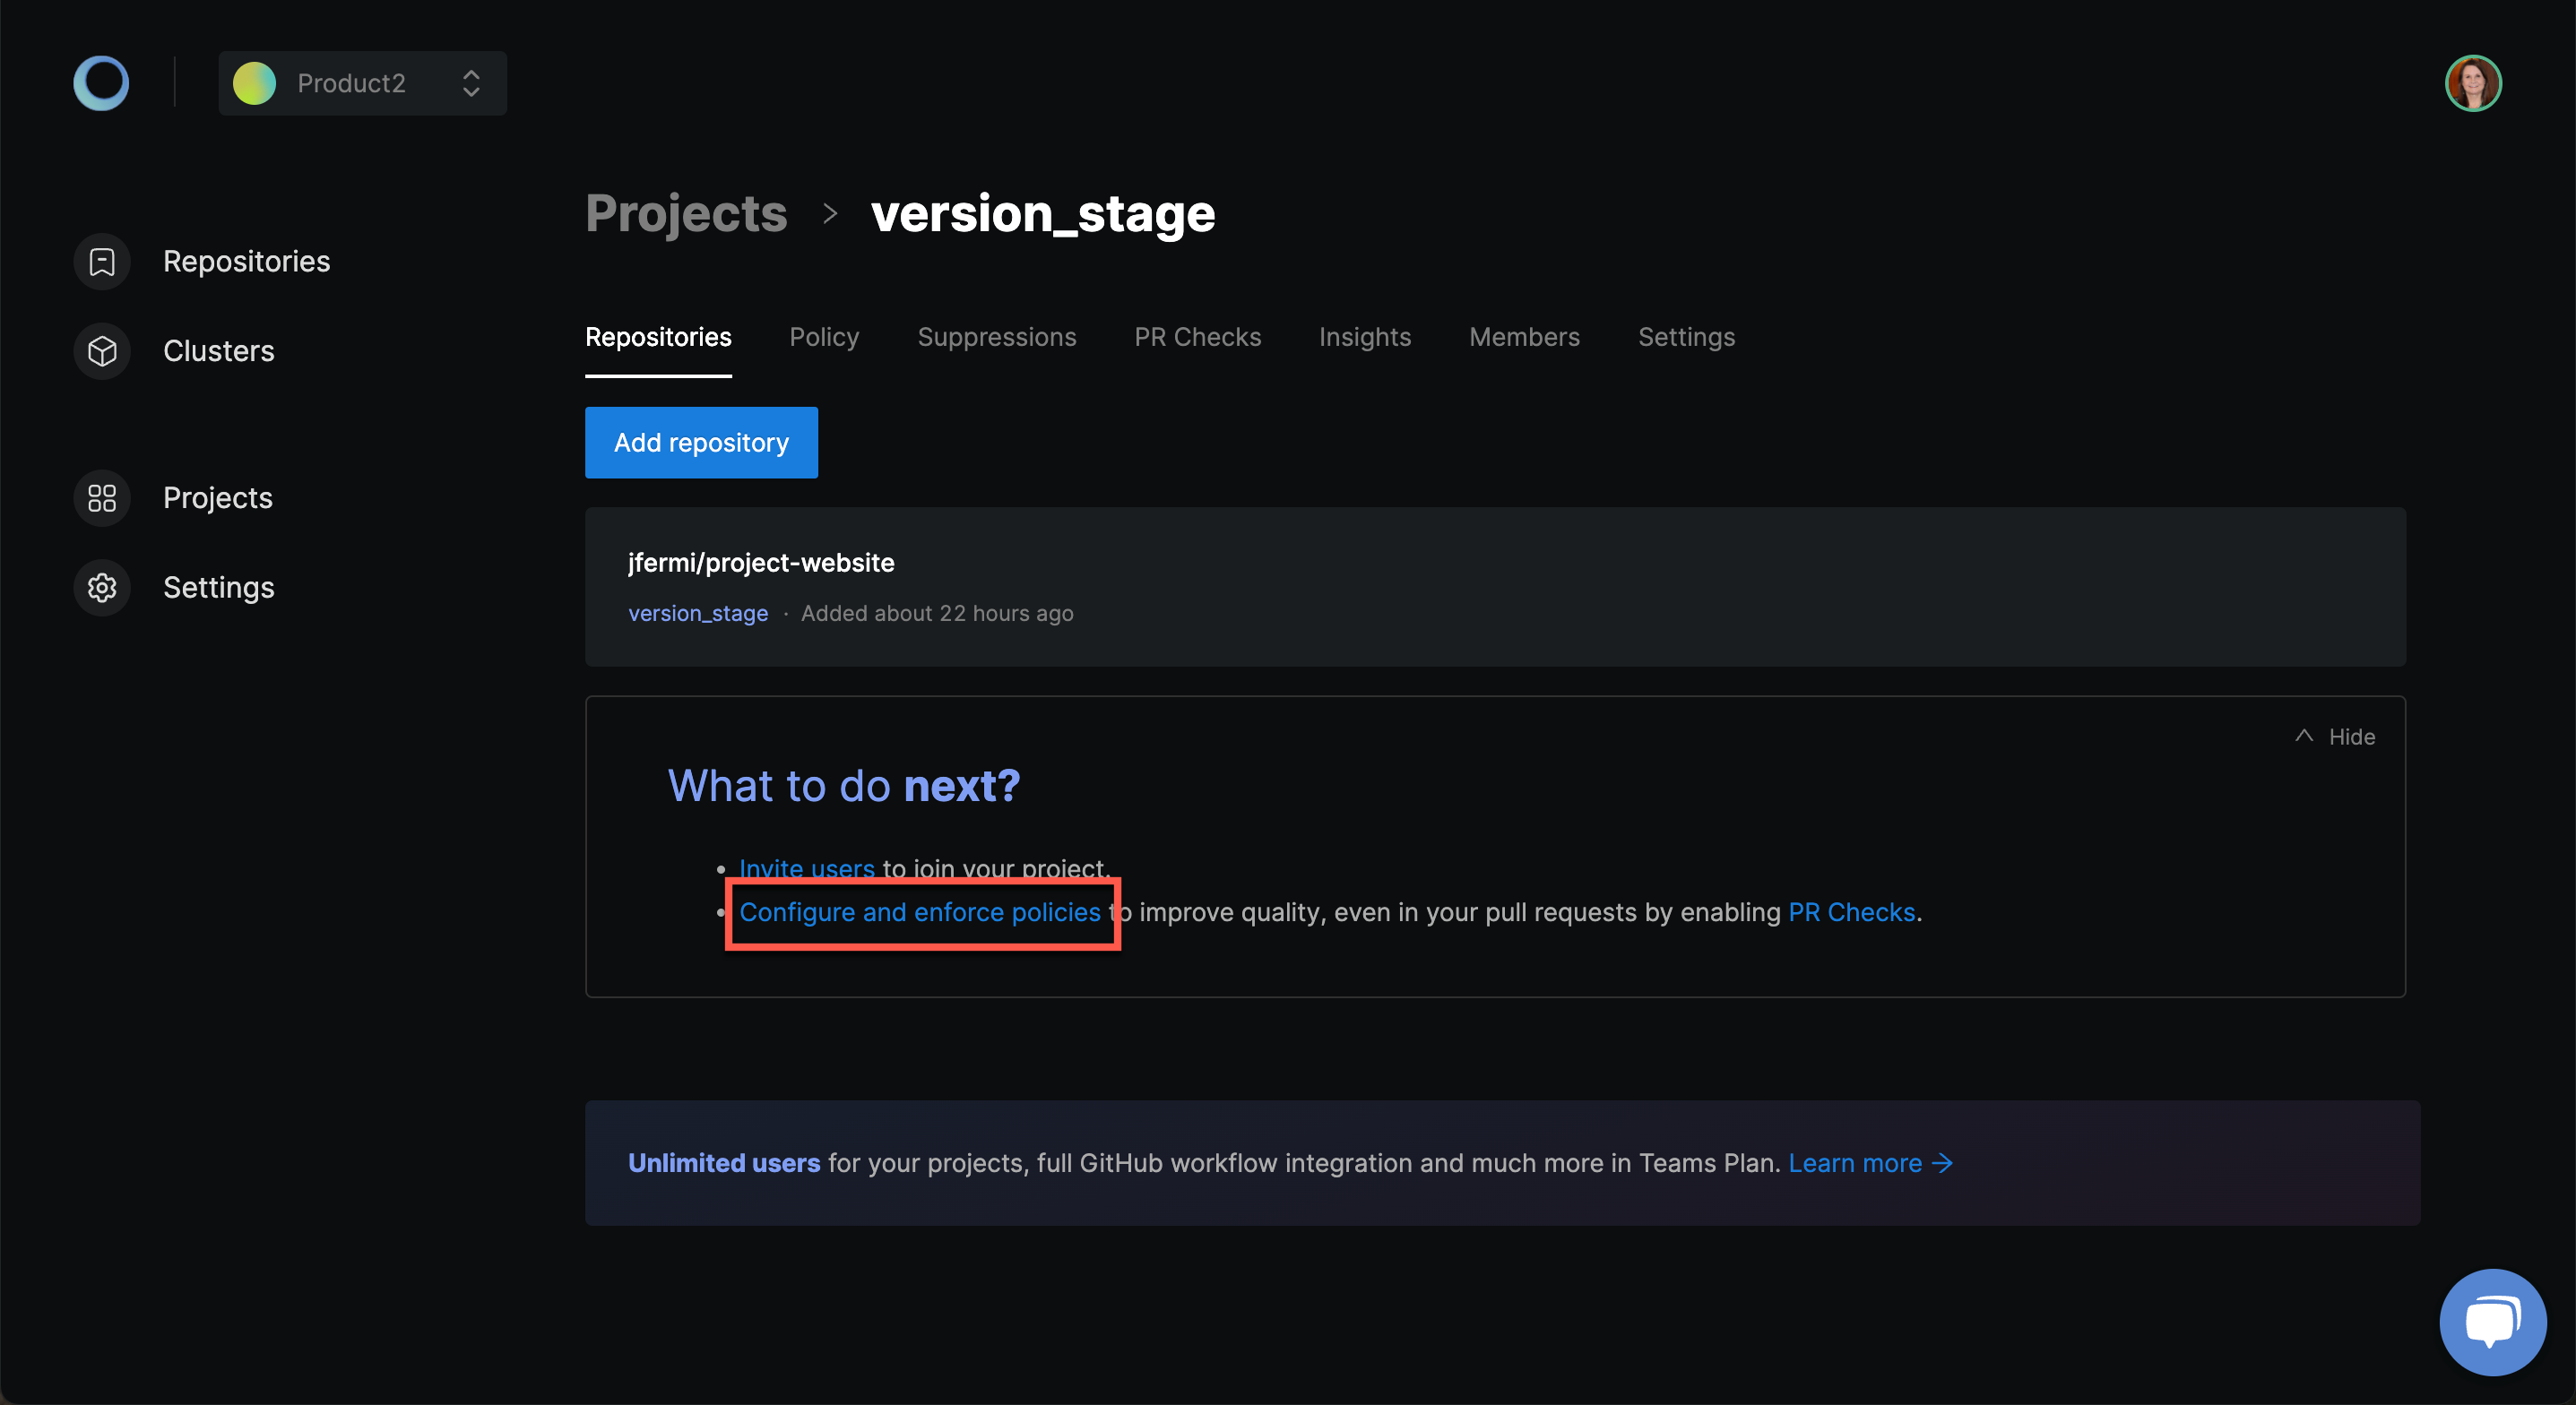
Monokle launches the policy setup wizard that will help you with the easy configuration as shown below. Click Next and follow the wizard.
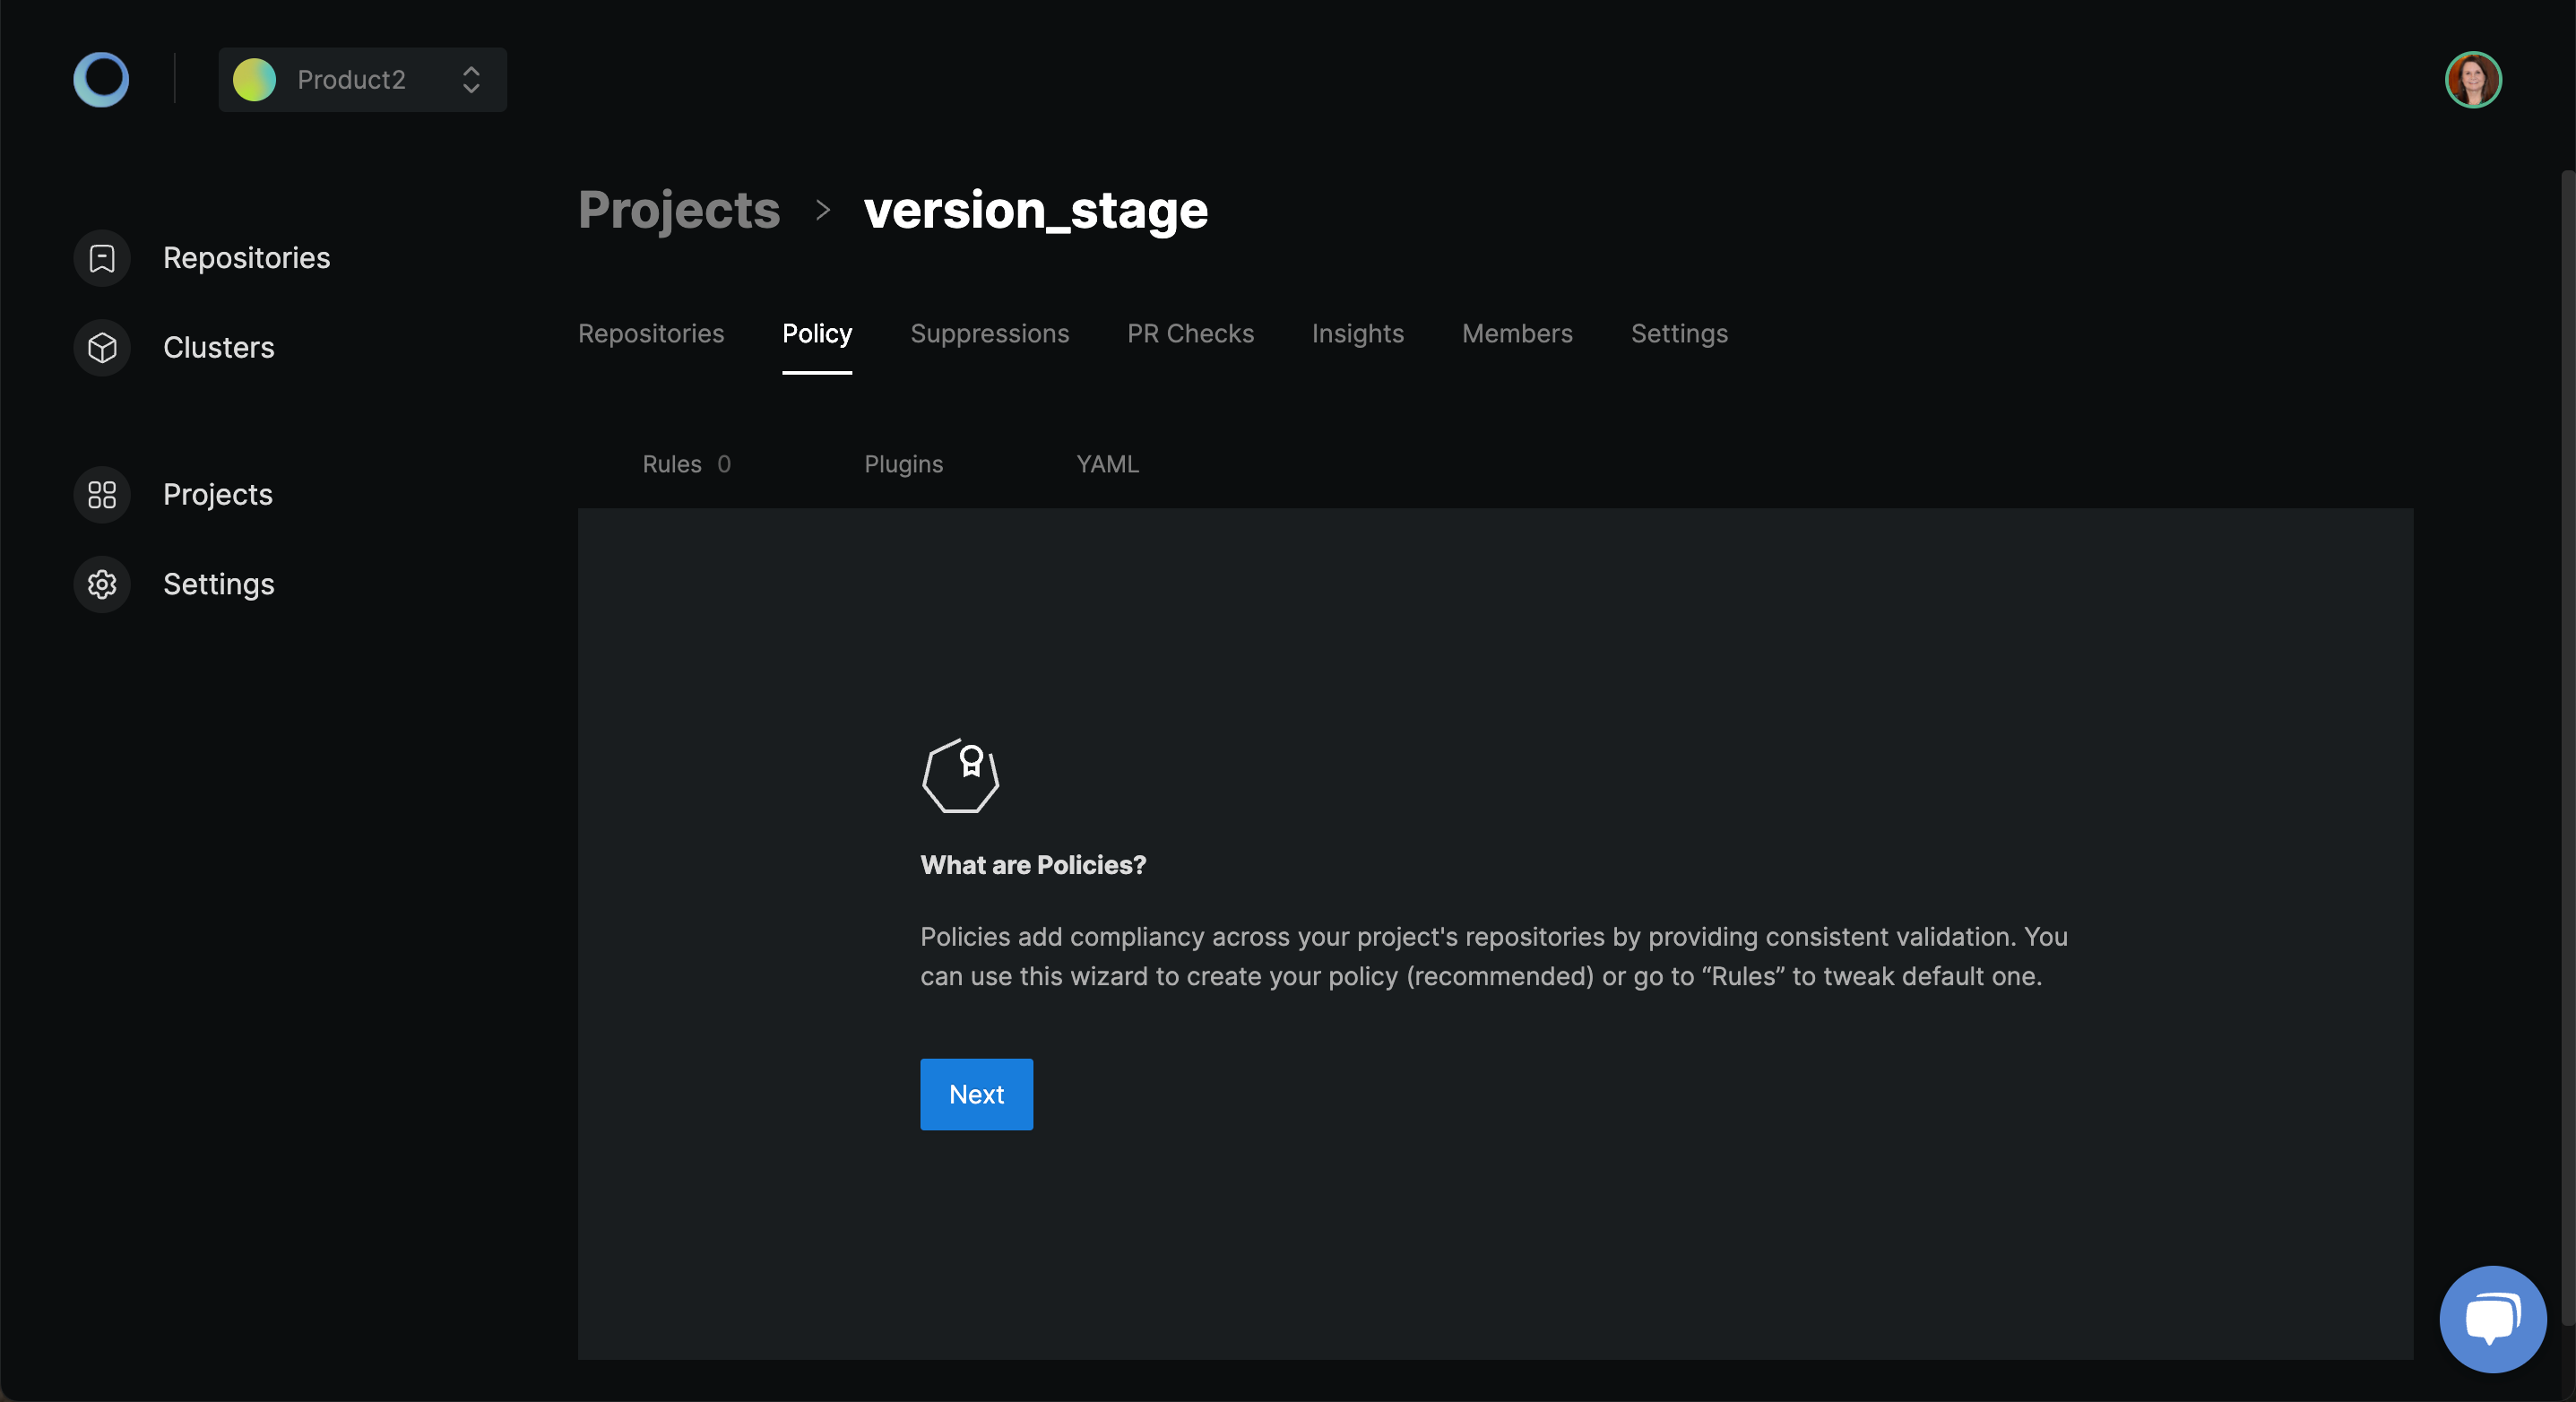
Select the Kubernetes version using the drop-down and click Next.

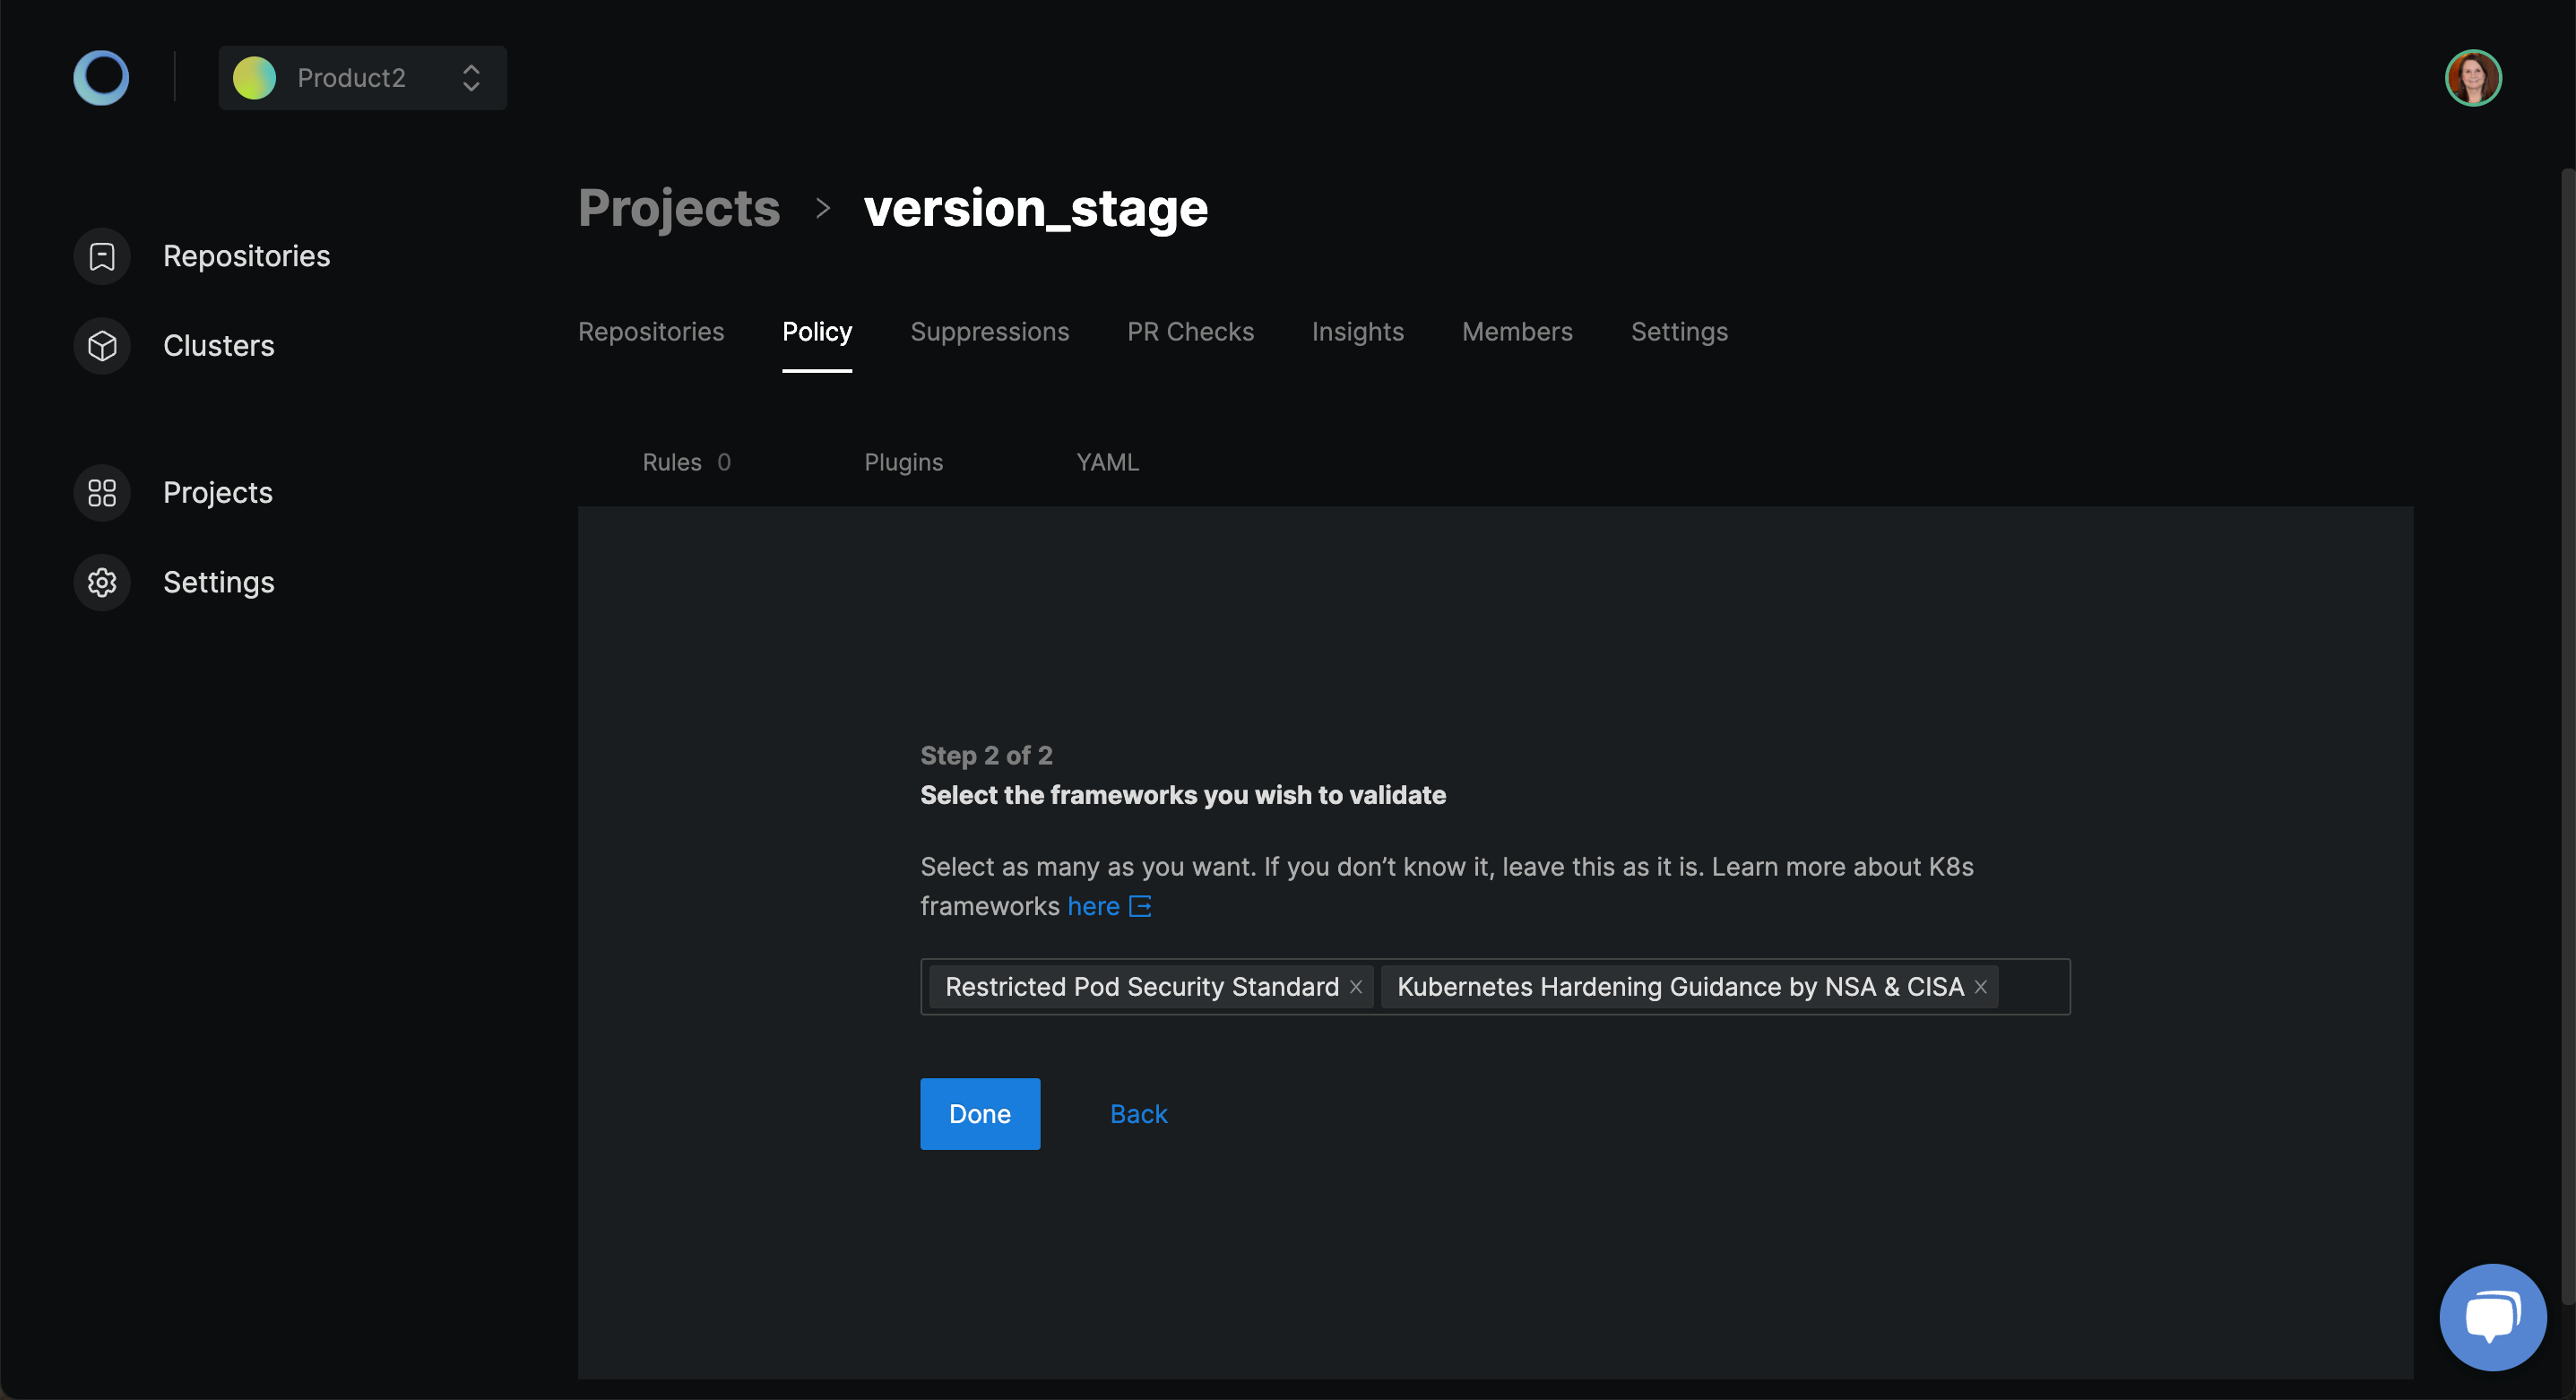
Select the security framework(s) from the available selection and click Done. Security frameworks are a combination of rules and policies. We will learn about each of them in the coming sections.
Based on the frameworks selected, you can see the rules that are available. Use the scrollbar to check the complete list of rules.
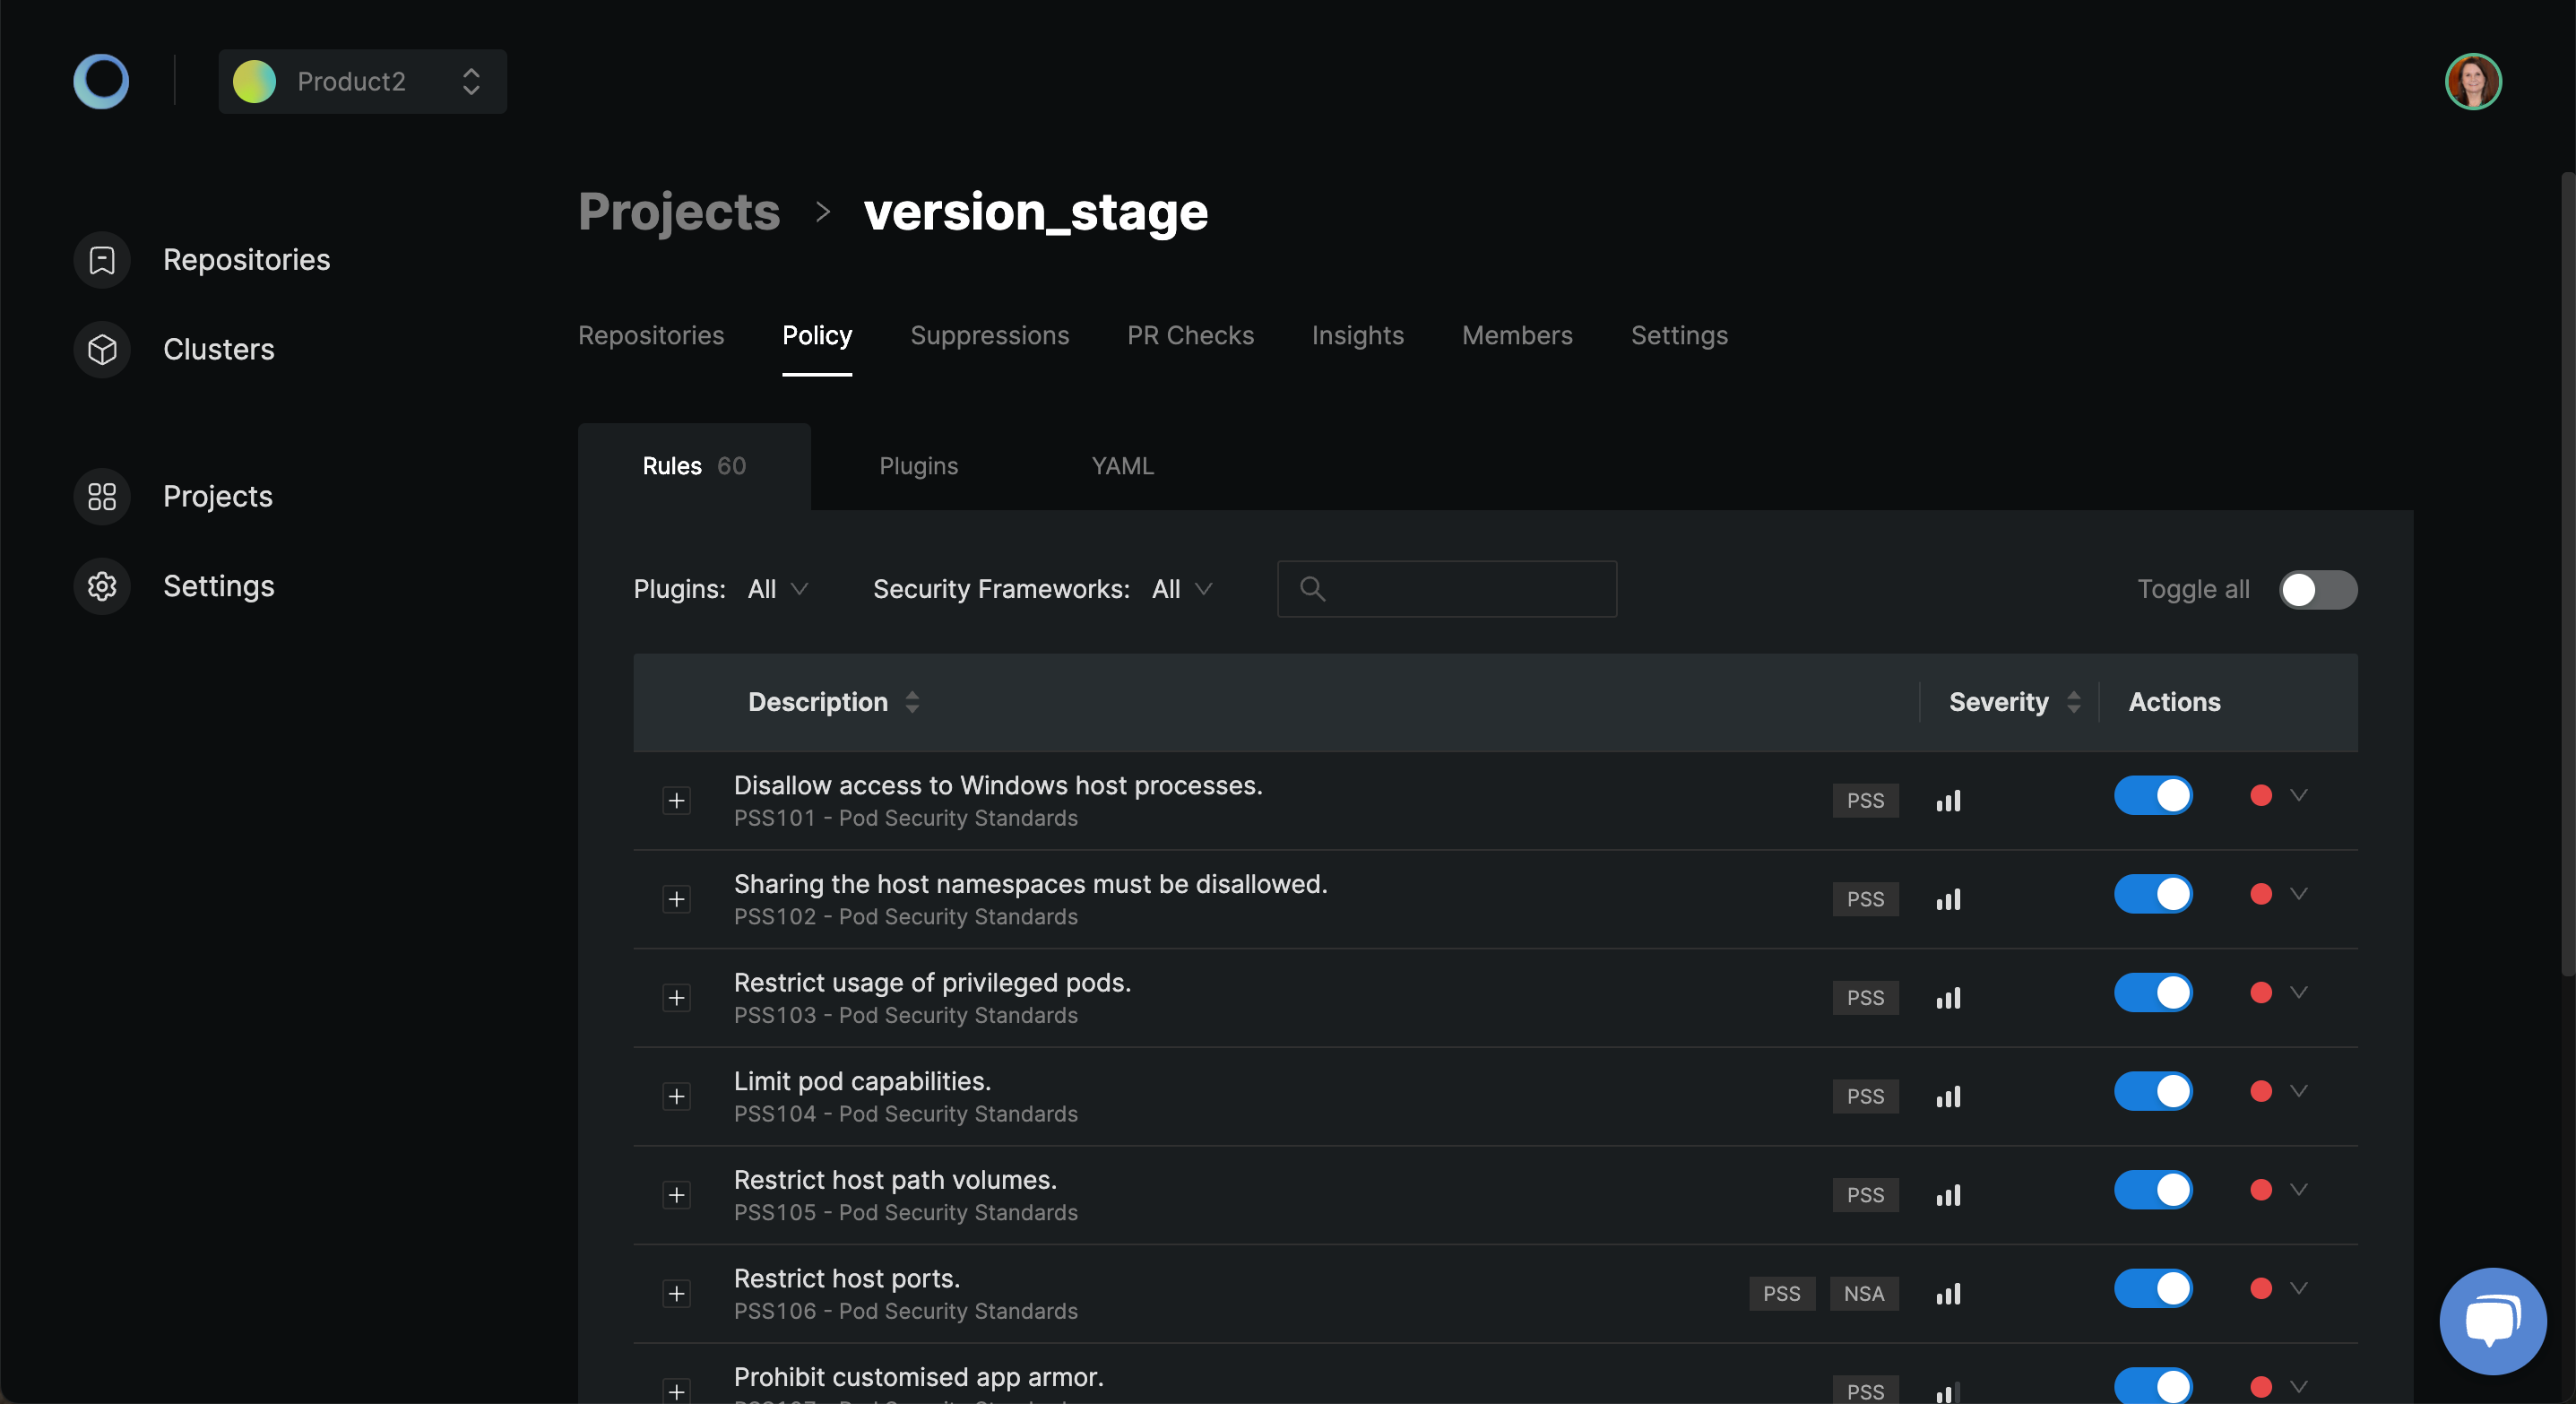
Currently, by default, only a few of the policies are enabled. Use the toggle button to enable the policies applicable to your project.
Once done, click on Repositories. You can see a list of repositories. Policies have been applied to all the repositories in this project. Click on the repository to access it in the Monokle IDE.
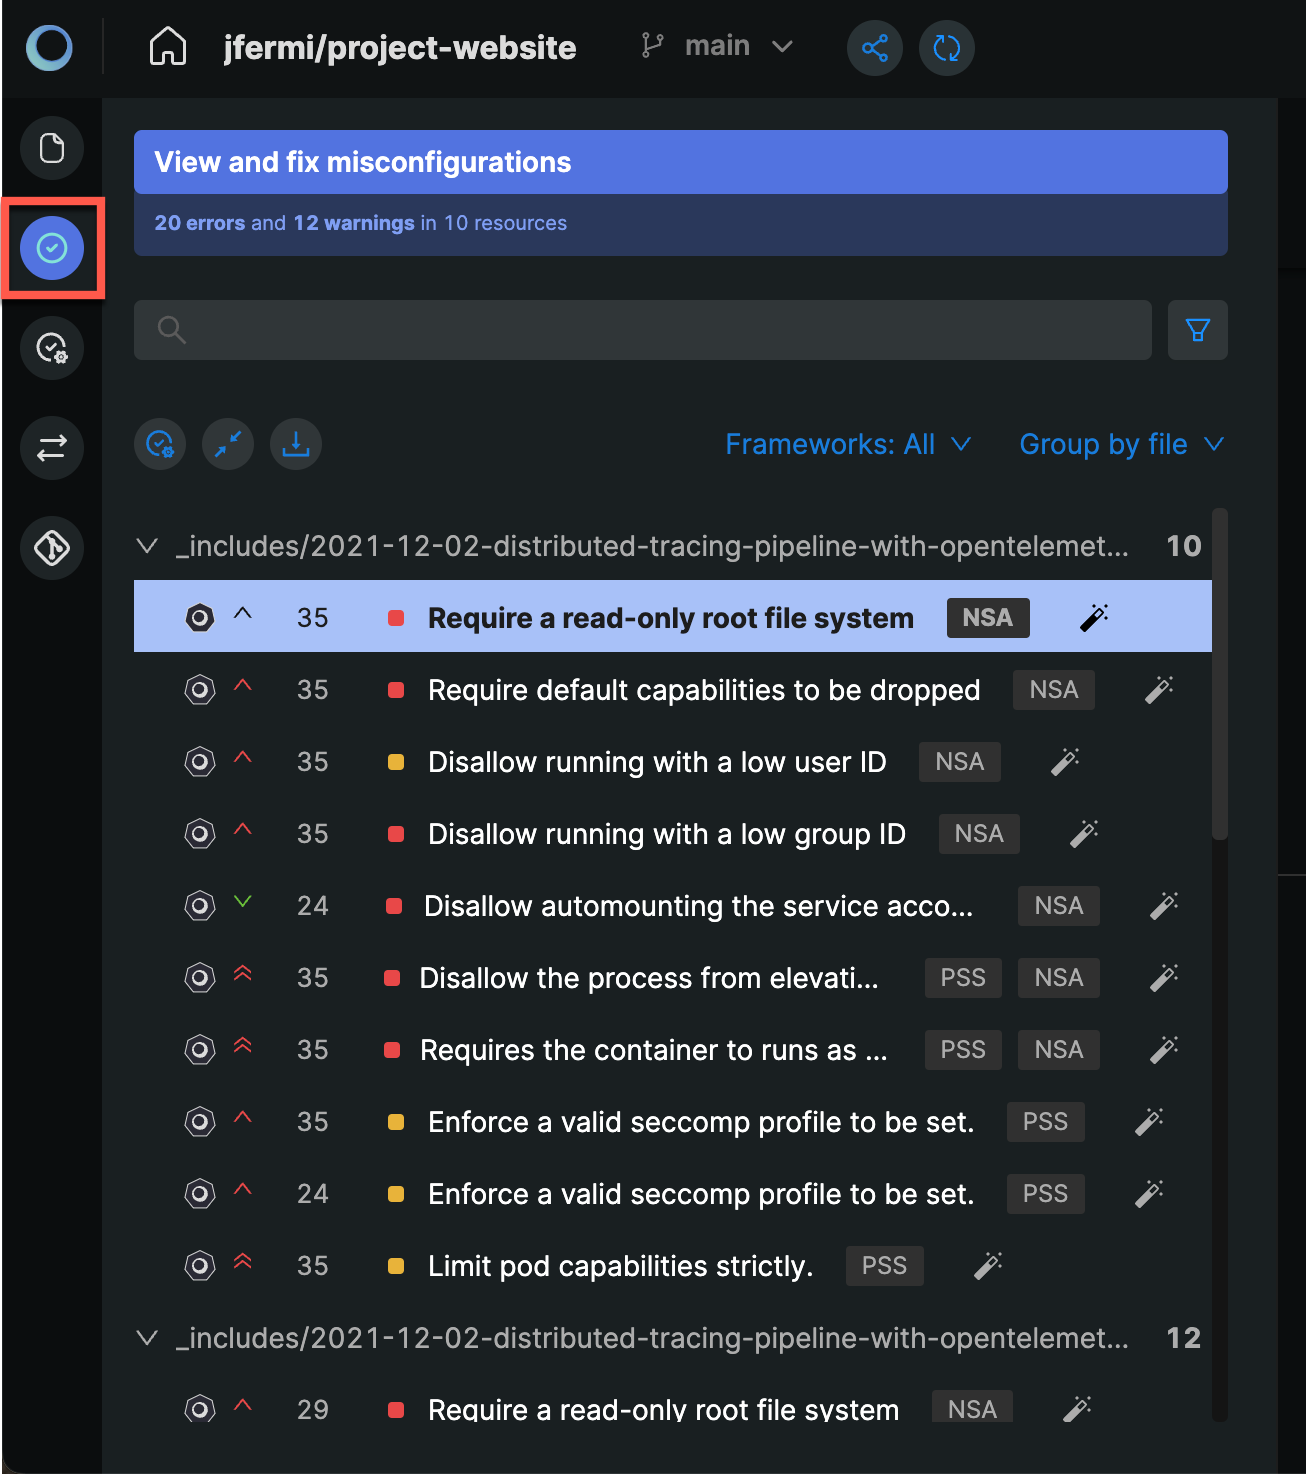
You can view the policies applied to your repository using the Audit button. In the following screenshot, you can see the View and fix misconfigurations overview provided in the audit section for the demo repository.
Monokle provides an easy-to-get-started policy wizard to enable default policies and get a first-hand validation overview of your resources during development. In this method, the policies are enabled for all the repositories in the project. This method is recommended when you are exploring the features of Monokle Cloud.
For a production scale deployment, when the requirement of each repository is different from the other, you can use advanced validation settings specific to the repository.
Note: Make sure you delete the policy wizard setup to proceed with advanced policy configuration. The policy wizard can be used with manual validation settings.
Validation Settings
To access your repository in the Monokle IDE, click on the Validation button to access the validation settings of your repository. Monokle loads all the default validation plugins available that can be configured and enabled.
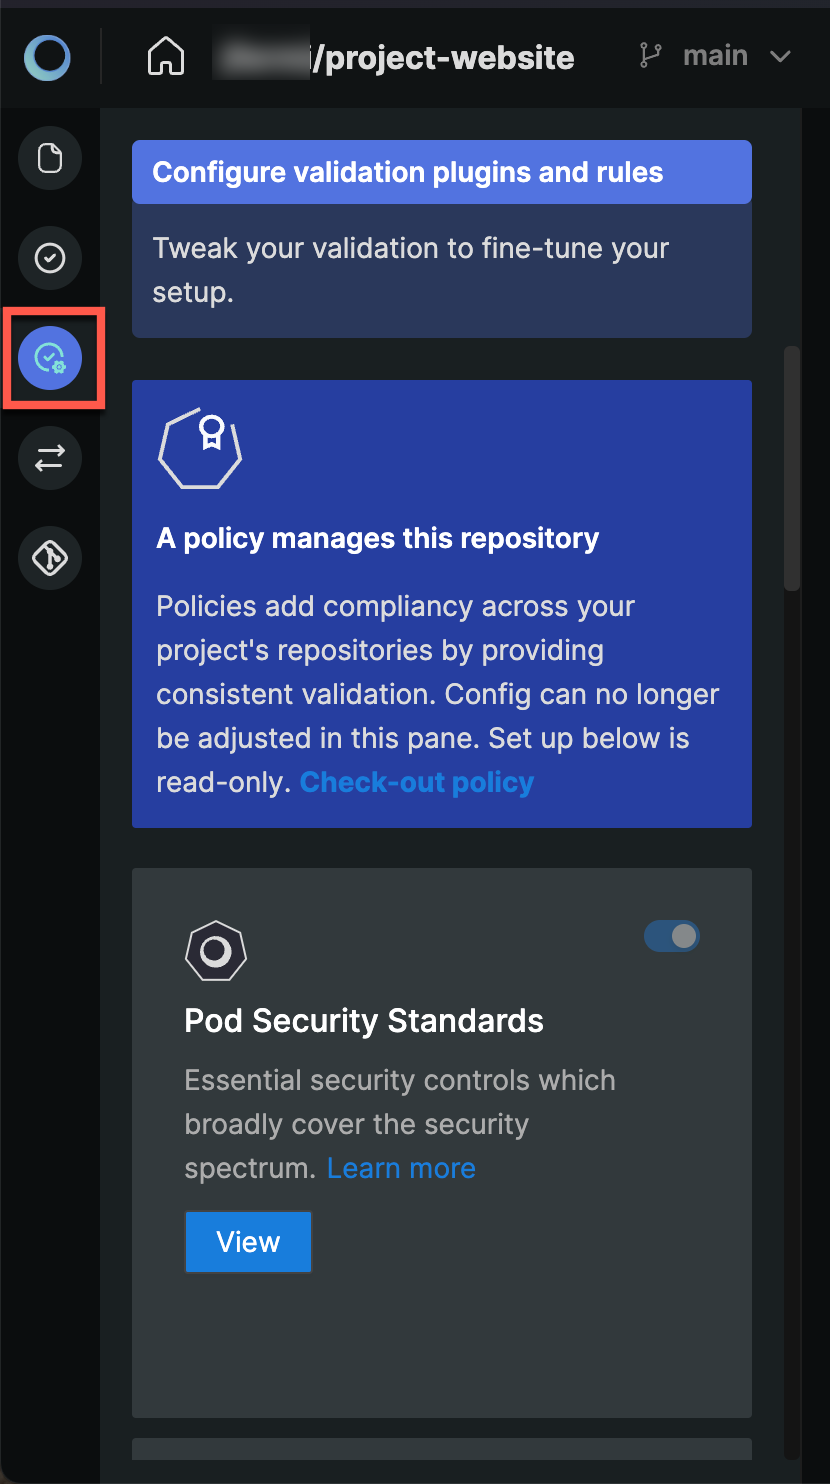
Validation Plugin
In your project, under the Policy tab, you will the Plugins tab where you can manage the policies applied to your project. There are standard Plugins included as well as the ability to create custom plugins.
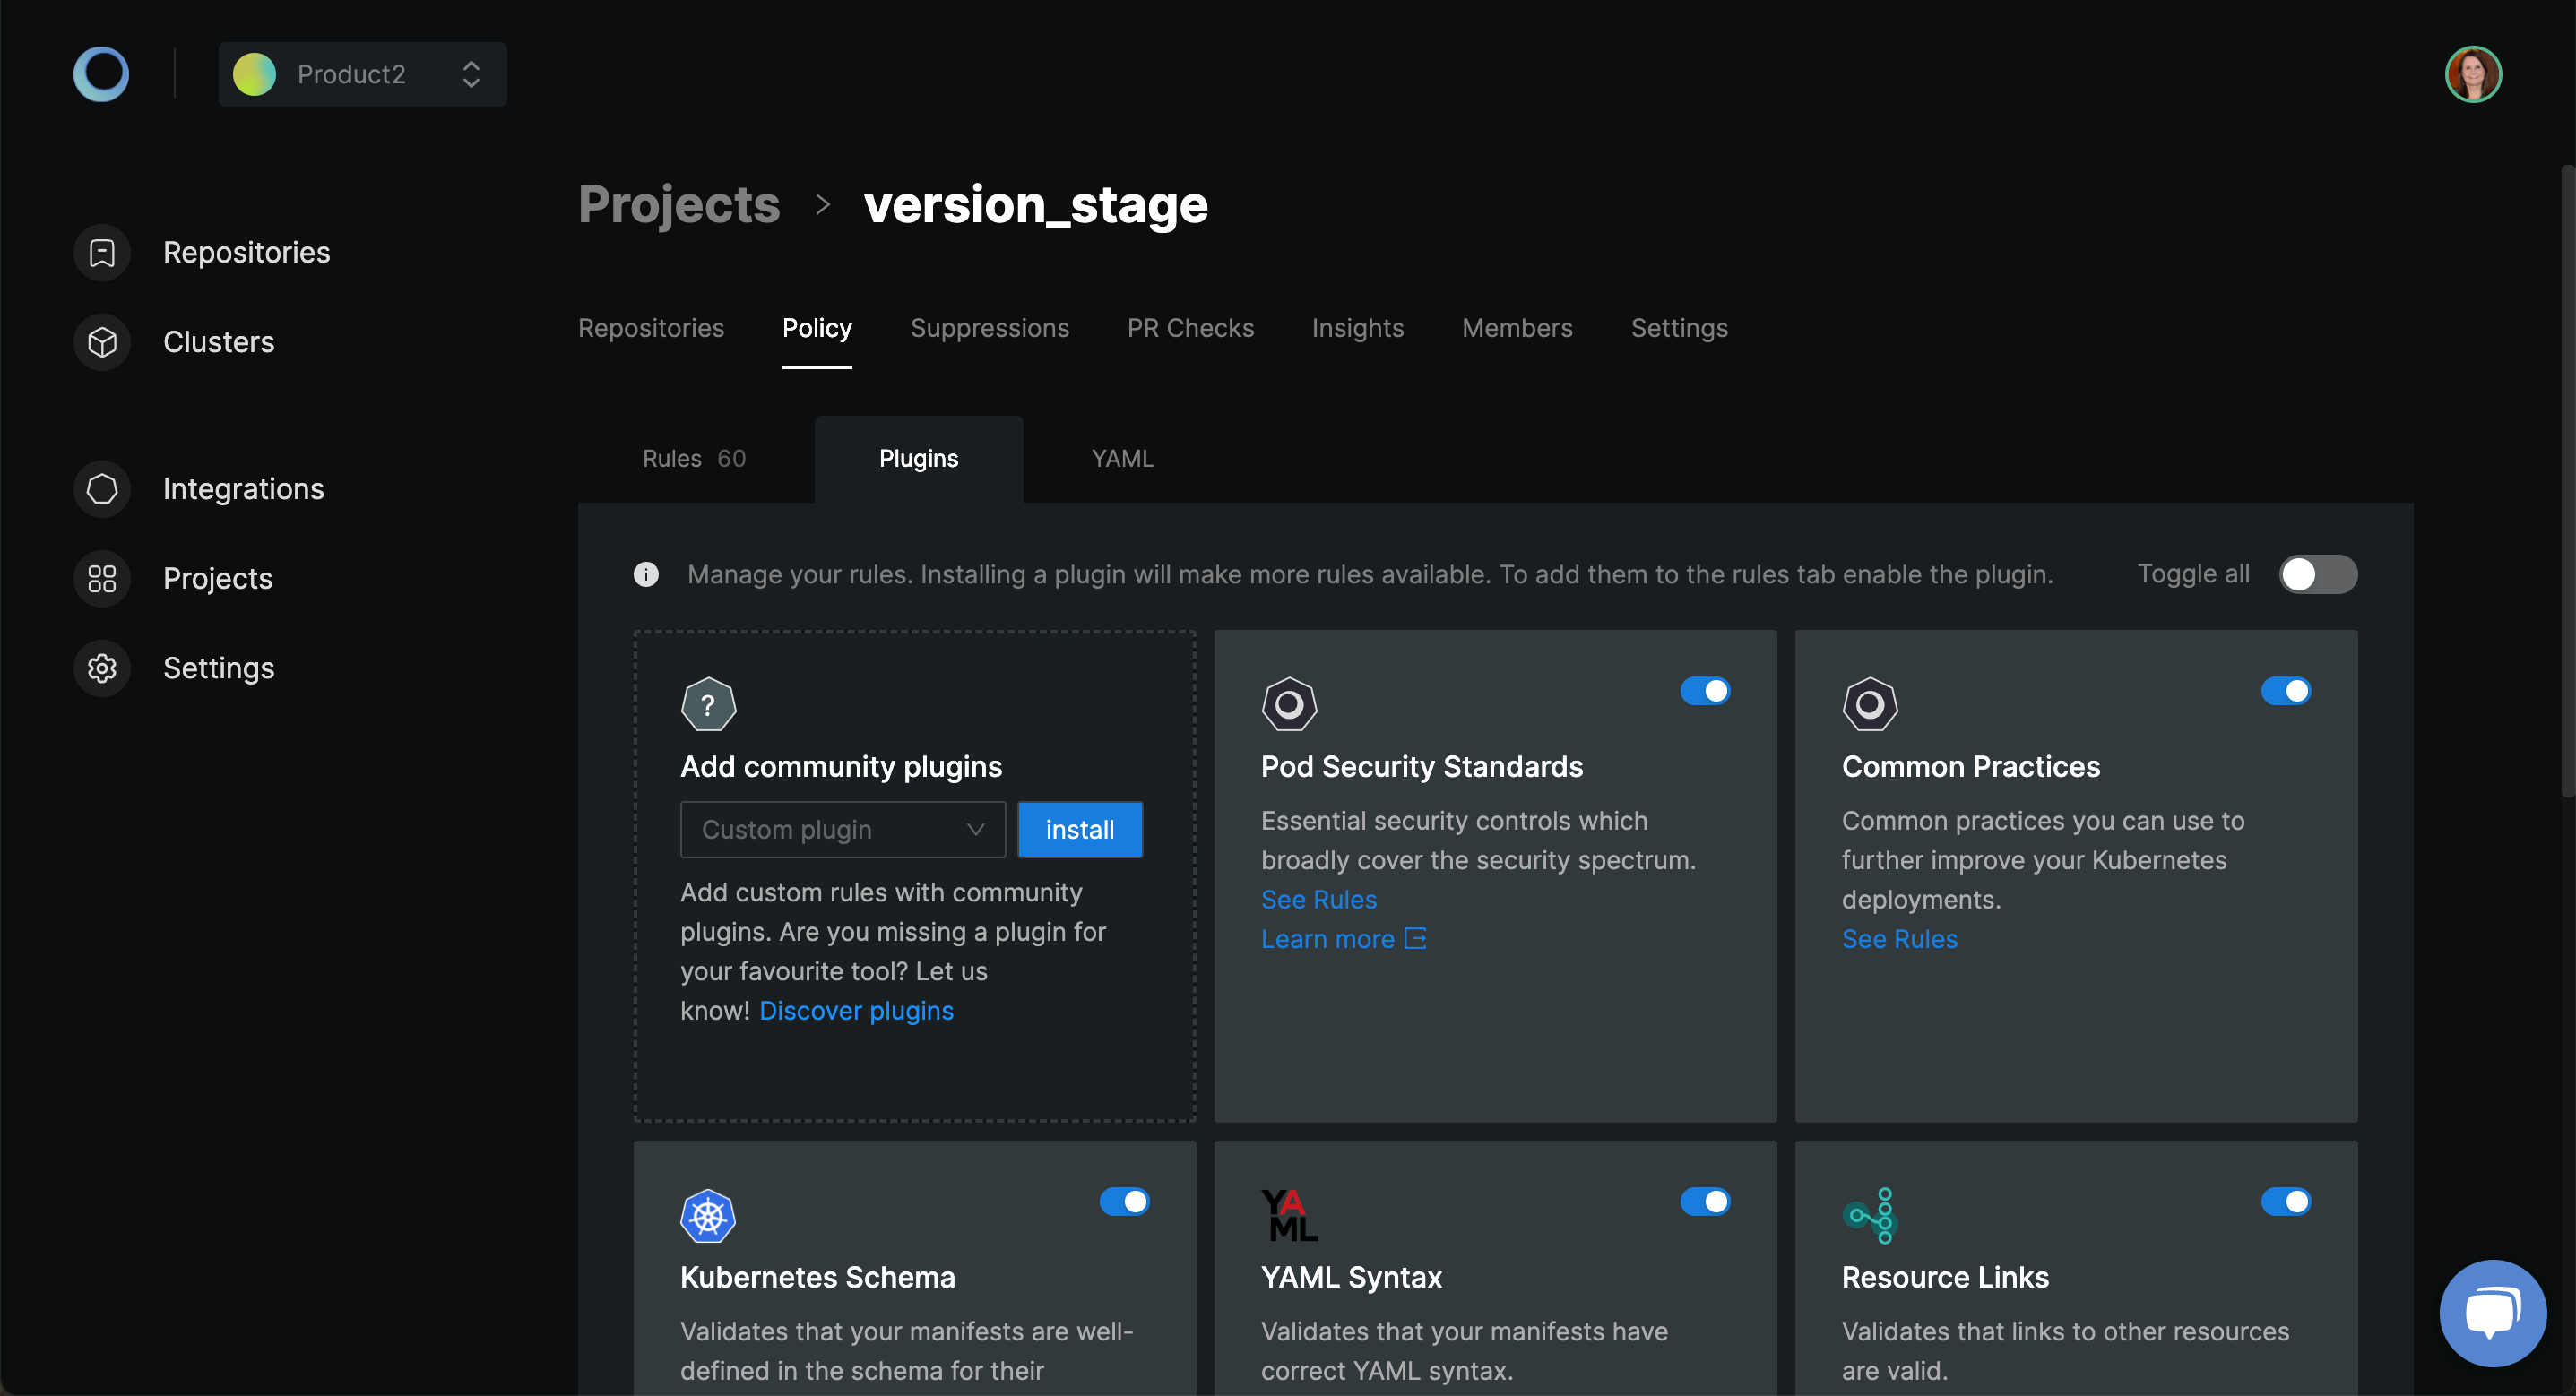
Pod Security Standards(PSS)
Based on the type of application you are running, it may require very minimal or high-level security. You can validate your Kubernetes resources to check if the required security is enforced. These security standards have been defined into three categories:
- Privileged: This has policies with no restrictions. It is for very trusted users where there is no restriction necessary.
- Baseline: This involves minimal restrictive policy for pod configuration.
- Restricted: These policies focus on establishing strict security around the pod.
Monokle has implemented a set of policies from the pod security standards and provided them in the IDE which you can configure and enable.
Click on View to get started with the plugin configuration. To enable the plugin, toggle the Enable plugin button. From the list of policies available, you can make use of Enable all/Disable all to act on all the policies.
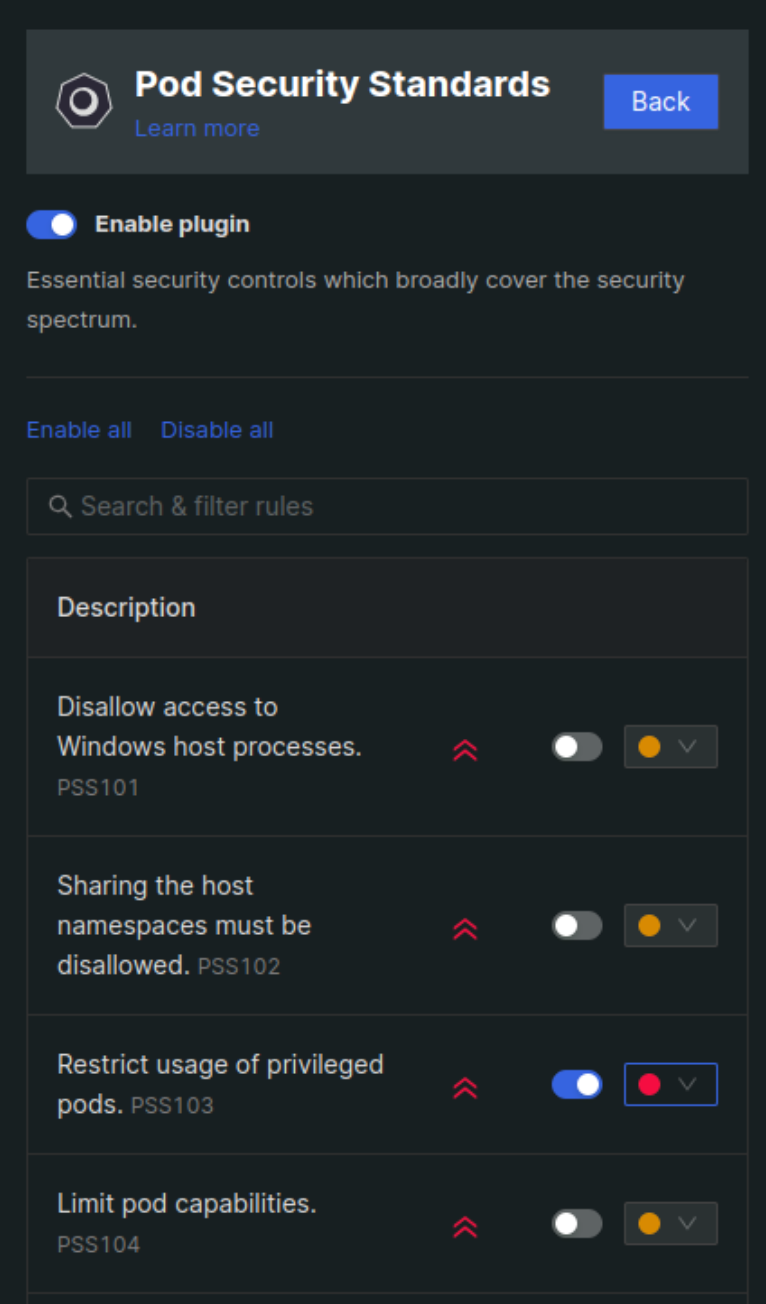
Enable the required policies using the toggle button. You can also set the category for policy violation as an error or warning.
Common Practices
Based on the standard practice followed by organizations to ensure the least vulnerable infrastructure, our developers have developed this plugin.
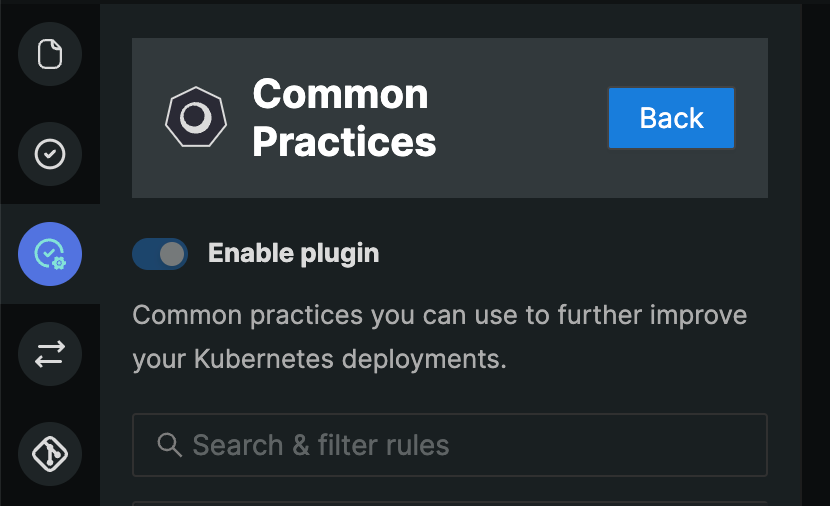
It comprises practices that would further help you with Kubernetes deployments and ensures that your infrastructure is less prone to threats. The rules in this plugin will be identified by KBP followed by its unique ID.
Kubernetes Schema
This plugin ensures that the resources in the repository adhere to the schema for their kind/version. You can select the Kubernetes schema version from the drop-down and keep it the same as the version of the Kubernetes cluster where these resources will be deployed. The rules in this plugin will be identified by K8S followed by its unique ID.
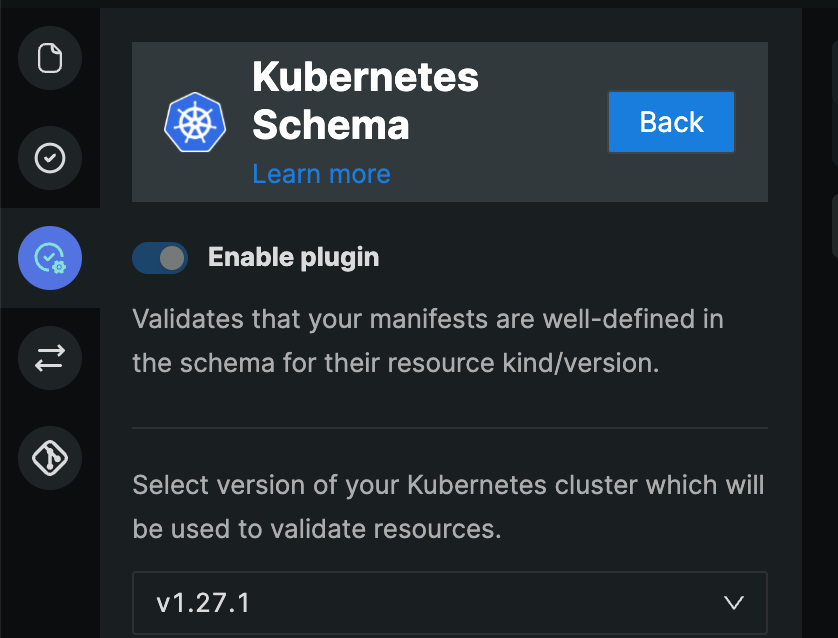
This plugin will also help you to identify if your resources are using deprecated APIs.
YAML Syntax
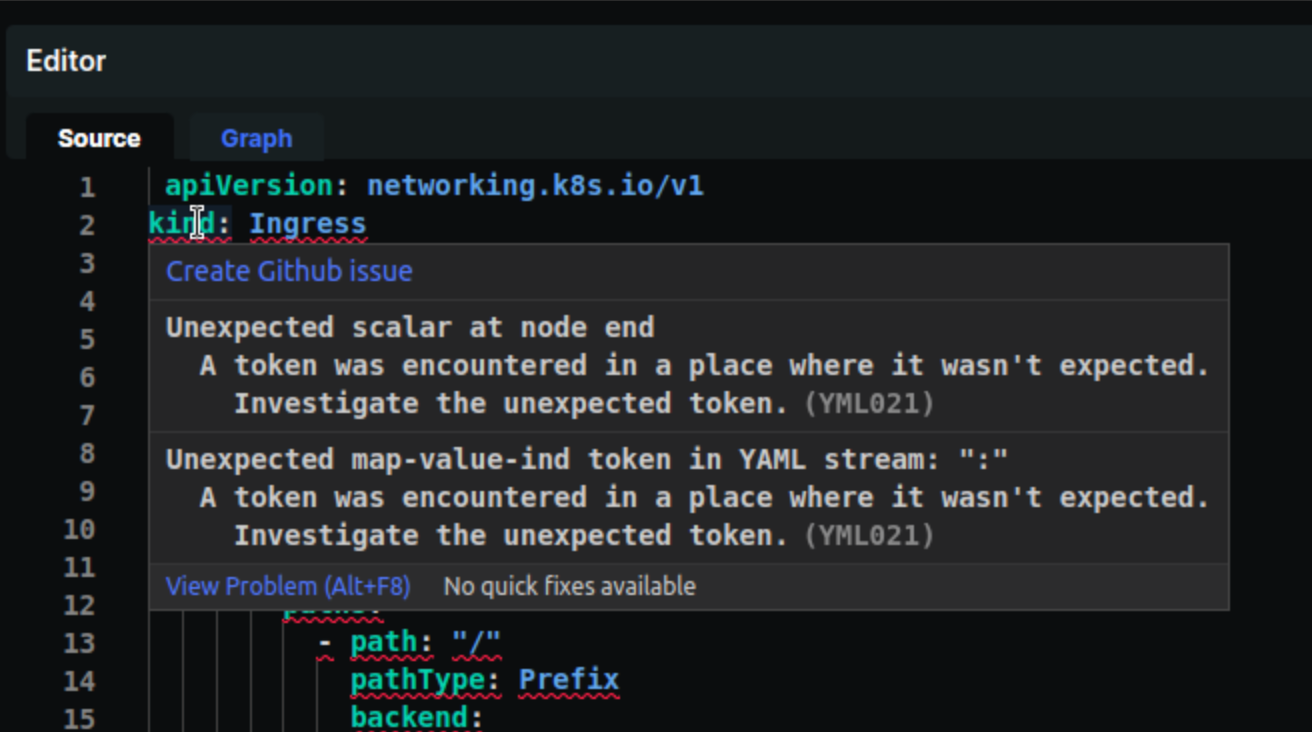
Writing and managing YAML is not an easy task. The Monokle IDE also checks that your Kubernetes resources have the correct YAML syntax. The rules in this plugin will be identified by YML followed by its unique ID. In the case of incorrect syntax, you will see an error as shown below.
Resource Links
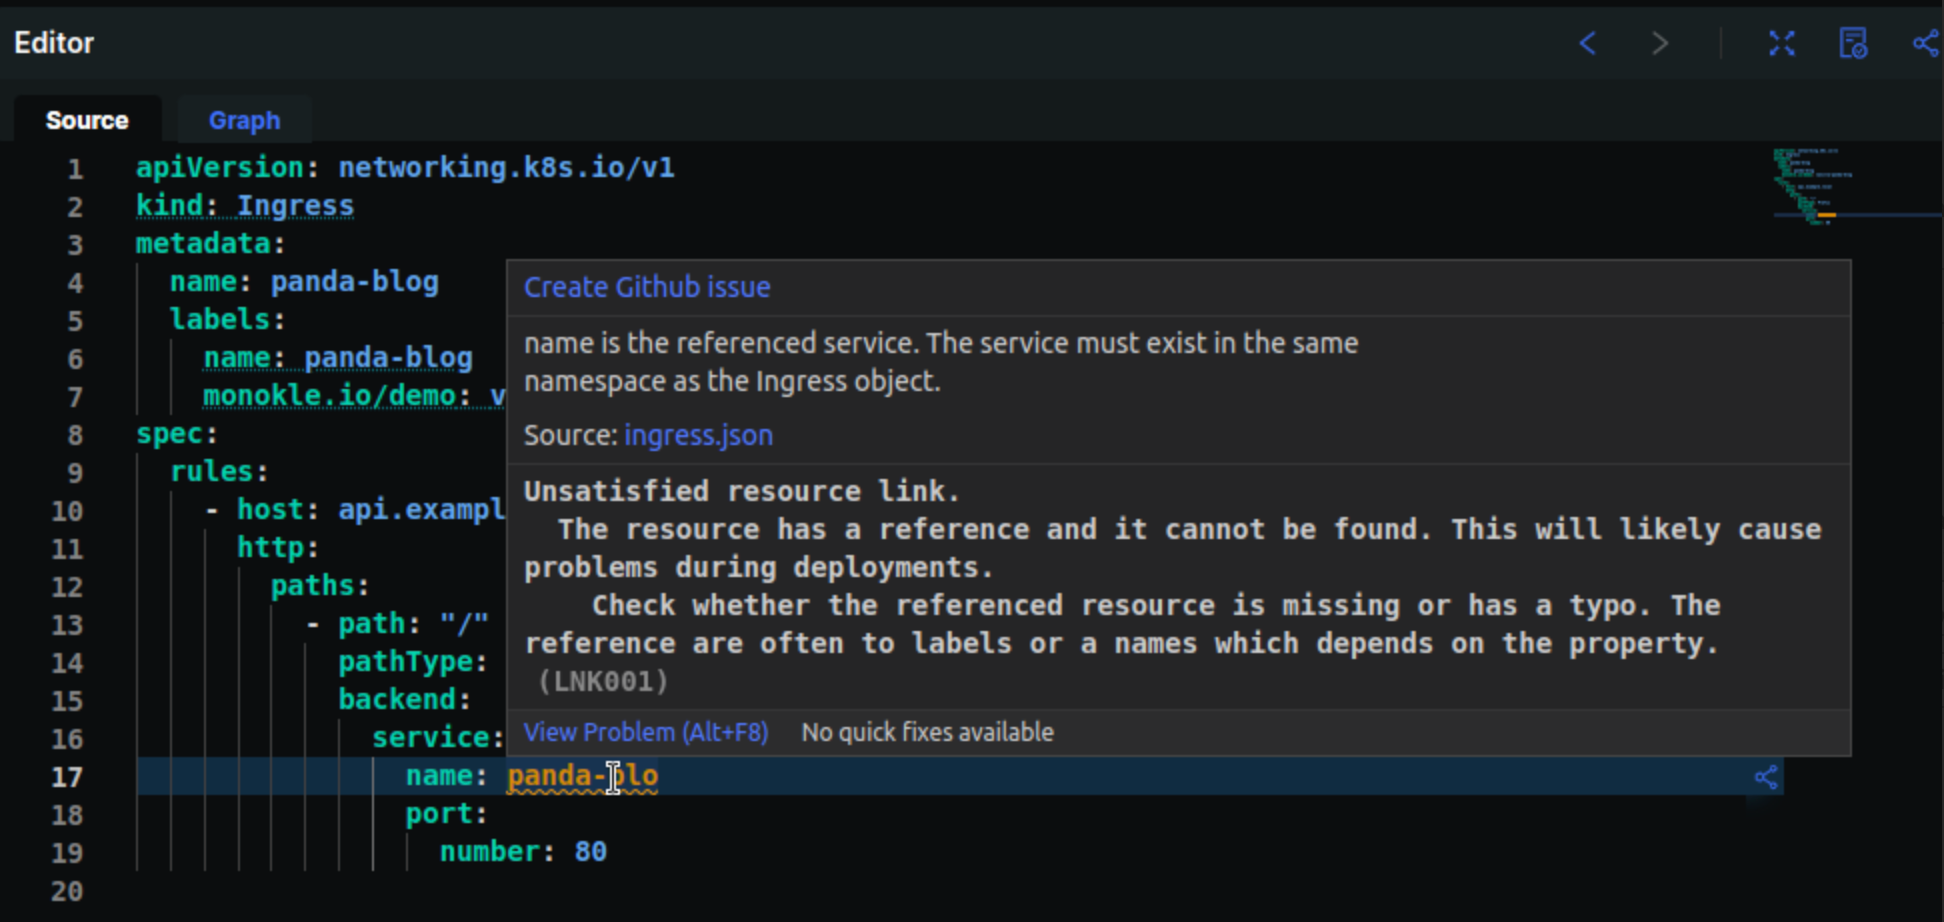
For the resources available in your repository, Monokle scans the resources and highlights the links between resources based on the schema. The rules in this plugin will be identified by LNK followed by its unique ID. If there is a missing link or a resource has a dependent resource defined but is unable to be identified, Monokle will show a warning for the missing link as shown below.
Security Policies(OPA)
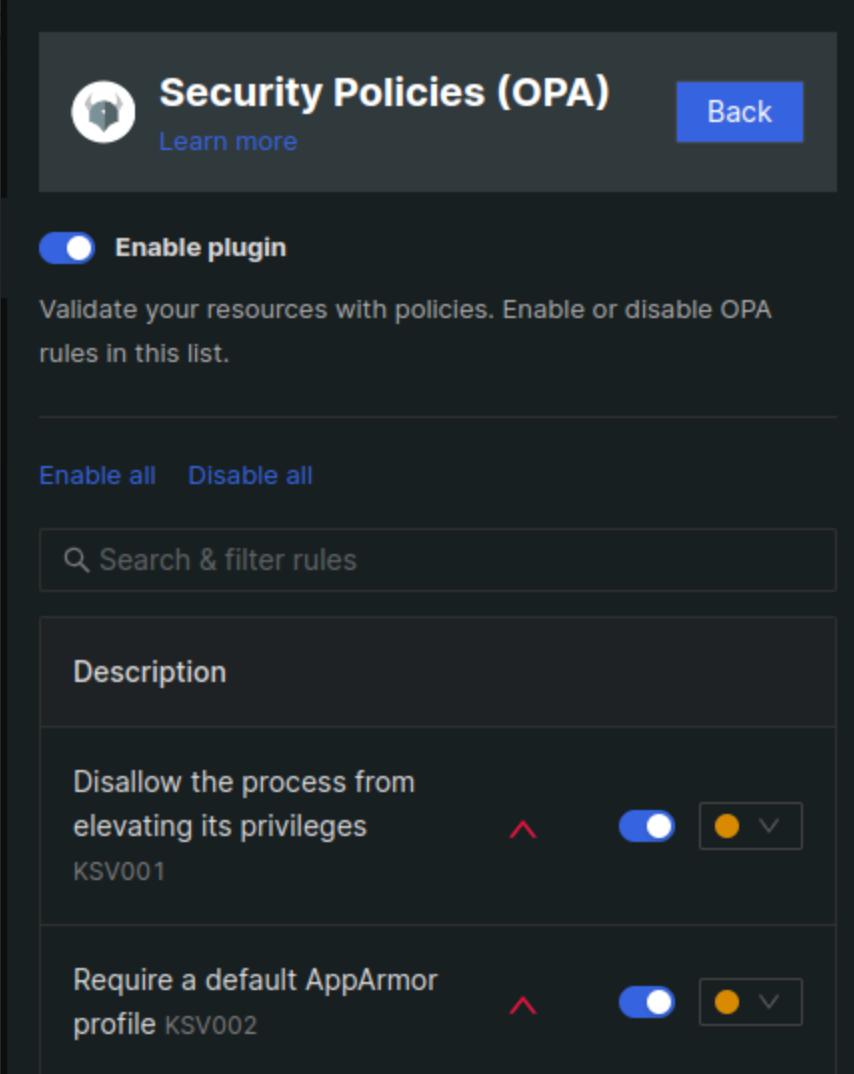
For security policies, Monokle provides Open Policy Agent(OPA) support. With the support of the DefSec team at AquaSecurity, Monokle has enabled a list of Rego policies that help guardrail your Kubernetes resources. This is not a default policy so you need to configure it manually using the validation settings.
Metadata
Your Kubernetes resources will have multiple metadata fields and values. In case a metadata field is missing the label, you may not be able to identify those using the YAML check or Kubernetes schema check. With this plugin, you can check for standard labels and add custom too.
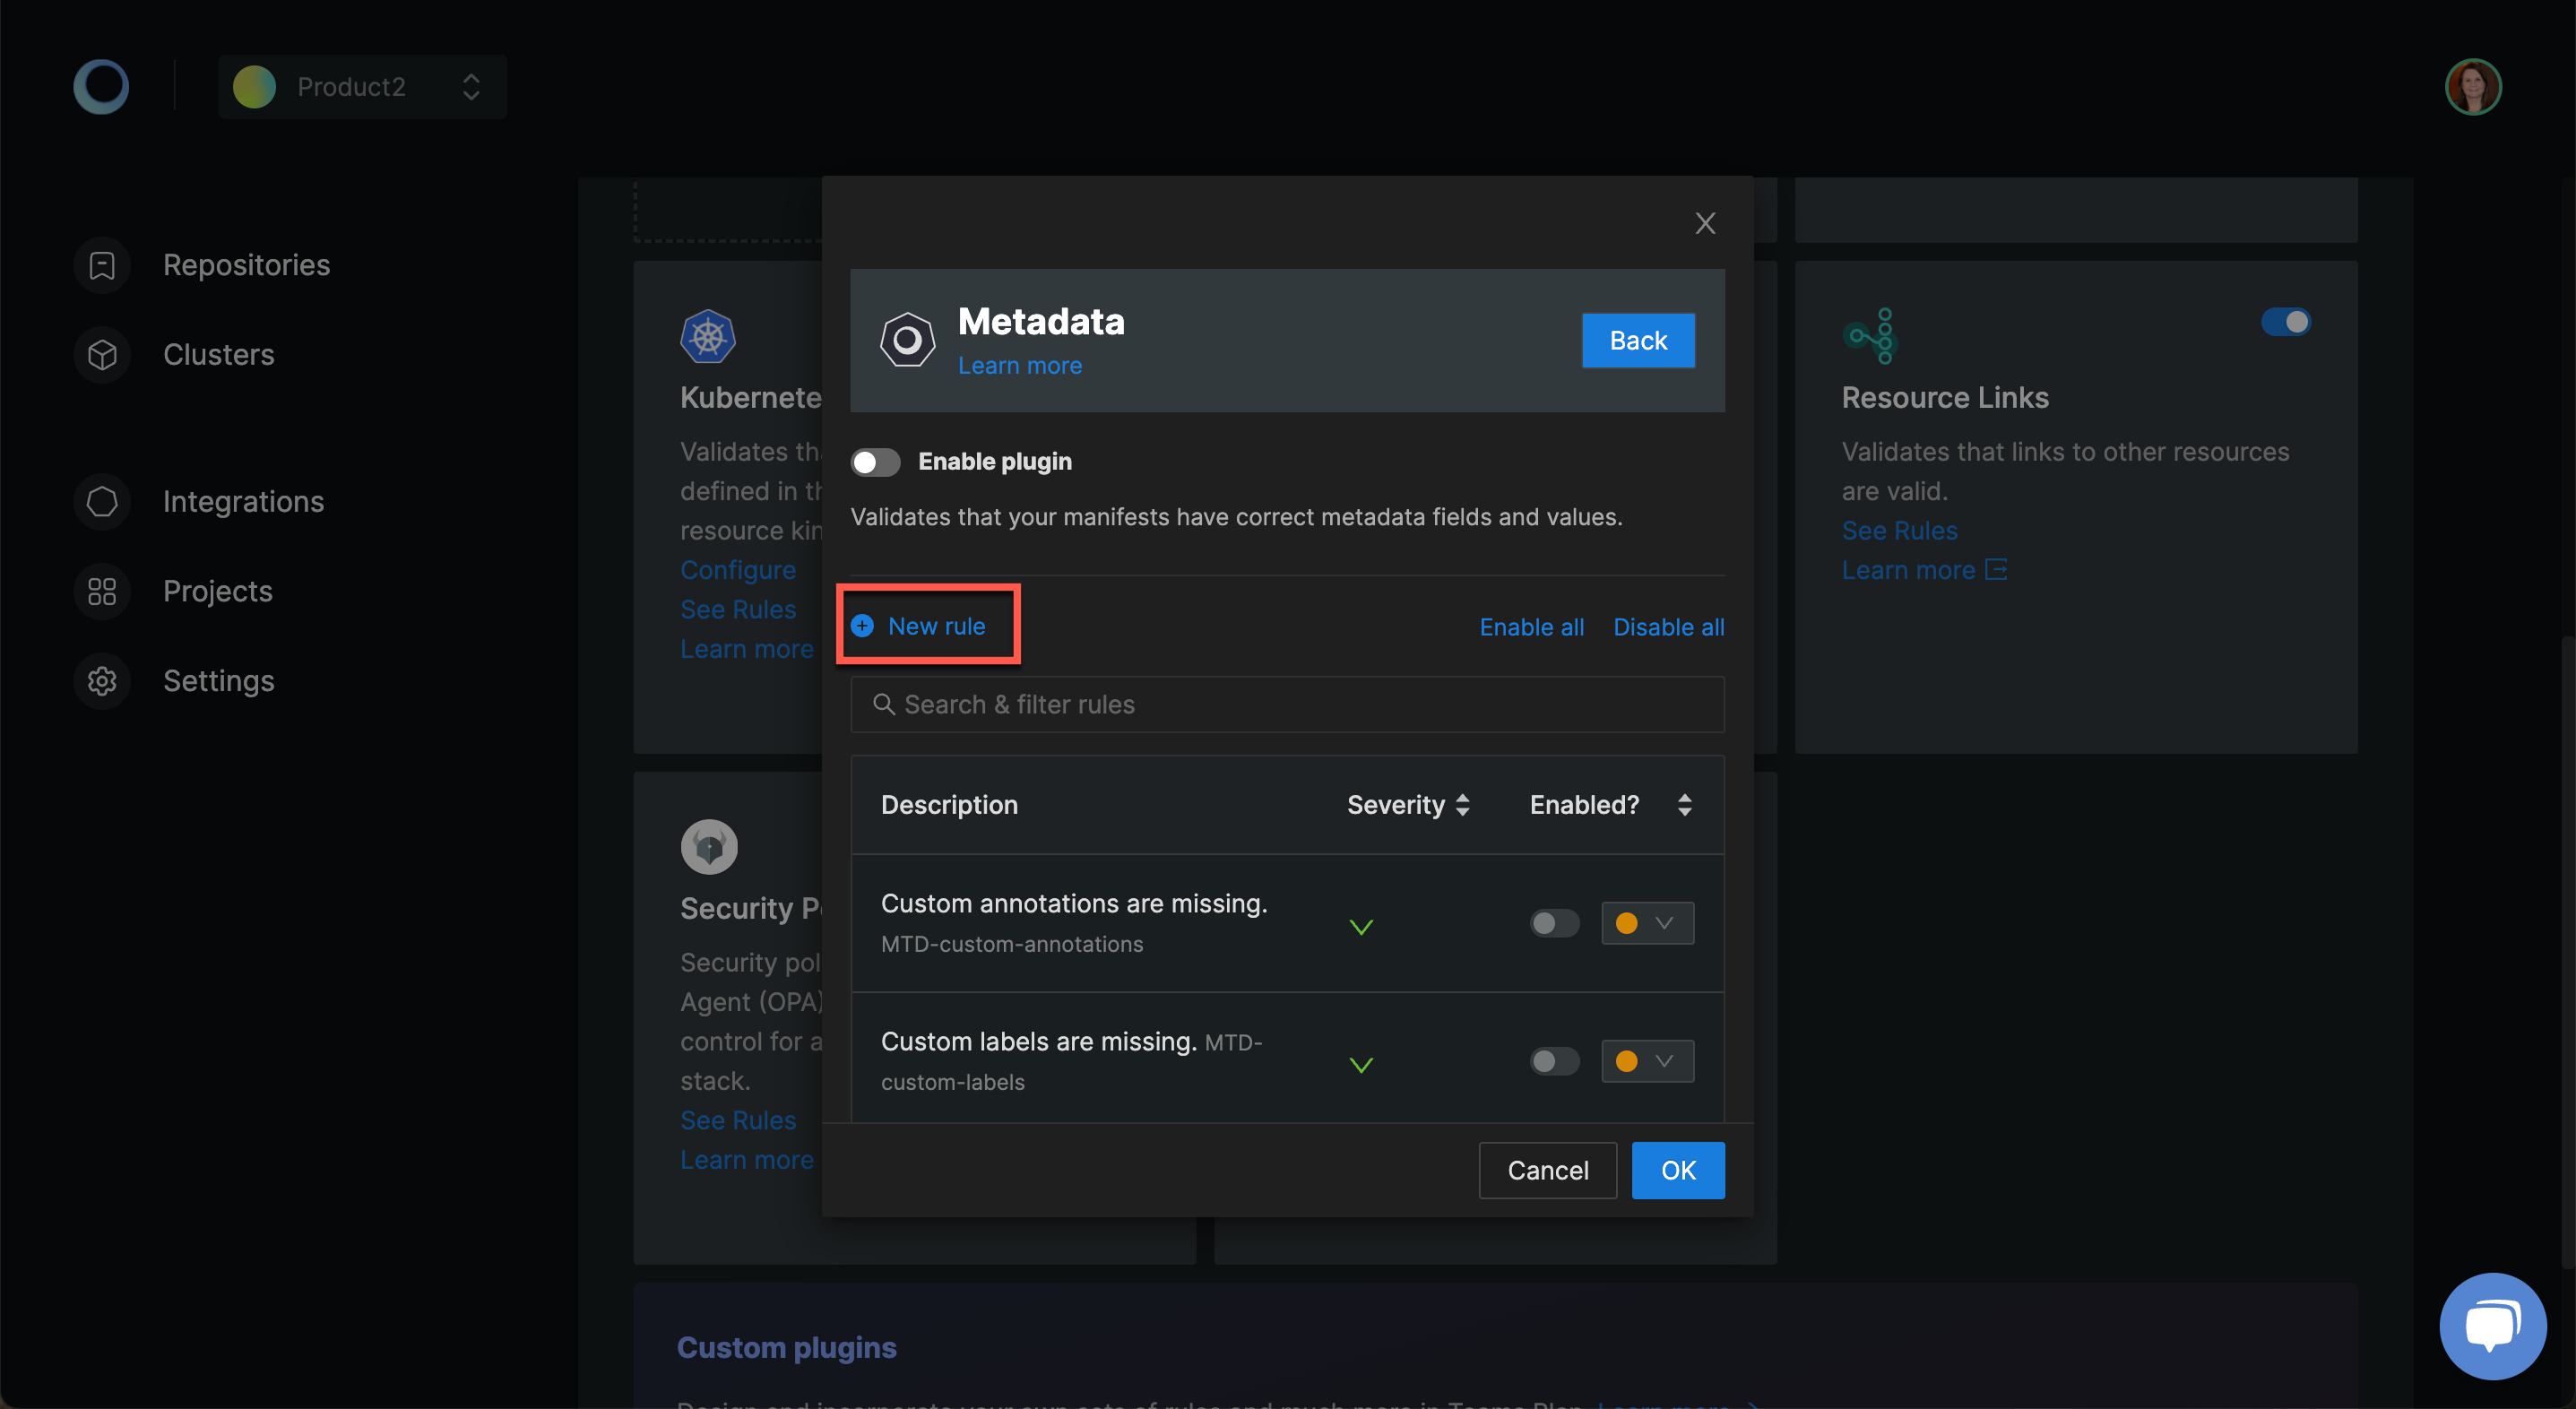
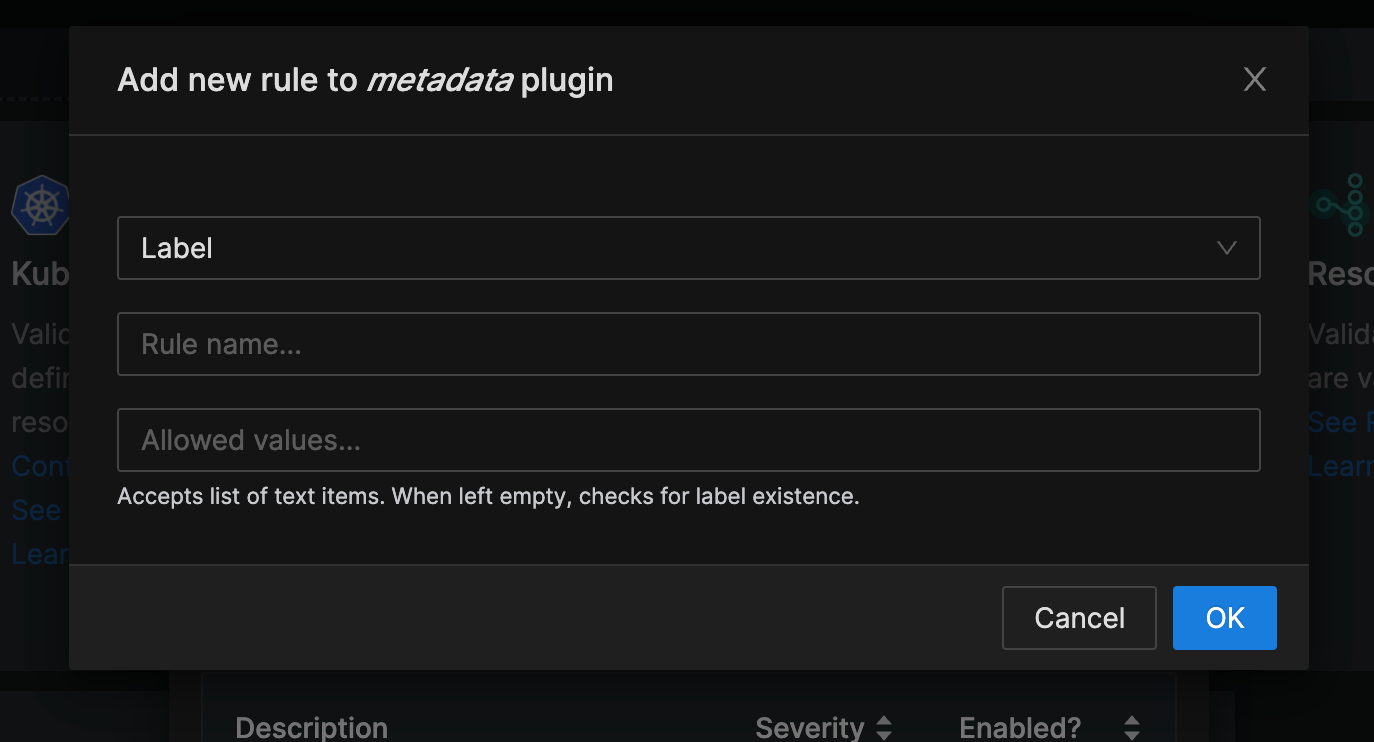
To add the new rule to check the metadata, use the New rule button. Monokle loads a window to enter the field and value you want to check with a message.
This way you can configure and enable default policies in Monokle Cloud.
Delete Policy
In Projects, click on the Configure and enforce policies button and access the policy configuration. It shows the list of rules enabled along with an option to delete the policy.

Click on the Delete Policy button and Monokle will perform the necessary action to delete the wizard from maintaining the policies.

You can make use of the validation settings to manually configure policies as per your requirements.
With the policies enabled using wizard or settings as seen above, you can now guardrail your Kubernetes resources and prevent misconfigurations in your deployments. For an advanced setup where you need to enable the organization-specific policies, Monokle provides the feature to write your own custom plugin with rules and enable them in Monokle.